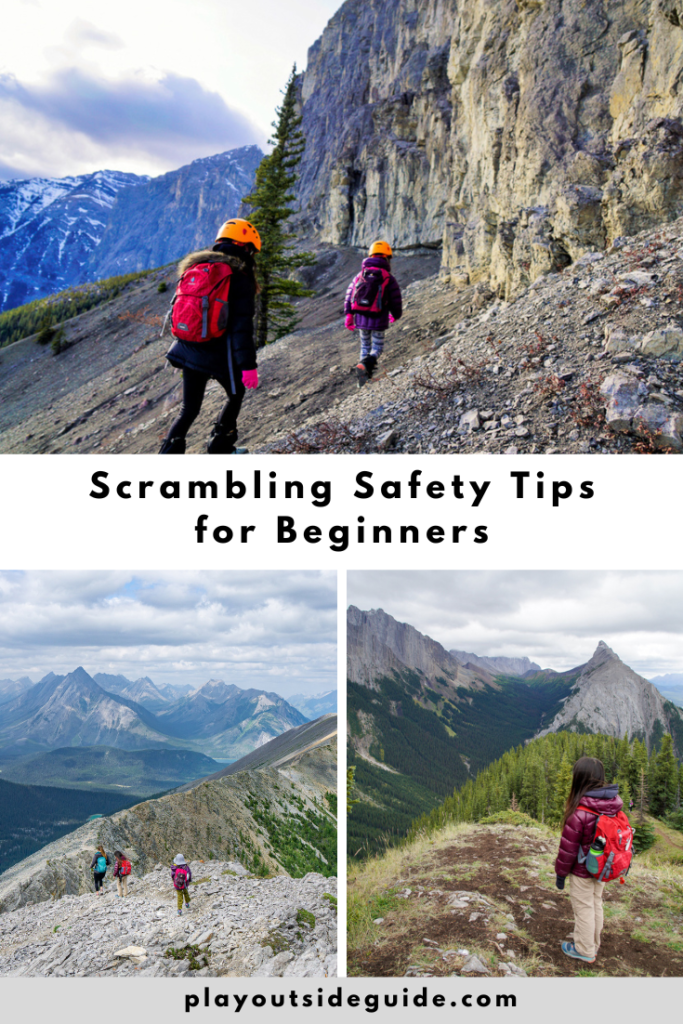
Here are some scrambling safety tips for beginners. Remember, an easy scramble is NOT an easy hike.
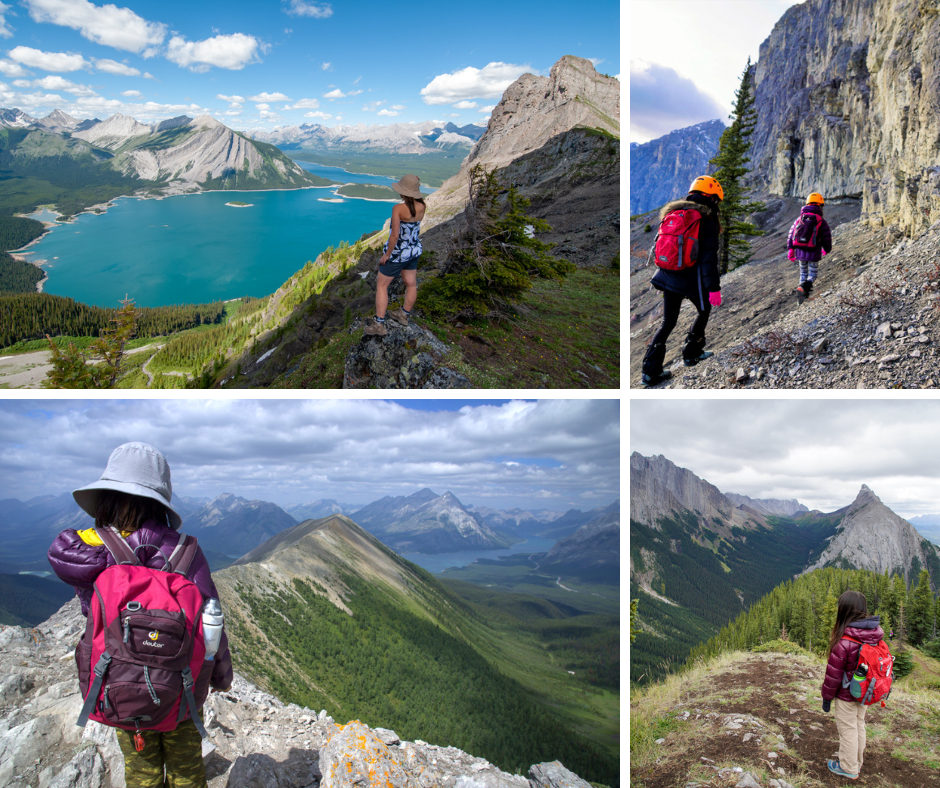
Like many fun things in life, scrambling is inherently dangerous, but you can mitigate the risks by being prepared. Researching your route (and staying on it), wearing the proper footwear, and scrambling within your abilities are some of the most important ways you can stay safe on a scramble. Not sure you can climb back down that steep section? Save it for another day. Go down is always harder than going up, and the mountain will always be there! Storm in the forecast? Choose a different trail that doesn’t take you into dangerous terrain. Scrambling ratings – Easy, Moderate, Difficult – are based on dry conditions. You don’t want to be stranded above treeline in a thunderstorm because the way back is too slippery to descend!
Scrambling is “a walk up steep terrain involving the use of one’s hands”.
New Oxford American Dictionary
Even “easy” scrambles, that don’t require the use of hands but are very steep, can be hazardous. We have seen people bum sliding down Sarrail Ridge with skinned knees because they were wearing improper footwear, and saw someone crying on Ha Ling Peak because she didn’t know how she’d get down without falling (she also crappy shoes). Sadly, there have been fatalities on Ha Ling Peak, an easy scramble with 741 metres (2431′) elevation gain over 2.4 kilometres (1.5 miles) that we have hiked with our kids since they were babies.
The purpose of these cautionary tales isn’t to discourage you from scrambling, but rather impress upon you the dangers so you make good decisions on the trail – and before you head out! There are many things you can do to make scrambling easier and safer starting with the right footwear and appropriate trail choice. First time scramblers should start with the easiest scrambles (recommendations below) and gain experience before levelling up. It takes time, but it’s worth it!
Now that you’ve selected the right trail for your experience level, here are 10 scrambling safety tips for beginners:
1. Research your route and stay on the trail
Going off route is one of the main ways people get injured when scrambling. It’s easy to lose the trail when you’re above treeline, so it’s critical you pay attention to landmarks. Missing a chimney (column-like break in a cliff band) could mean a dangerous downclimb; missing a cairn could take you into dangerous terrain you can’t hike out of. Many rescues and fatalities are the result of going off trail and falling, or “cliffing out” (ending up on the edge of a cliff).
You can reduce the risk of getting lost by:
- researching your route,
- going with more experienced hikers (good way to gain route-finding experience),
- traveling in daylight when visibility is good,
- avoiding poor weather, and
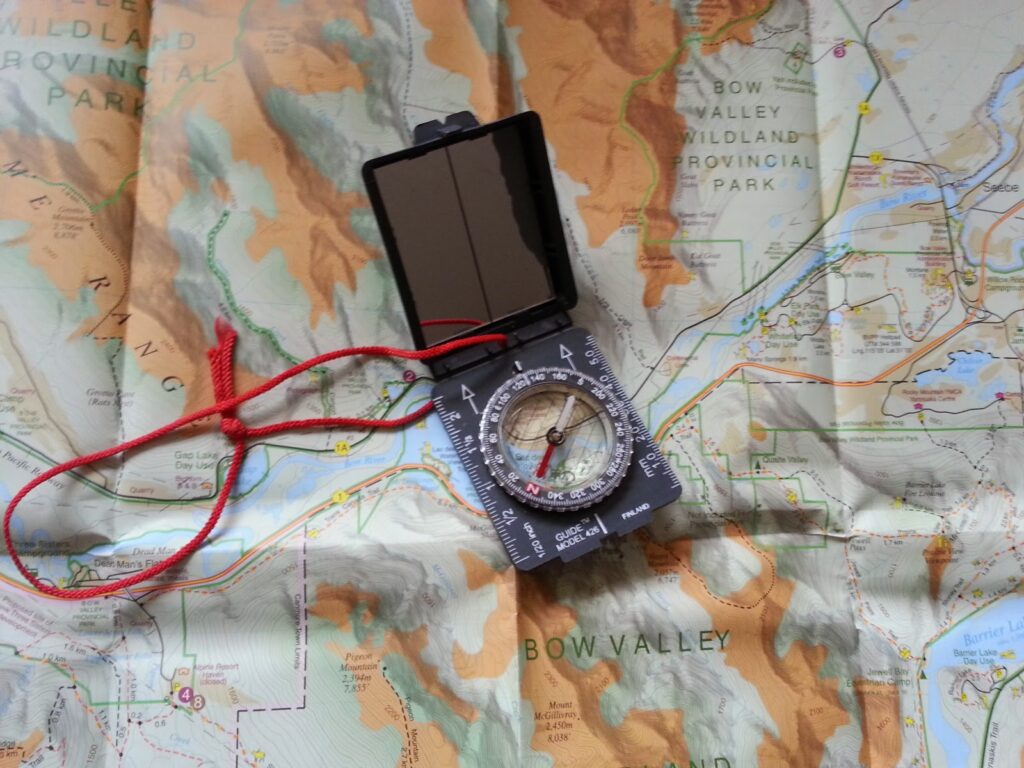
- carrying a GPS/compass and map of the area.
For more tips on how to avoid getting lost, please see this post.
2. Invest in proper footwear
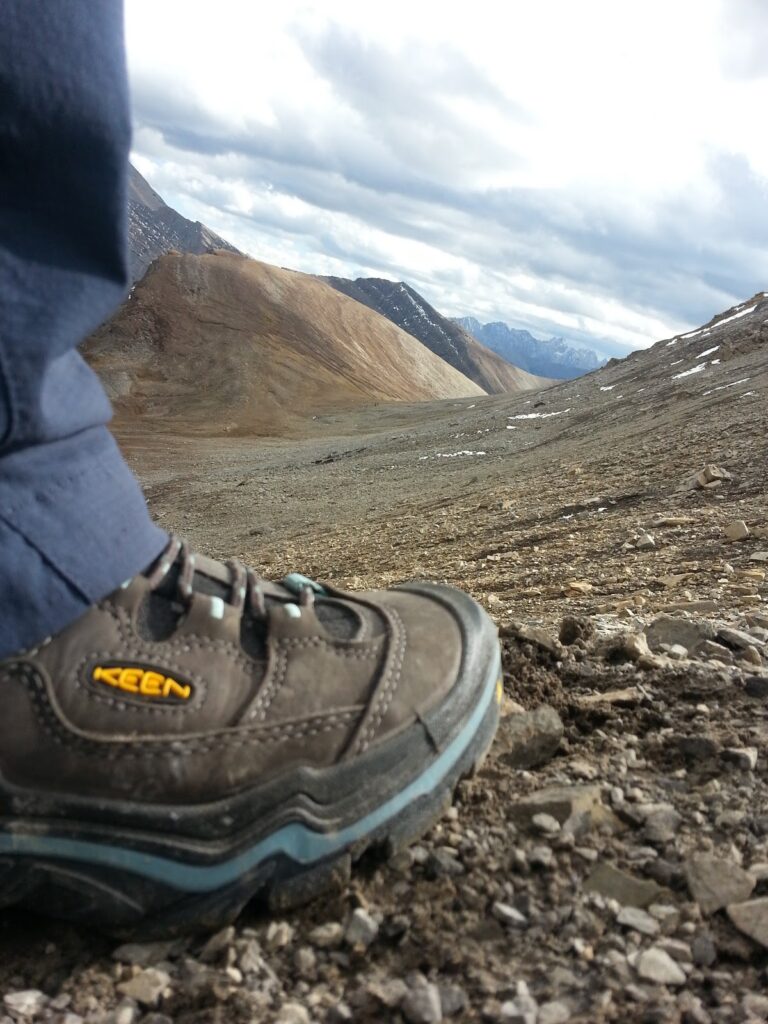
I recommend mid-height hiking boots for superior traction (from thicker lugs), stability, ankle support, reduction in blisters, and protection from debris. Those may sound like big claims, but if your boots fit well and are laced up properly, the extra height on the boots prevents your ankles from lifting and rubbing, and reducing friction prevents blisters. Higher tops also help keep scree and pine needles out of your boots, but if you will be bushwhacking or heading into deep scree, you should also wear gaiters. Most importantly, hiking boots give you better traction on loose rock and slab so you will not slip and slide as much and thereby reduce the risk of injury.
Shopping tip: Look for mid-height waterproof hiking boots with Vibram (or similar) soles with thick lugs for traction. Backpacking boots are too heavy for scrambling, while trail runners will not give you the traction you need on loose rock. Trail runners are often optimized to provide traction when moving fast and will not grip as well when moving slowly so it’s important to get the right footwear for the type of hiking you’re doing.
For warm weather hiking, look for synthetic, waterproof boots. The advantage of Goretex/leather trim boots is that they’re light and don’t require breaking in! The downside is that they don’t last as long as leather boots. Get the ones that fit you best.
3. Wear the right socks
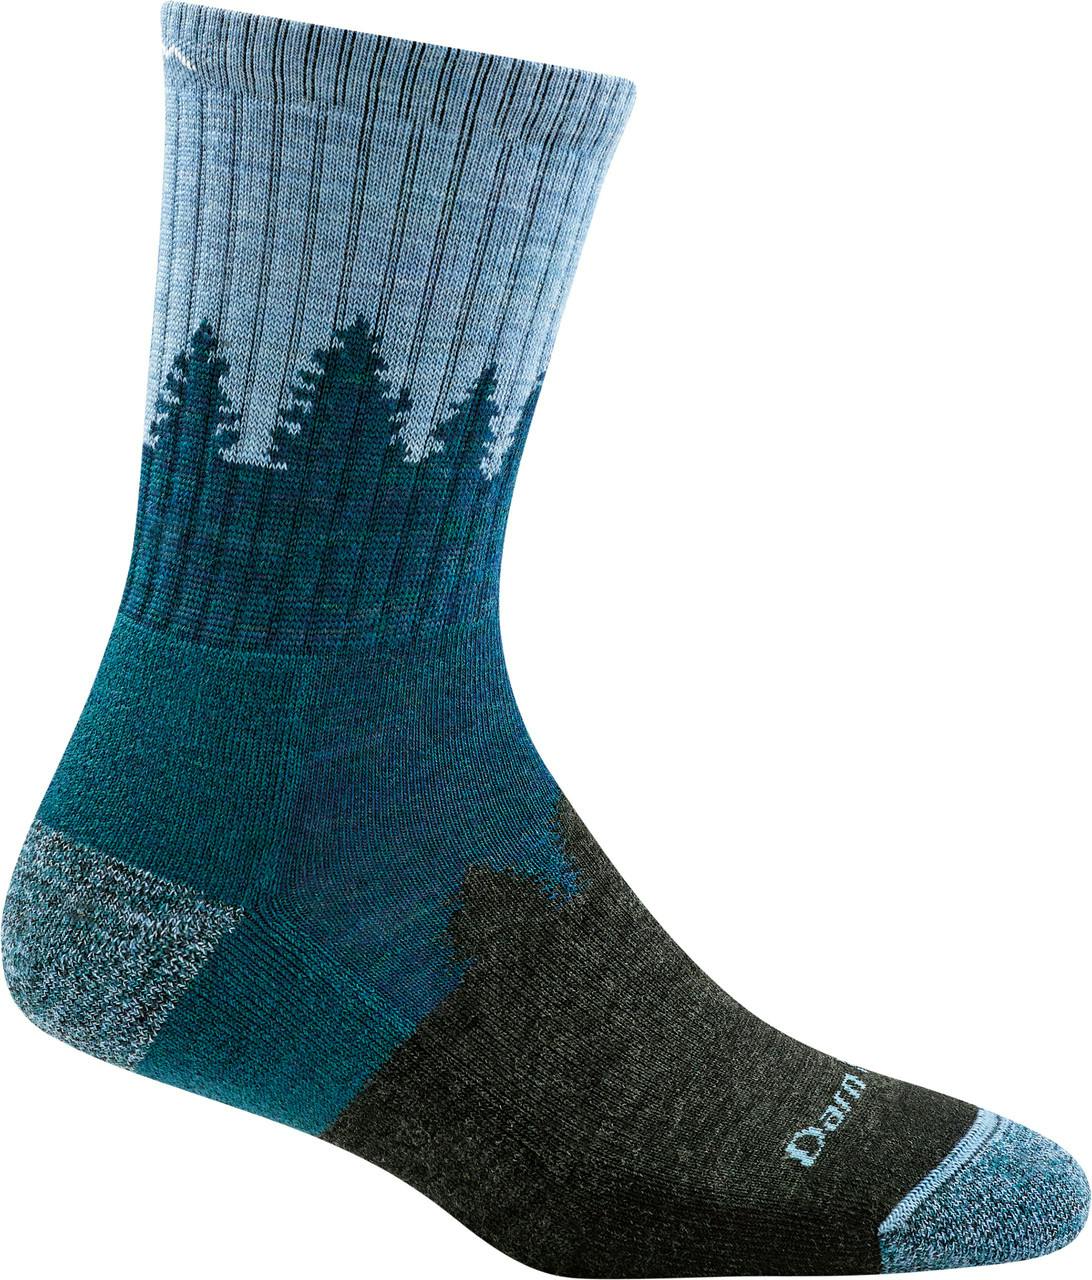
Technical socks (merino wool or nylon/polyester) are the way to go for comfort and blister prevention. I like Smartwool, Darn Tough, and Teko socks, but less expensive socks that fit well will work just fine. A major advantage of merino wool socks is that they are naturally odor resistant! In warmer weather, running socks work well to wick moisture. Just don’t wear cotton socks; they take forever to dry!
4. Lace up your boots properly
Blister prevention means you’ll be able to complete the scramble without hurting your feet! Now that you have good boots and socks, you can help keep your heels and toes in good shape by learning to lace your boots:
- Lace your boots up moderately for the ascent and snugly for the descent. If your boots are too loose, you risk blisters on your heels (going up) or toes (going down) and can even lose toenails (been there, done that).
- Pay attention to the tension at different parts of your boot. Use the “heel lock” to prevent your heels from lifting.
- Beware of tying laces too tight. You don’t want to cut off circulation!
Researching your route (and staying on it), wearing the proper footwear, and scrambling within your abilities are a few ways you can stay safe on a scramble. Learn more scrambling safety tips here ⤵️
Tweet
5. Don’t kick rocks down on people & use a brain bucket
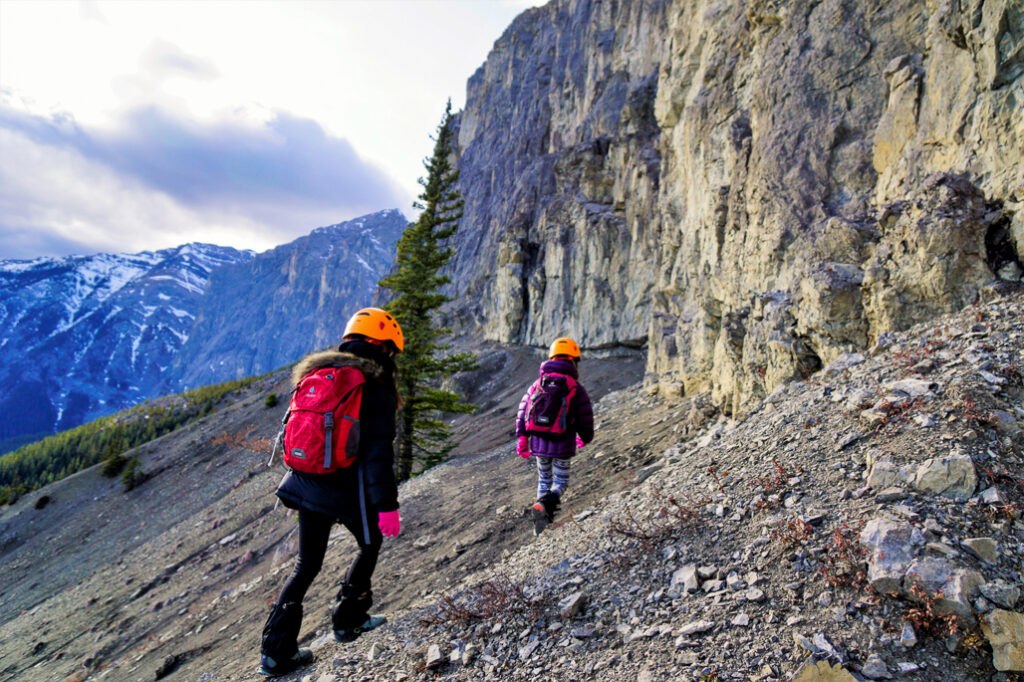
A rolling stone gathers speed and can cause considerable injury, especially when airborne. Watch your step and if you inadvertently loosen a rock, holler “ROCK!” to hikers below so they can get out of the way. Stay back from cliff faces for your safety and the safety of others below. Rock climbers may be ascending or hikers may be traversing the cliff base.
A climbing helmet can protect you from smaller rocks. On busy trails with high risk of rockfall (like Tower of Babel), try to get an early start so other hikers don’t kick rocks down on you.
6. Learn basic scrambling techniques
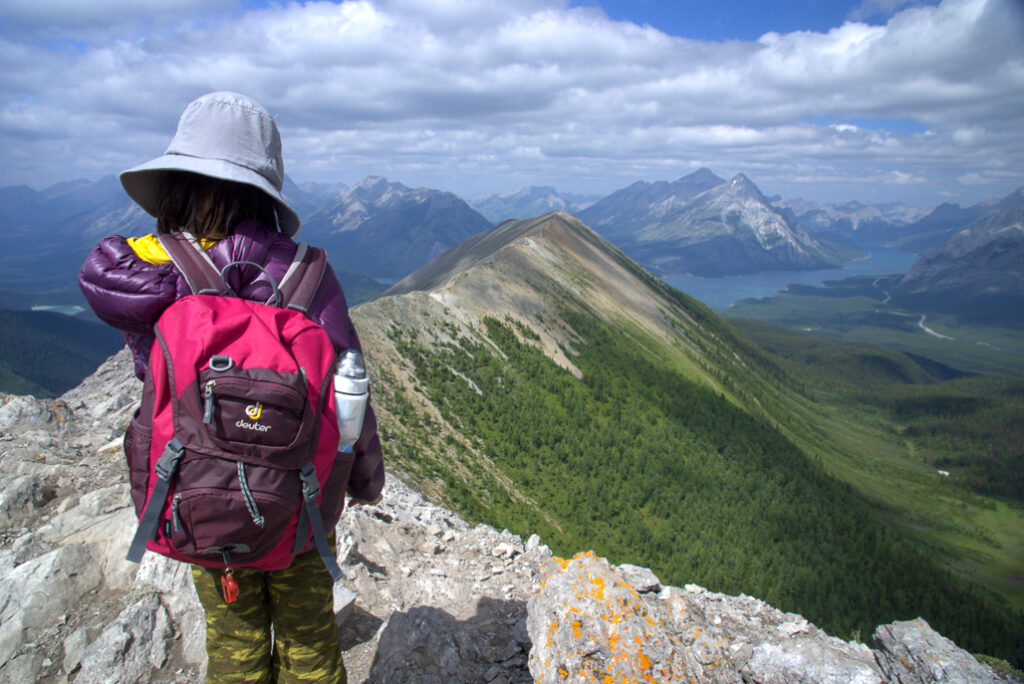
Lean forward when ascending, and lean slightly back and dig your heels in on the descent if there is a lot of loose rock. If there is deep, fine rock, you can use this method of digging in your heels to “scree ski”. It’s so much fun and easy to master if the scree is fairly even in size! My 6 year old nailed it on her first attempt! Alternately, where the trail surface is more packed and there aren’t huge rocks to trip over, try jogging down using small, light steps and zigzagging back and forth.
7. Mind the weather
If nasty weather is moving in, get off the mountain or find a safe place to wait it out. The mountain will always be there, but you may not if you get lost in a snowstorm and fall off a cliff. Rain can also make some trails extremely slippery. Please stay safe!
8. Stayed fueled and hydrated
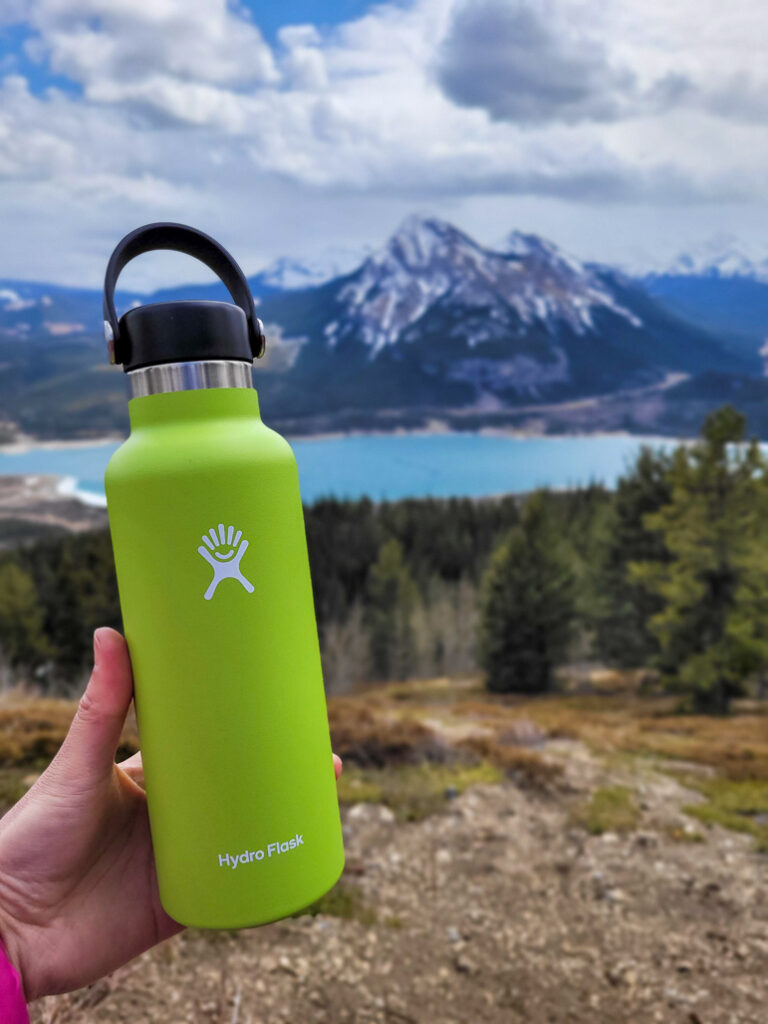
Your stomach is your furnace and it needs fuel! DYK being hydrated keeps you warm? It also forestalls exhaustion and prevents muscle cramps, so sip water frequently even if you aren’t thirsty. A little salt and sugar helps you rehydrate, so add electrolytes to your water, or have some trail mix with it. For more information, please see this post.
9. Use caution with hiking poles
Beginner scramblers should develop their balance and keep hands free most of the time. Save hiking poles for when the trail isn’t too steep. I saw a hiker snap his poles and then tumble downhill because he was relying on the poles too much; the same can happen when poles collapse unexpectedly. Experienced hikers and scramblers can use poles on some scrambles, but newbies can get a false sense of security. If in doubt, stow the poles and rely on your hands to stop a fall.
10. Pack The Ten Essentials
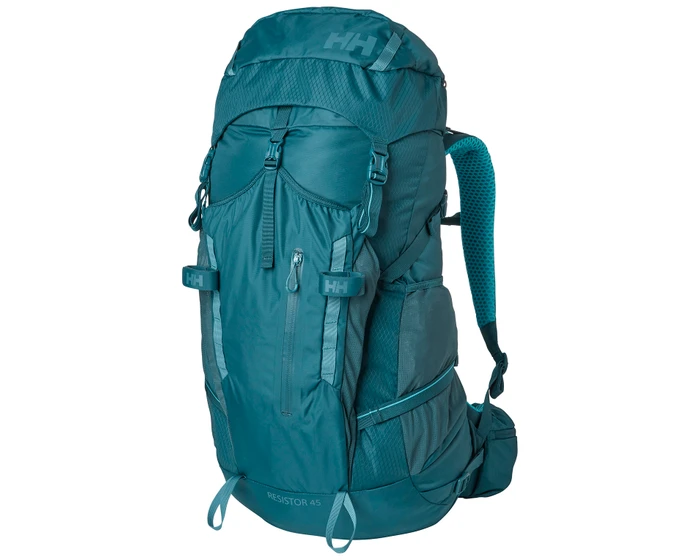
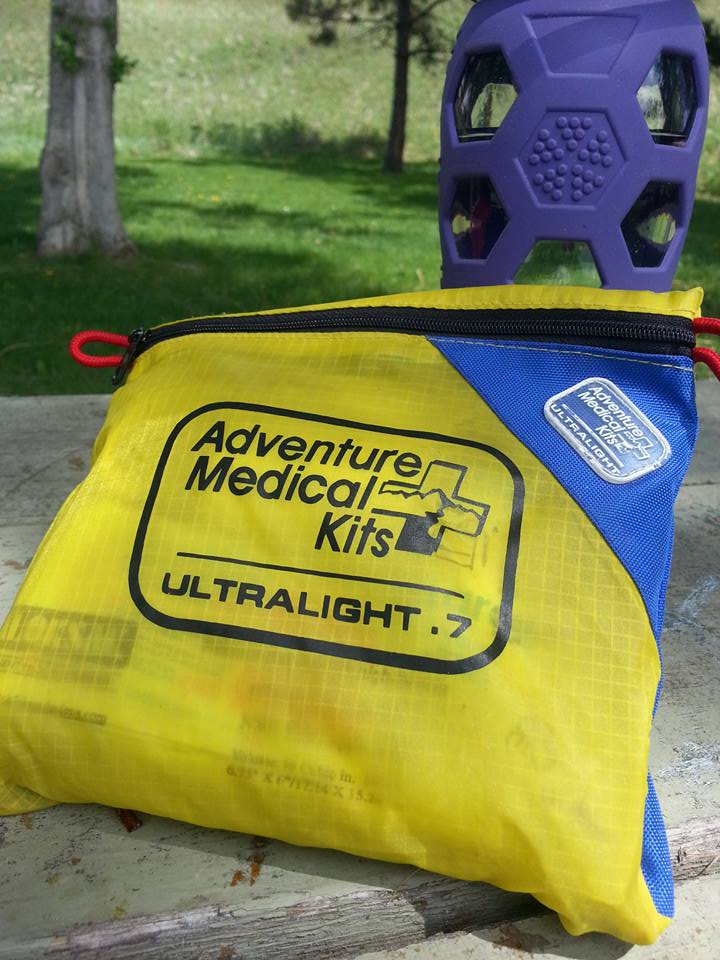
Always carry The Ten Essentials including: water; extra food; extra clothes including a windproof/waterproof shell, down sweater, and gloves; a headlamp; a GPS/compass and map of the area; bug spray (this one contains 20% icaridin and will repel ticks); sunscreen (this one is safe for babies); and bear spray. Carry bear spray in a Frontiersman Bear Spray Holster or Scat Belt. If you have a water filter/tablets/drops (and there’s a creek/pond along the trail), you can treat water on the go.
In winter conditions, traction devices such as Kahtoola Microspikes (Available from Amazon, MEC, and Camper’s Village), or Hillsound Trail Crampons (Available at Amazon, Hillsound, and Sport Chek) are recommended.
Easy Scrambles
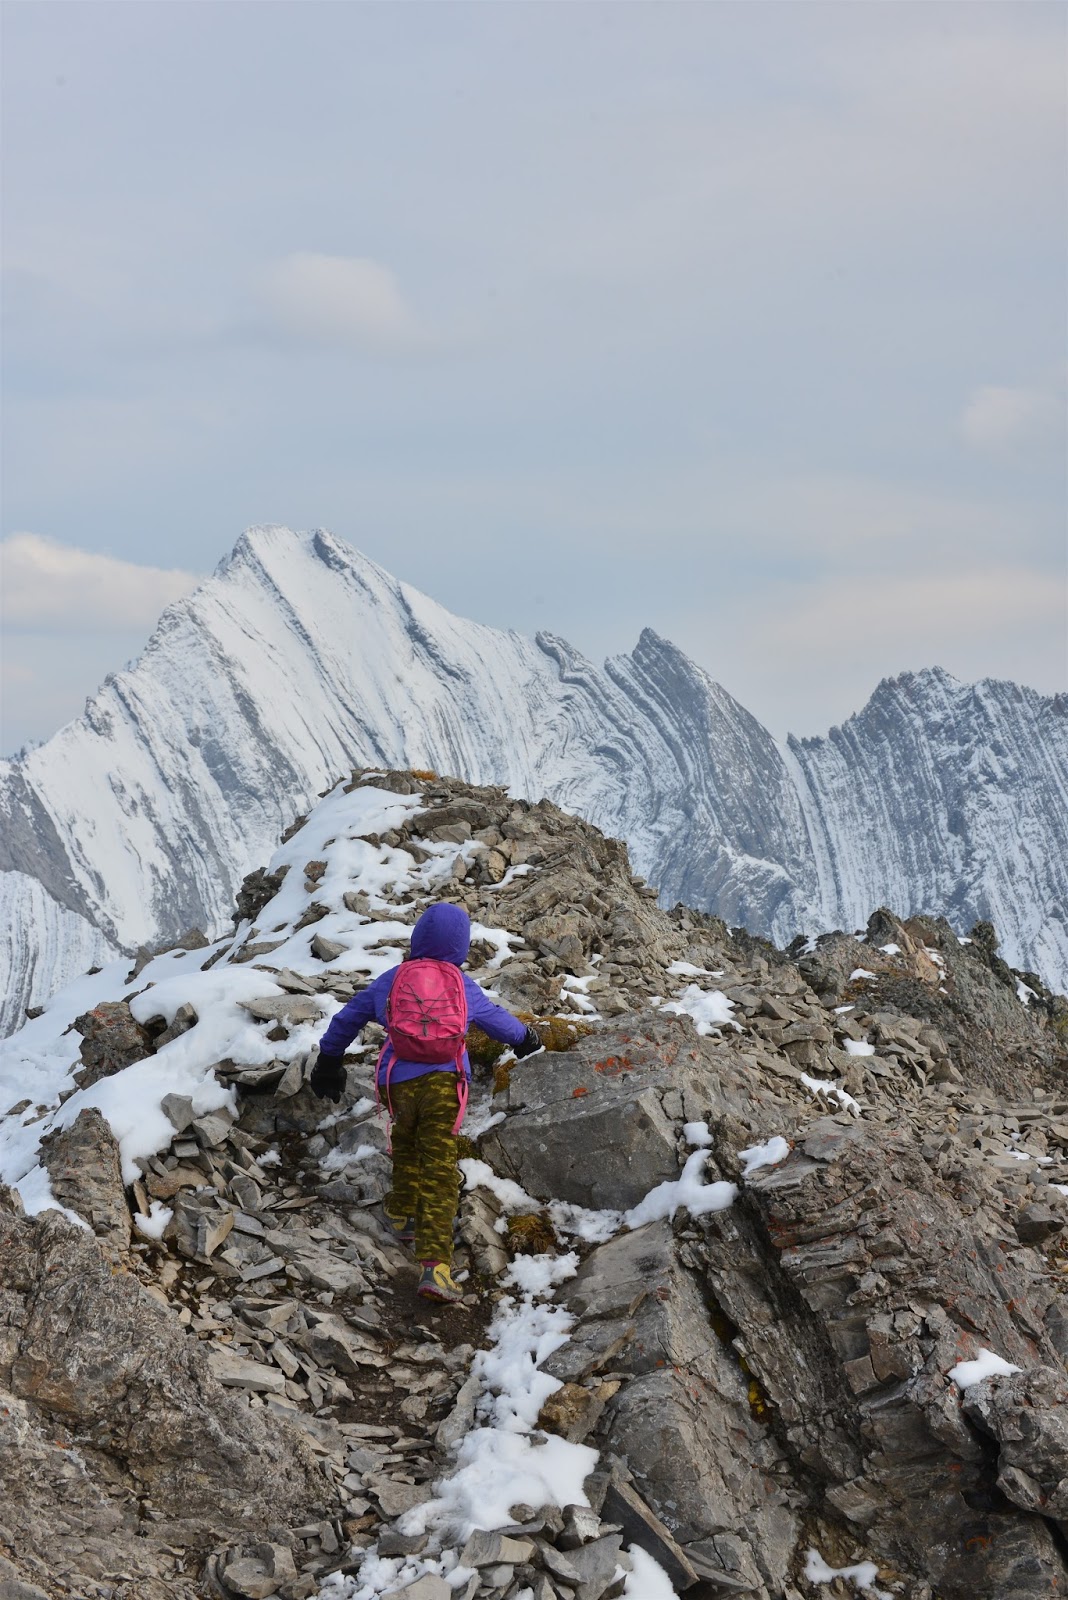
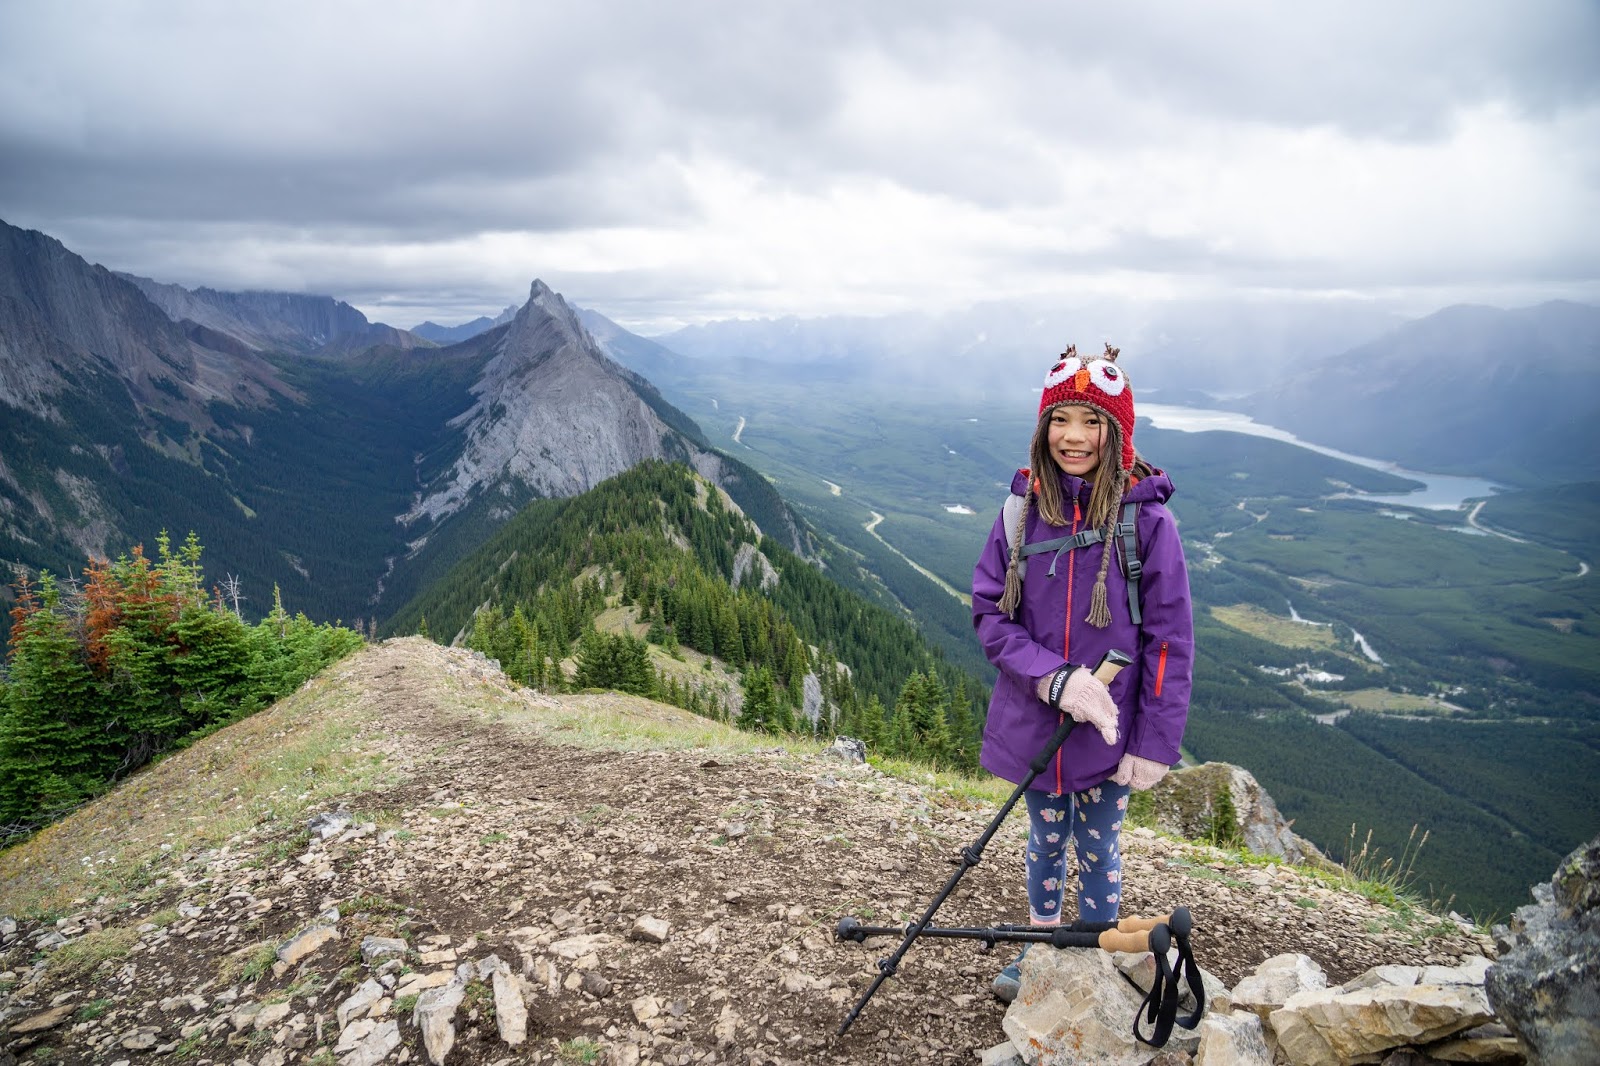

Here are some easy scrambles to try:
- Midnight Peak, Kananaskis
- Miner’s Peak and the Three Bumps, Kananaskis (closed in 2022)
- Little Arethusa, Peter Lougheed Provincial Park
- Sarrail Ridge, Peter Lougheed Provincial Park,
- King Creek Ridge, Peter Lougheed Provincial Park
- Mount St Piran, Lake Louise
- Mount Fairview, Lake Louise
- Table Mountain, Castle Wildlands
More Hiking Safety Stories
- Bear Safety Tips
- Effective Tick Repellents and How to Use Them
- Hiking & Backpacking Safety Tips
- Traction Devices for Winter Walks & Hikes
- Surviving Winter with Raynaud’s


