Researching your route and carrying the Ten Essentials are as important as having route-finding skills, wilderness first aid, and avalanche skills training when hiking and backpacking. By planning ahead, you can greatly reduce the risk of getting lost or injured.

The belief that “nothing bad is gonna happen ’cause I’m not going far” is called dayhiker mentality (this term was coined by Rich Johnson and is mentioned in his Guide to Wilderness Survival). It is easy to fall under its spell and can affect the best of us when we least expect it. Have you ever forgotten your rain jacket on a sunny day then been caught in a storm? Or rushed home from the park because your kid skinned her knee and you didn’t have a first aid kit? On an urban hike, these situations are minor inconveniences, but in the backcountry, day hiker mentality can kill you.
Whether you’re dayhiking, or trekking to a backcountry hut, you must always carry adequate gear to overnight it in the wilderness in the event you are lost, injured, or otherwise delayed (think flash flood, snowstorm / no visibility, avalanche, wilfire, or landslide). Take a good, hard look in your pack and let me know if you could survive the night with what’s in there. Could you signal for help if you’re lost or injured? Bandage up owies? Treat water? Keep warm and dry? Some extra food goes a long way to improving morale too. Carry The Ten Essential Systems on ALL adventures.
Prior to leading group hiking and backpacking trips, I suffered from a mild case of dayhiker mentality. I didn’t carry all of the 10 essentials because I didn’t think I needed them. In a lifetime of hiking, I’d never been in a survival situation, nor had a serious injury. While I carried most of the essentials (9/10), my kit wasn’t the greatest. It wasn’t until I was responsible for other people, leading hikes and backpacking trips, and started learning about wilderness survival (as well as wilderness first aid and avalanche training), that I re-evaluated what was in my pack and made some changes. I now carry a compass, better knife (vs just a Swiss Army knife), bigger first aid kit, more than one type of fire starter, and have upgraded my space blanket to a Siltarp or convertible tarp poncho (the former for family trips, the latter when I’m hiking with friends).

The biggest wake-up call was losing people I know (through a hiking club and social media) to accidents in the mountains. The fatalities did not occur in remote locations as would be expected. In one case, snow and low visibility were the likely cause of a fatal fall. In another, the victim was cross country skiing alone and died of exposure after getting lost in the dark. Local search and rescue pages have several more examples of trips gone wrong. How can such accidents be avoided?
Disclosure: This story contains affiliate links through which I may earn a small commission at no extra cost to you. Thank you for supporting our web hosting costs!
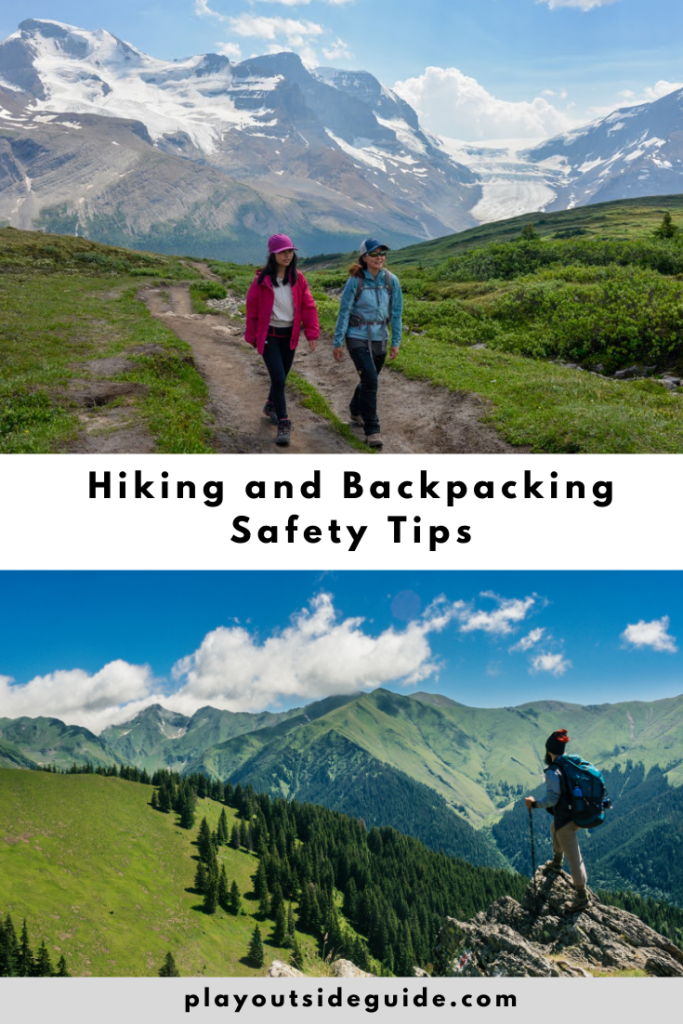
Hiking Safety Tips
While we have no control over the weather, there are several things we can do to reduce the risk of being in a survival situation:

1. Check the forecast, trail reports, and avalanche forecasts for your intended hike/ski before heading out, then bring appropriate gear (rock helmet, ice cleats/microspikes/crampons, ice axe, avalanche transceiver, probe, and shovel, etc.).
- For detailed weather forecasts including snowfall at different elevations, visit www.mountain-forecast.com.
- In Canada, check avalanche conditions at avalanche.ca.
- Park trail reports are the most reliable source of info regarding official trails. You can find out if trails are open, if there are any hazards (bridge washed out, fallen trees on the trail etc), and if the trail has avalanche danger. If the trail isn’t listed during avalanche season, that means it isn’t safe. Note: Some winter trails cross infrequent avlaanche paths, so you should check the avalanche report and avoid trails like this when the Avalanche Danger is High or Extreme (or Considerate if you are more risk-averse).
- Social media posts are a good source of current intel that includes photos. However, you should not rely on social media posts for accurate info regarding avalanche danger!
2. Research the route in advance to minimize the chance of getting lost and into dangerous terrain. This is especially important when scrambling above treeline where it’s harder to route-find, and during avalanche season.

- Remember: Going up is easier than going down. If you’re struggling on the ascent, make sure you’re comfortable downclimbing what you’re climbing!
- Check where avalanche paths are so you can avoid them.
- There is risk of rockfall near cliffs, and risk of falling ice and rock near icefalls so wear a rock helmet and be aware of your surroundings (don’t get too close to ice falls!).
3. Don’t go out alone! The ideal minimum group size is 3. If Person 1 is hurt, Person 2 can stay with him/her, and Person 3 can seek help.
4. Leave a detailed itinerary with friends/family so they know where to look in the event you get lost/injured or otherwise delayed. Include trail and parking information, destination, and anticipated return time. This can be in the form of a voicemail, text, or email (whichever your contact person is most likely to check).
- e.g. Hiking to Three Isle Lake, Kananaskis from Upper Kananaskis Lake parking lot with Jen. Expect to be done the hike by 4 pm and home by 5:30 pm.

5. Carry the 10 Essential Systems, wilderness survival gear that will keep you alive until help arrives, on EVERY trip. Every item is critical! For clean water on the trail, trust the Katadyn Vario Multi Flow Water Microfilter. A loud, pealess whistle is a light and affordable signalling device everyone should carry (attach them to your kids’ backpacks).

6. Bring a topographic map and compass/GPS and know how to use them! For Alberta’s mountain parks, I recommend the waterproof Gemtrek maps.
7. Be aware of your surroundings, pay attention to landmarks, and stay on trail/course.
- Do not travel in unknown areas after dark to avoid getting lost. If this means turning back before you reach the summit, do it.
- STOP if you think you are lost.
- Stop if visibility is low and you’re unsure if you’re heading in the right direction (heavy snow, blowing snow, thick fog), especially if you’re in dangerous terrain. Good mountaineers know to make an emergency bivouac and wait out a storm rather than carry on blindly and fall off cliffs or into crevasses.
For more tips, see this post: How To Avoid Getting Lost.
8. Look for safe creek crossings. Look for areas where the current is weak, water level isn’t too high, and use trekking poles for balance. Use extreme caution as rocks can be slippery. A friend of mine recently slipped while fishing and died from a severe head injury.
9. Take a Wilderness First Aid course, as it is has some backcountry tricks not covered in standard first aid courses like how to MacGyver a gurney, etc. If you’re more of an independent learner and have taken basic First Aid, you may wish to read NOLS Wilderness First Aid.

10. Carry a First Aid Kit and ensure it is the appropriate size for your group. When leading group hikes, I advise each participant to bring a personal first aid kit (but I carry a larger first aid kit just in case). The waterproof ultralight Adventure Medical Kit 0.5 is perfect for one person for day trips.
- Check and replenish your first aid kit on a regular basis.
- Add some Steri-strips (to hold skin together until you get stitches), a tick removal tool, and tube of Polysporin to your first aid kit.
11. Take Avalanche Skills Training and avoid all avalanche terrain when the avalanche danger is high or extreme. If you venture into avalanche terrain in winter, please read: Why You Need Avalanche Skills Training, watch the video in the post (a sobering reminder that no matter how much you know, a bad decision can kill you), then sign up for a course or educate yourself further. Avalanche.ca is a great resource – AND where you can find avalanche reports.

- Reminder: Always test your beacon/transceiver and do a beacon-finding practice before heading into the backcountry to ensure everyone in your party knows how to use their beacons.
12. Practice wilderness survival skills regularly, so you will know what to do in an emergency. The following skills are essential:
- Bear awareness: See our Bear Safety Tips for more information.
- Topographic map reading
- Taking a compass bearing
- Rigging a shelter
- Starting a fire with a flint and striker
- Treating water

13. Carry a cell phone, satellite phone, or personal locator beacon (PLB) such as the Garmin inReach Mini to contact emergency services. Many hikes in our mountain parks do not have cell phone service. Have a plan for contacting local emergency services when you’re out of range (hint: this is when it’s good to have a buddy to go for help). Carry a battery charger or extra batteries so your device works when you need it to.
Conclusion
A little preparation goes a long way to ensuring a safe and fun trip. While I’ve never been in a survival situation (due to planning, avoiding injury, and not getting too lost), I have used most items in my pack at some point, so I always carry them just in case.
What hiking safety tips would you add?
Related Posts
- The 10 Essential Systems: Wilderness Survival Gear You Must Carry
- Hiking Pack List
- Top 10 Pieces of Wilderness Survival Gear for Kids
- First Time Family Backpacking Tips
- How to Avoid Getting Lost
- Why You Need Avalanche Skills Training
