Tips for staying warm and dry when camping in the rain
No one plans on camping in the rain, but it’s bound to happen at some point, so you might as well know how to keep warm and dry! I’ll never forget the camping trip where it rained 11 out of 12 days. After hiking in the rain all day, we were so happy to come back to our cozy campsite.
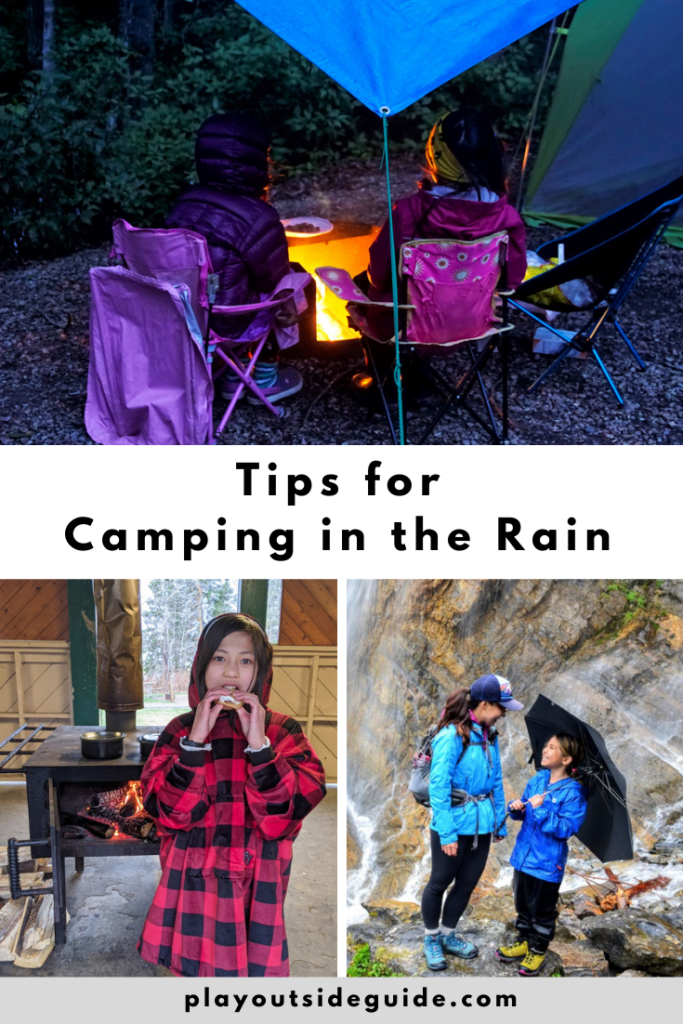
Setting up the tent properly is the most important step so you don’t wake up in a giant pool of water. Next, you need somewhere to cook and eat, so you should learn how to rig a tarp, and/or set up a bug screen shelter (we use both). Last but not least, put on an extra layer, bust out the board games, and make some hot cocoa; everyone will be too comfy to mind the weather. See details below on how to make the most of camping in the rain.
Disclosure: This story contains affiliate links through which I may earn a small commission at no extra cost to you. Thank you for supporting our website!
Table of Contents
1. Set up your tent properly
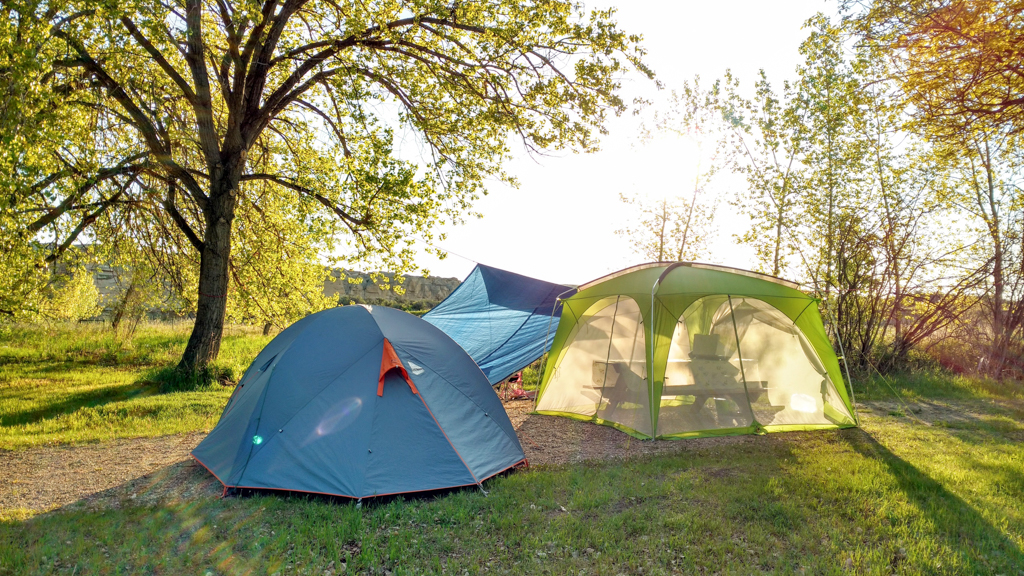
Follow the instructions for setting up your tent and try these tips to keep rain out:
- Use a footprint that is the exact length and width of your tent or water will pool underneath.
- Peg out all corners of the tent, then peg your fly out well. V-shaped tent pegs work well in rocky or soft soil, and a rock or mallet will help get the pegs in deep so they don’t come loose during wind gusts (or when rain softens the ground).
- Tighten guy lines so the fly draws water away from your tent.
- Close doors completely, but leave vents partly open to prevent condensation build-up up inside the tent.
- Keep bedding and clothes away from the edges of the tent; leaning on the tent can wick water inside.
2. Rain gear for the win
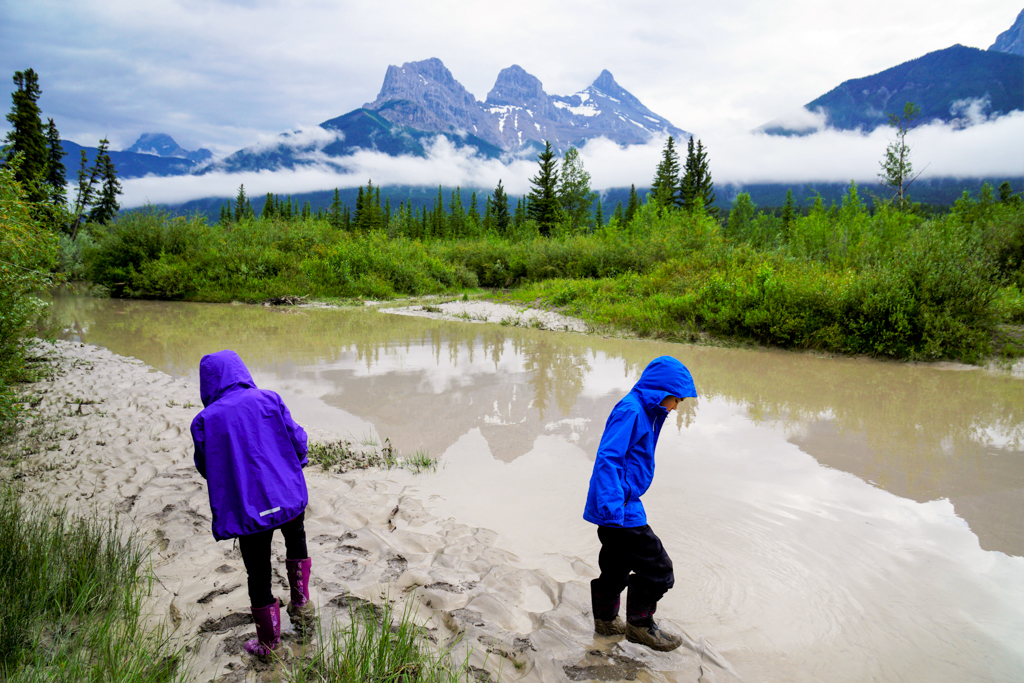
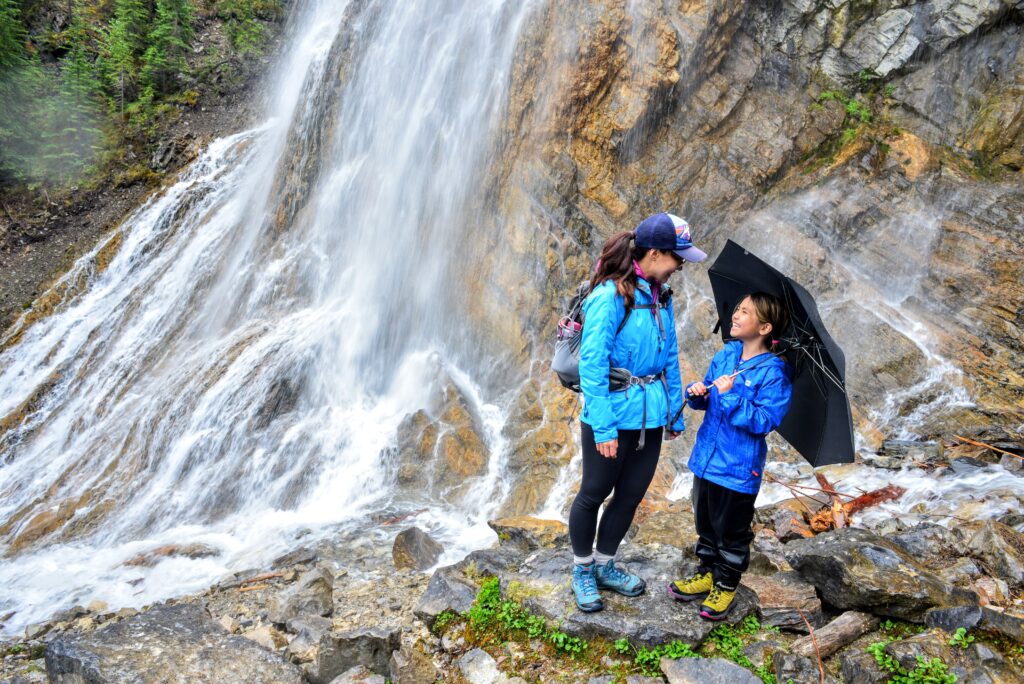
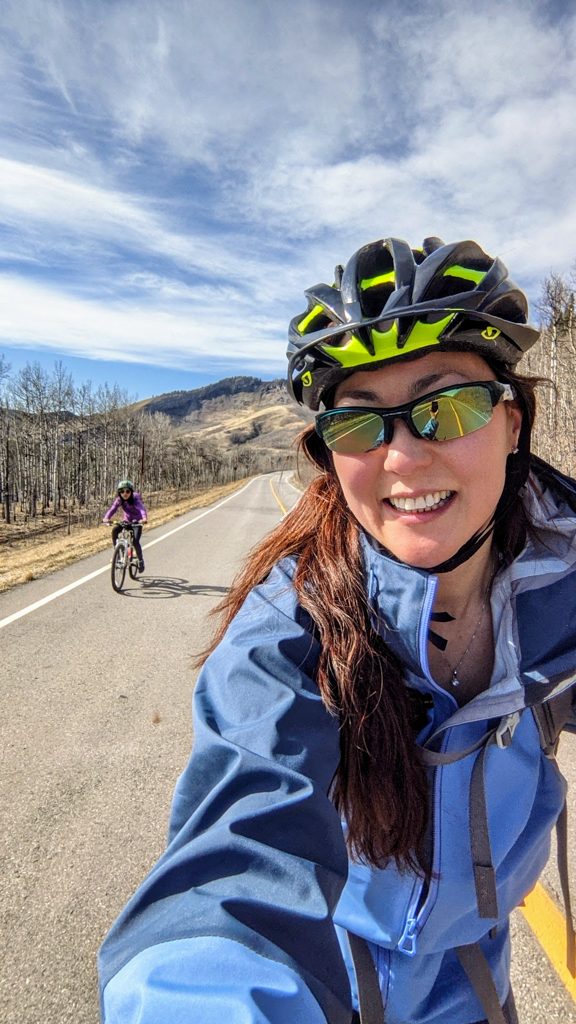
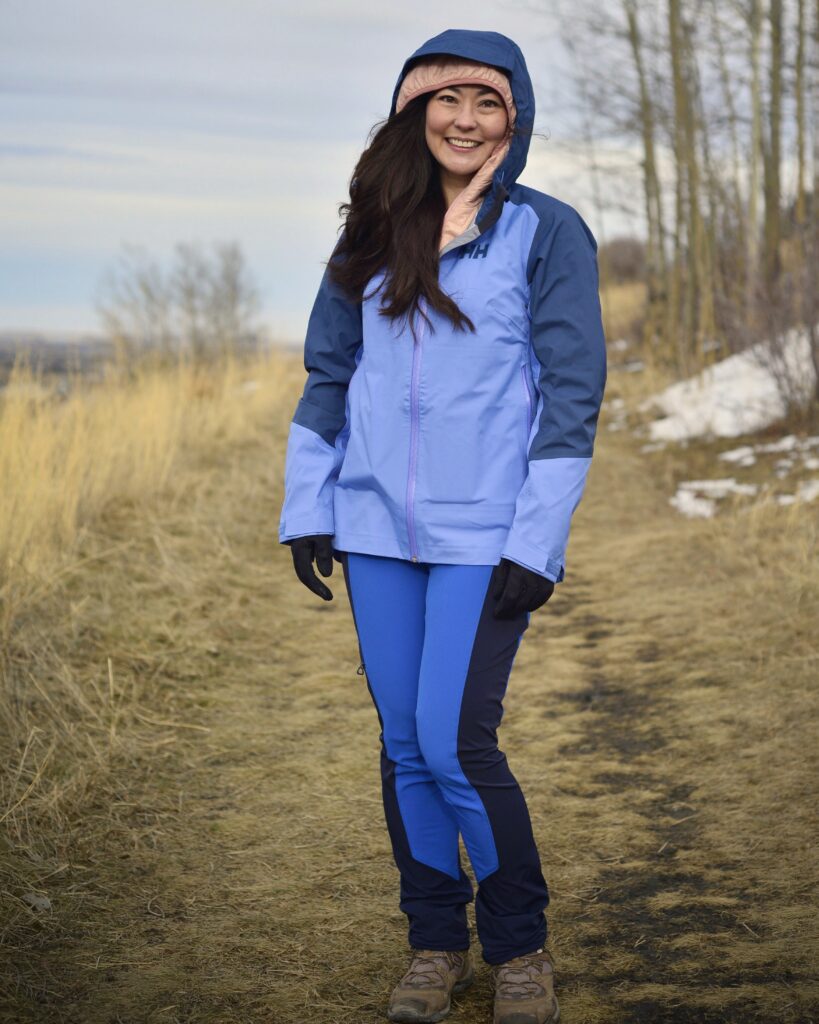
- A breathable waterproof shell is a must-have for hiking and camping. Look for a jacket with a good storm flap on the front zipper, taped seams, pit zips for ventilation/temperature control, and adjustable hood. I really like my Helly Hansen Verglas 3L shell; see our review here. My kids have the MEC Aquanator Long Jacket.
- Rain pants not only keep you dry, they keep heat in! Even if it isn’t pouring, I like to wear rain pants around camp because they keep heat in and allow me to stay dry when rain comes in the sides of our bug screen house. Side zippers make it easier to put rain pants on without removing footwear, though I recommend removing shoes/boots so you don’t get the inside of your pants wet and dirty! I have MEC Hydrofoil Stretch Pants, and my kids have the MEC Heritage Rain Pants with taped seams and 10,000 mm waterproof rating.
- Rain boots are for more than splashing in puddles! They’re super easy to take off and put on when you’re going in and out of the tent. We love these Western Chief Rubber Boots (available in solid colors and patterns) with pull-on handles.
- A Ball cap will keep rain from dripping on your face. I love my Sunday Afternoons Artist Series Trucker Cap. The kids’ version is available at MEC.
3. Rig a tarp shelter
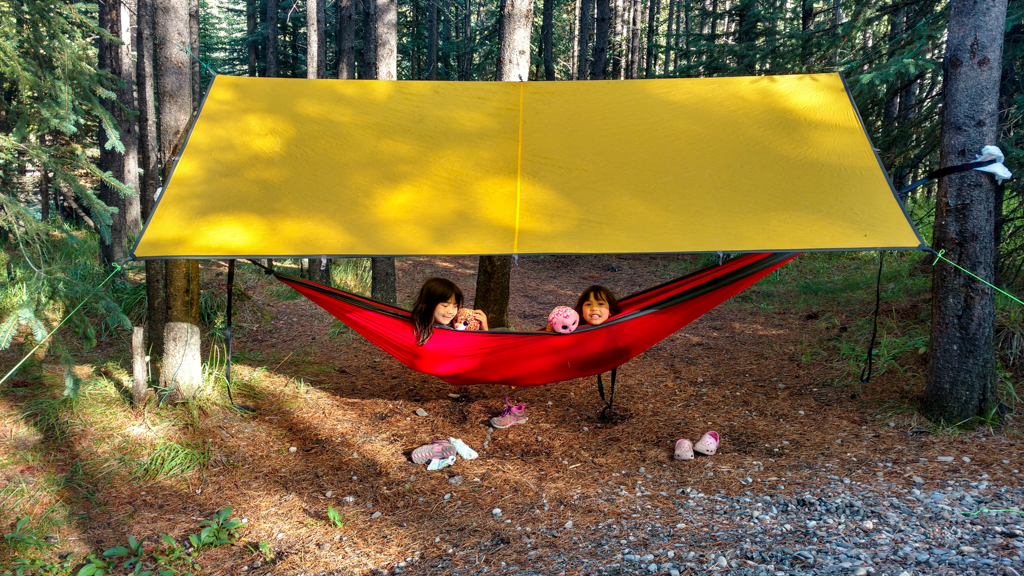
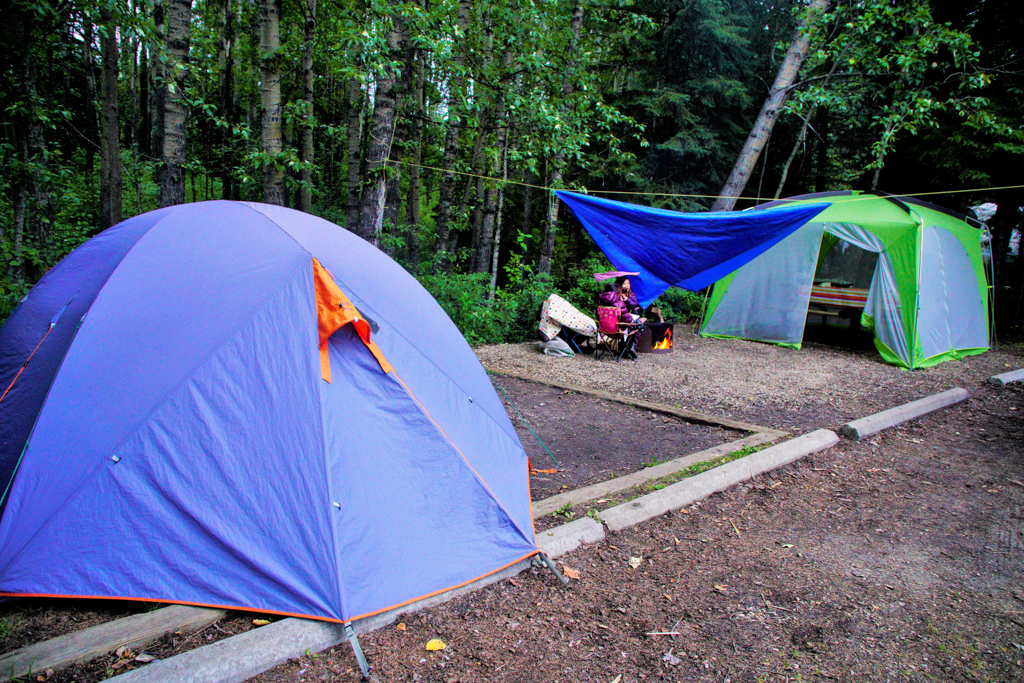
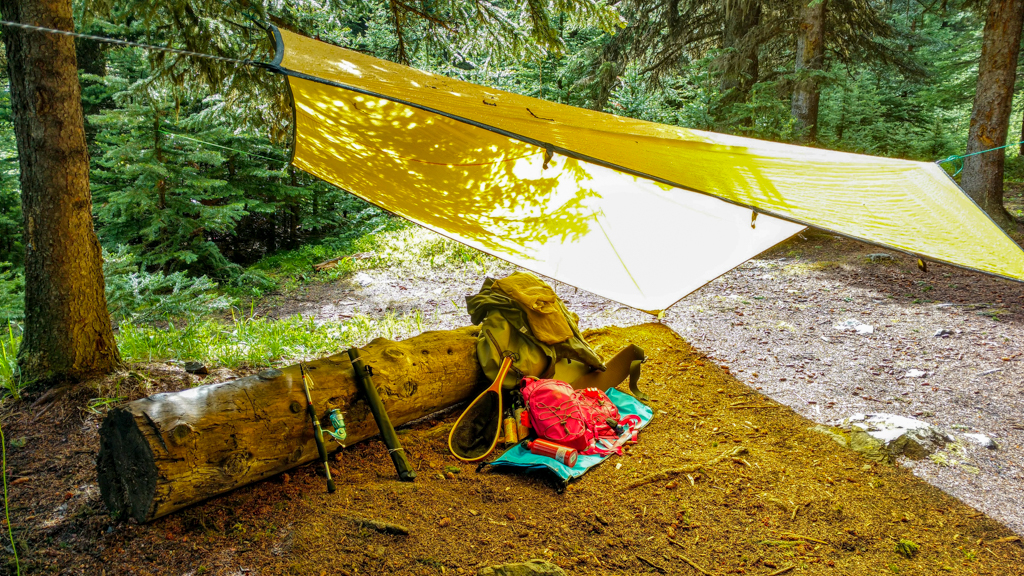
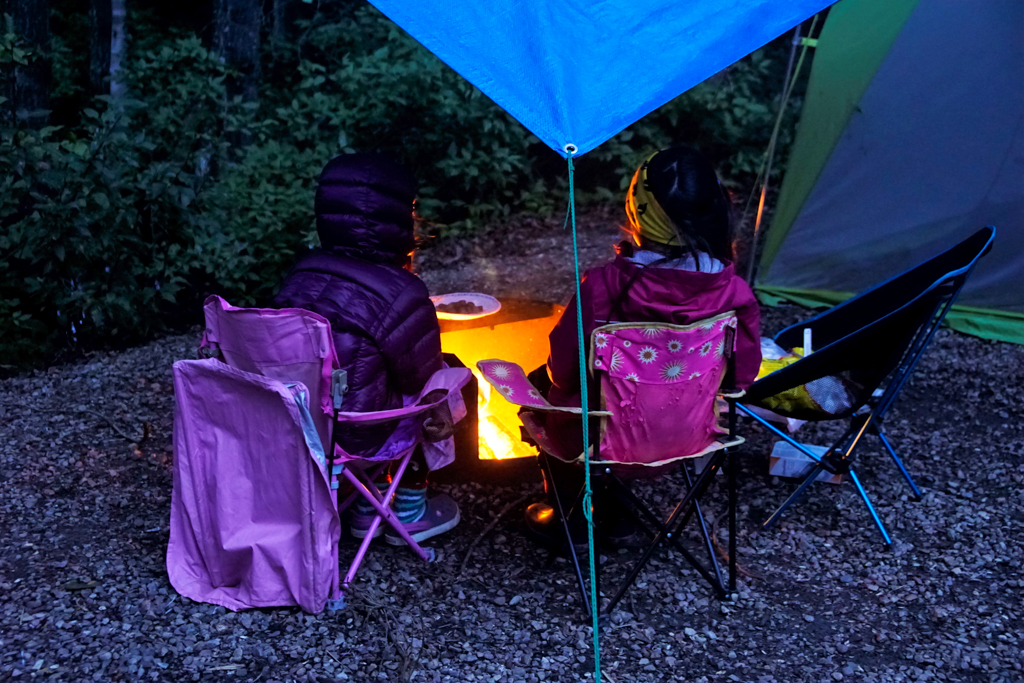
You can make an inexpensive rain shelter with a tarp and some rope. It’s worth learning a few knots* so your ropes will stay in place, but even if you don’t know fancy knots, you can make a great tarp shelter quickly. We really like this rain tarp shelter on Instructables because it only needs two trees. Tips for success:
- Set up your tarp diagonally over a “ridgeline” (rope running under the middle of the tarp) so the shelter is A-framed shape. The tarp sides don’t need to hang down that low since you aren’t sleeping in this shelter, but the middle should be higher than the sides to prevent water from pooling.
- The ridgeline should be taller than you so you don’t have to stoop down in the shelter. To get the rope higher, you can tie it around a rock and (carefully!) throw it over a branch. Another option that works well if there aren’t any branches at the right height, is to wrap the rope around the tree, then use a hiking pole or paddle to push it higher. On level ground, I just stand on my cooler. 😉 The higher the tarp, the less smoke will be trapped underneath!
- If you forgot to make loops in the ridgeline like we did, you can tie the corners of the tarp to the ridgeline with paracord.
- Secure the other two corners to the ground with guy lines & tent pegs. If you’d like the sides to be higher, you can secure them to trees (if available) or hiking poles.
*I like using taut line hitch knots to tie the rope to the tree, and bowline knots to attach rope to the tarp’s corner grommets, but there are many other options.
We have used this tarp shelter as a gear shed, tent awning, and rain shelter over the fire pit. If you put a tarp over a fire, make sure to set it up high for proper ventilation and to avoid sparks. When the rain stops, it’s easy to pull out one tent peg and flip the tarp over the rope (see 2nd photo above) until you need a rain/sun shelter again.
To cover a large area, you will need more than one tarp. For reference, a 10’x10′ will cover a picnic table with room to walk around it.
Recommended tarps from least to most expensive: 12′ x 16′ Guard Polytarp made of woven polyethylene (most affordable), MEC Scout tarp (size M is 12.8′ x 9.5′) made of 75-denier polyester ripstop, MEC Silicone Scout Tarp (Size M is 12.8′ x 9.5′) is made of silicone coated 30-denier nylon ripstop. The silicone tarp is ultralight, compact, and great for backpacking but not as durable as the Scout tent.
4. Bug screen shelter with side panels
If you have a bug screen shelter, it can double as a rain shelter, especially if your bug house comes with detachable side panels. (Although our bug house is all mesh on the sides, we stay pretty dry unless it’s pouring/windy.. hence the need for rain gear!) Look for sturdy aluminum poles, high denier polyester roof, nylon no-see-um mesh, floorless design for less cleanup, guy lines for stability, and carrying bag.
Since bug screen shelters are so large and tall (around 2 m / 85″), they are prone to breaking when it’s really windy so we don’t recommend using them when there are wind gusts in the forecast. Our MEC Hootenanny (discontinued) has survived many a thunderstorm, and even a few hailstorms, but almost broke in 50 km/hr winds so we took it down quickly. Many tents would fail in these conditions as well (which is why we prefer lower profile dome tents).
Note re size: Our 3 m x 3 m (9.8′ x 9.8′) bug screen shelter covers a standard picnic table with room to room to walk around it.
5. Hot drinks

Yucky weather calls for hot drinks to warm you up from the inside. Hot chocolate with toasted marshmallows is our favorite! My kids like Carnation Hot Chocolate, and I love this dairy free, gluten free Double Chocolate Cocoa from Castle Kitchen.
6. Have a fire!
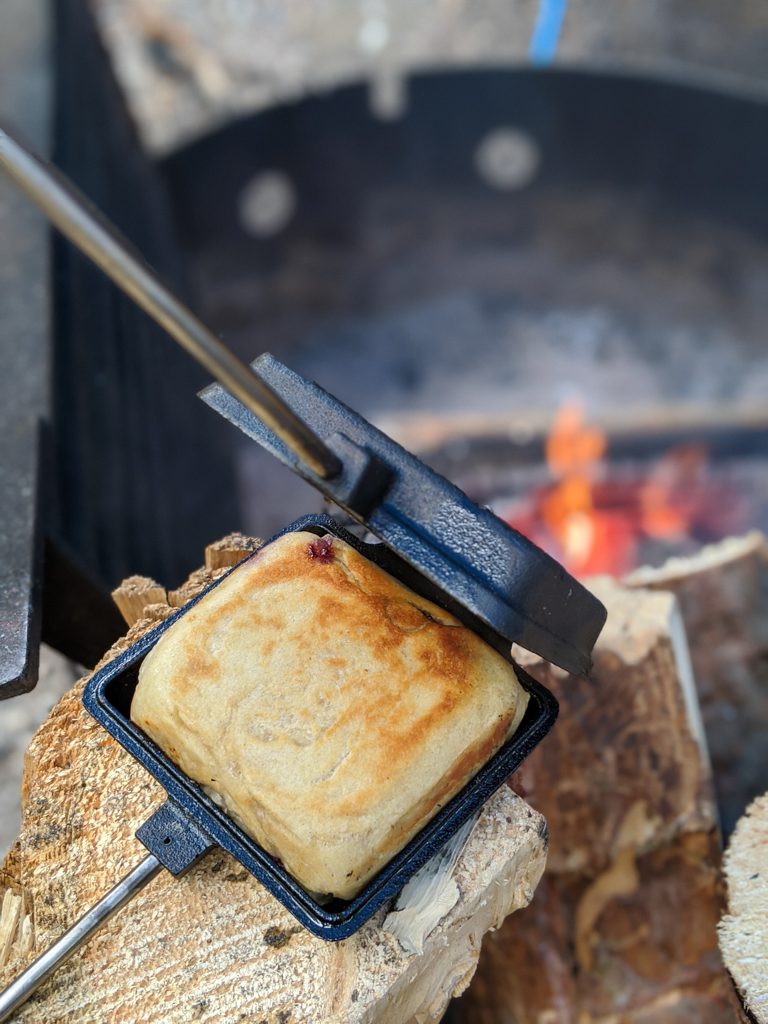
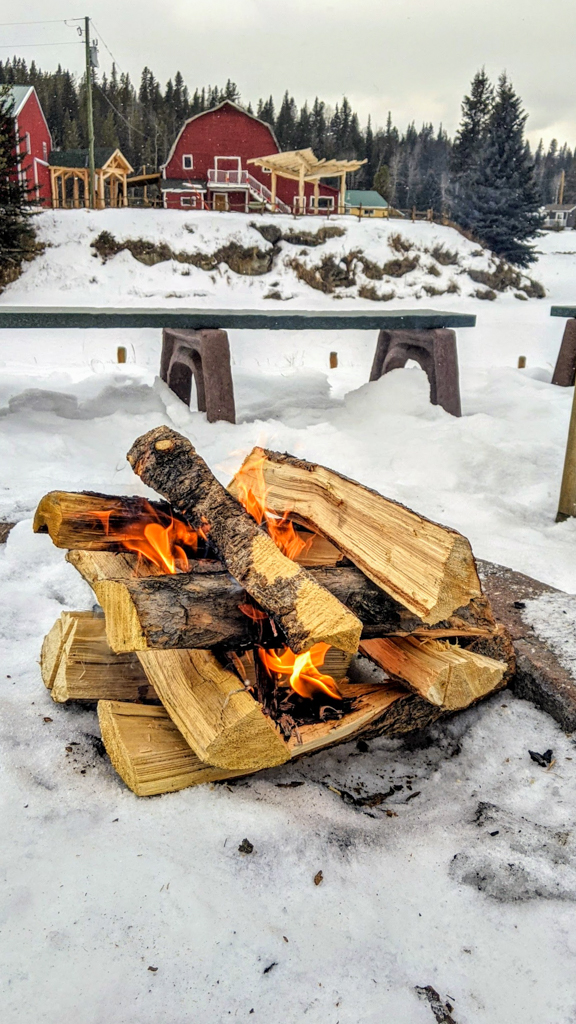
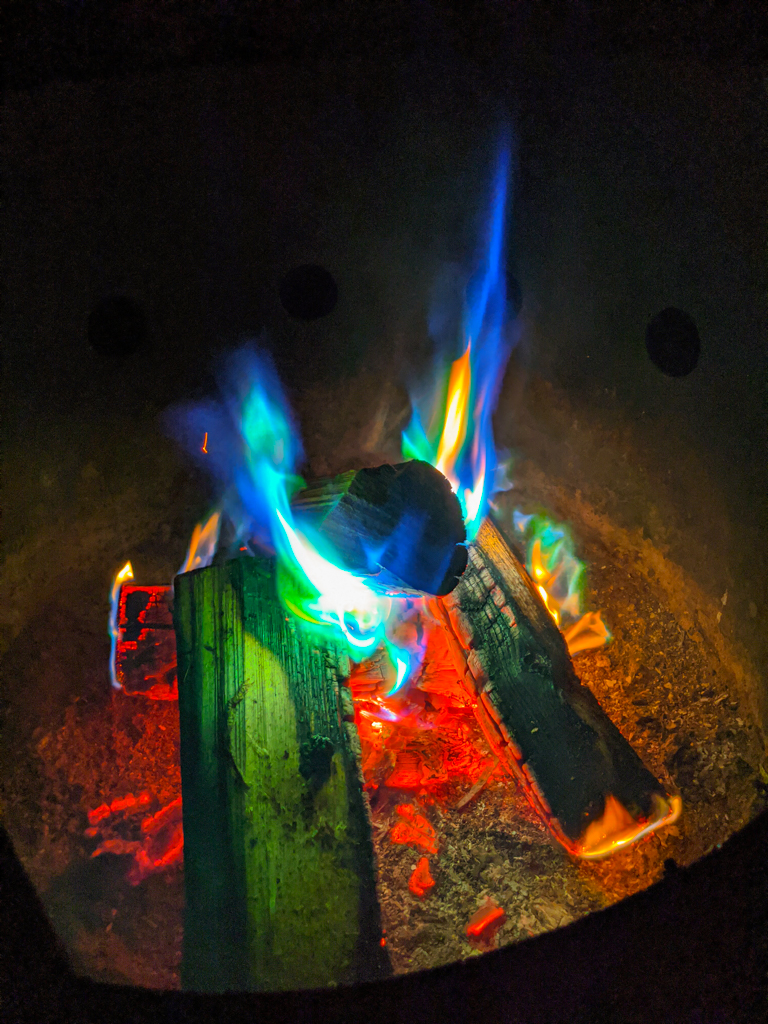
Just because it’s raining doesn’t mean you can’t have a fire! All you need is an axe, firewood, good fire starters & lighter/matches, and a tarp shelter. Here’s how to make a fire in the rain:
- Make a tarp shelter (see #3 above for details)
- Chop some kindling
- Split firewood so you have a dry side to burn
- Put split wood around the fire pit to dry it out (we lean it on the fire pit)
- Set up a “log cabin” in the fire pit and put two Zip fire starters in the centre. The log cabin works set up works well if the fire pit is wet and Zip fire starters work on damp firewood.
- Light the firestarters, and keep feeding the fire with small pieces of wood (make a teepee of kindling in the middle) until the bigger pieces start to burn.
Enjoy some smokies and s’mores (we love these extendible roasting sticks), or pie iron baked goodies. When you’re done cooking, add 1-2 packages of Magical Flames to the fire for colorful flames!
7. Bundle up and get comfy
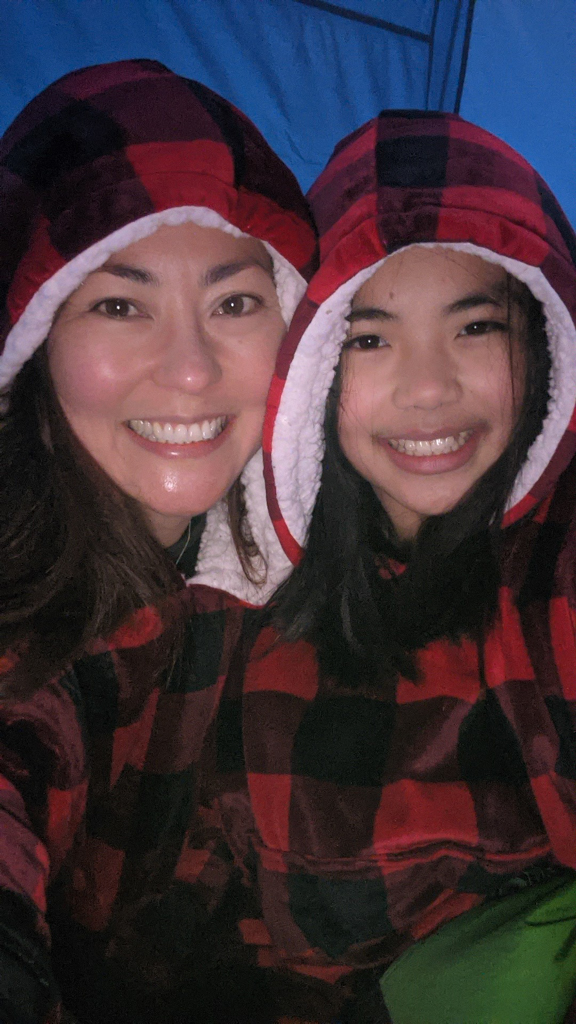
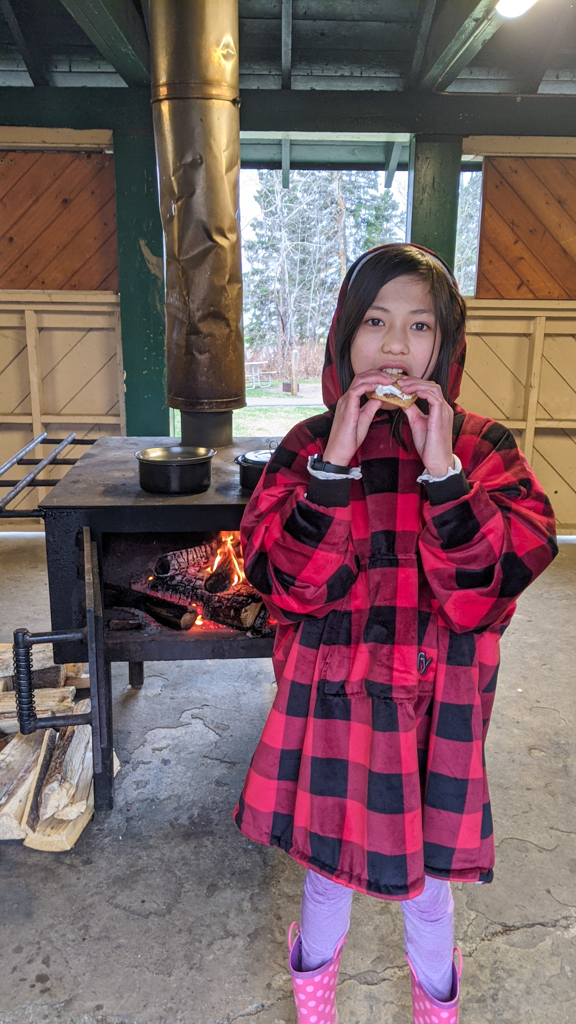
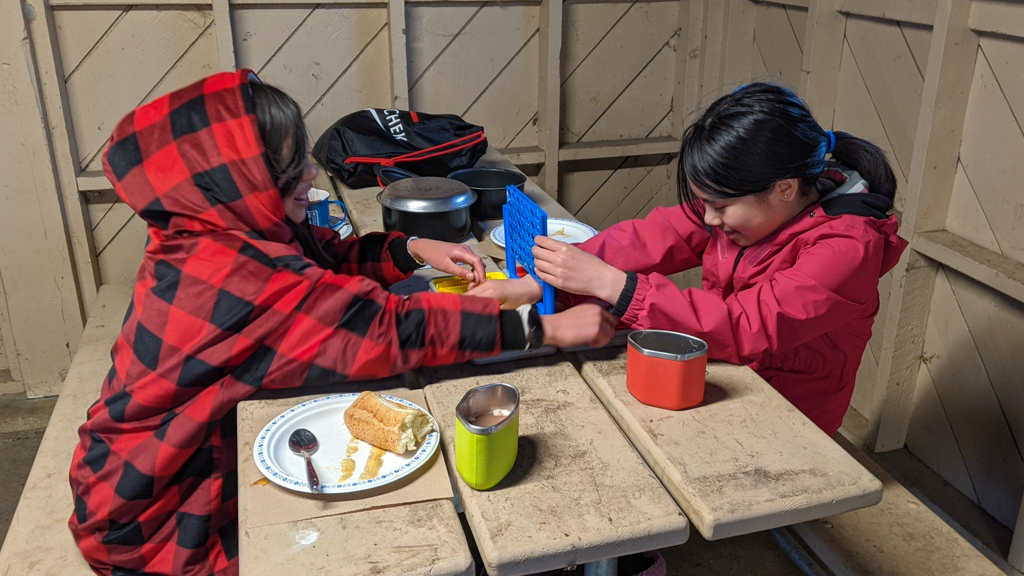
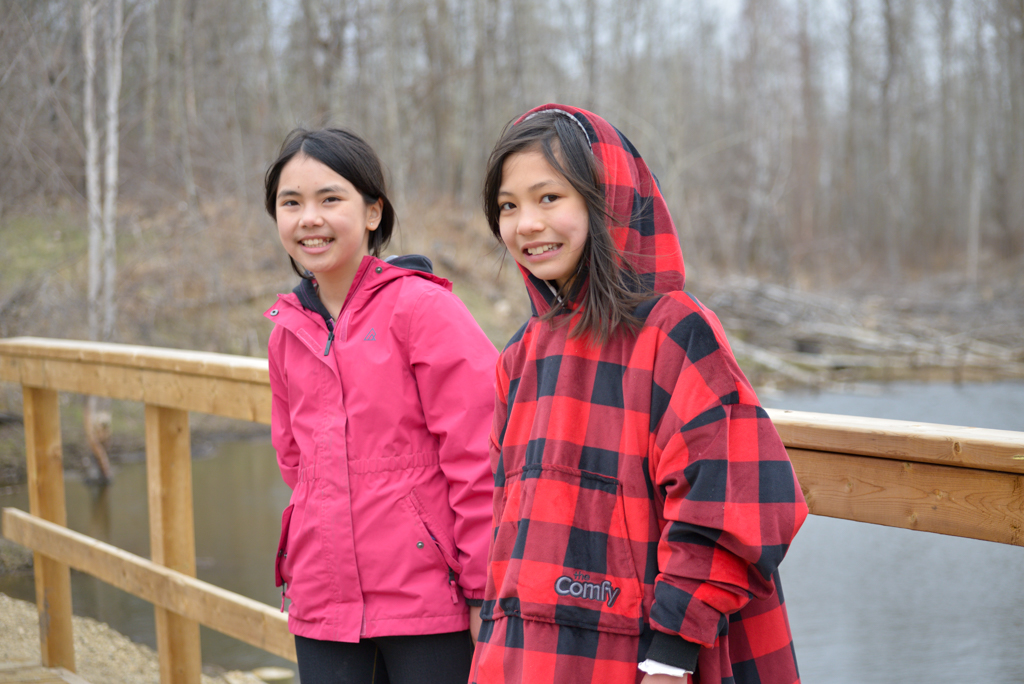
When you’ve had enough of wind and rain, and it’s time to retreat to your tent (or picnic shelter if they’re open), add a few creature comforts to make it extra cozy:
- Put on The Comfy, a soft, wearable blanket with room to pull your legs up under it if you’re sitting on your sleeping bag (or on the couch – we use ours at home too!). The Comfy Original available in adult and kids size is lined with thick sherpa fleece and is great for cold nights. The Comfy Dream is a mid weight fleece for milder temperatures. Both styles of The Comfy are available in a variety of colors and patterns on Amazon (Canada) and thecomfy.com (US).
- Hang a color-changing lantern like the Luci Light Color Essence Lantern, a cool, solar powered inflatable lantern. Pop it in a sunny window by day to charge (I deflate it and put it on my dash to charge), and enjoy white or colorful lights by night. Available from All Out Kids (a family-run Alberta store) and Amazon.
- Put up some battery-powered LED twinkle lights.
- Tell some ghost stories.. if you dare! Scary Stories to Tell in the Dark has some good ones.
- Bust out the card games. For family fun, we like Exploding Kittens and What Do You Meme Family Edition. For teenagers and adults, try Cards Against Humanity or What Do You Meme. Since these are card games, you don’t have to worry about finding small game pieces in your sleeping bag. 😉
What are your favorite things to do on a rainy camping trip? Let me know in the comments below!
More camping stories
- The ULTIMATE Camping Pack List
- How to choose a tent
- How to choose a sleeping bag, sleeping pad/cot, and baby camping bedding
- 5 Pieces of gear that make camping better


