The Ten Essential Systems (10 essentials) are critical pieces of wilderness survival gear that every outdoor enthusiast should carry on every trip. They’re basically everything you need to deal with a minor emergency, or survive in the wilderness for at least one night. When would such a need arise? When you get lost or injured, or are detoured/delayed due to inclement weather (snowstorm, thick fog) or a natural disaster (mud slide, avalanche, flash flood, wildfire). Here are the essentials that stay in our packs year round and give us peace of mind.
Table of Contents
What are The Ten Essential Systems?
Formerly known as The Ten Essentials, there are now Ten Essential Systems to cover your basic needs. While I’ve tried to stay true to the original systems, please note that I have combined Insulation and Sun Protection in order to include signalling devices. You have a much better chance of being rescued if you can let others know where you are! I’ve also added bear spray to the list since bears are in all the mountain parks (and many non-mountain parks).
For more details on the original Ten Essential Systems developed by The Mountaineers, a Seattle-based organization founded in 1906, please see Mountaineering, The Freedom of the Hills.
Disclosure: This post contains affiliate links through which I may earn a commission at no extra cost to you. Thank you for supporting our small family business!
Know Before You Go: Practice Makes Perfect
The Ten Essential Systems are only useful if you know how to use them! Read instruction manuals, watch Youtube videos, or take a survival course so you know how to use every piece of gear (or improvise with materials from nature) in the event of an emergency. We also highly recommend Wilderness First Aid and Avalanche Skills Training for all mountain adventurers.
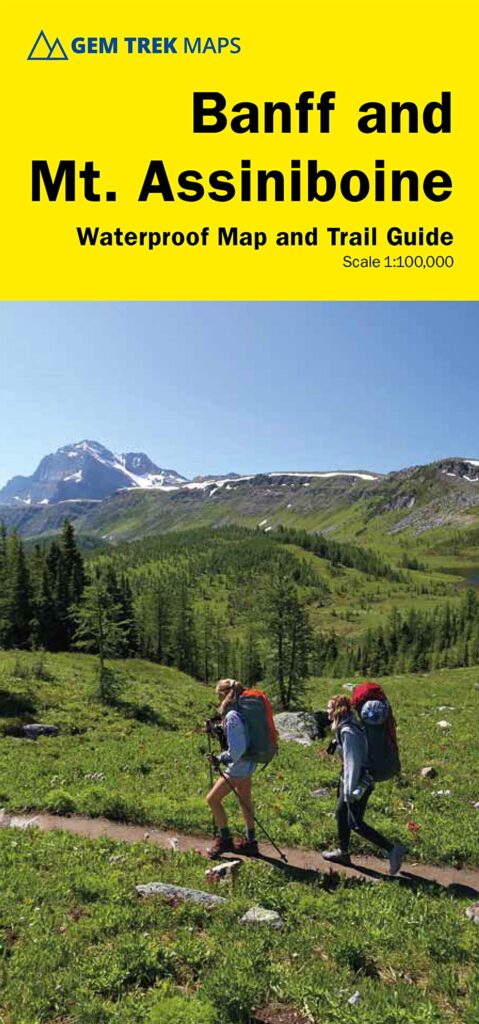
For navigating, a topographic map & GPS/compass (plus extra batteries for the GPS) are essential, but only useful if you know how to use them. Practice frequently in familiar territory. Copies of route descriptions from guidebooks (photocopied and placed in a Ziploc bag) are good to have also.
- Recommended topo maps: Gem Trek waterproof maps. If your map isn’t waterproof, keep it in a Ziploc bag.
- Recommended compass: Suunto A-10 or Suunto MCB NH Compass. Call me old school (I studied Geography), but I prefer a compass to a GPS as it doesn’t rely on batteries (and is a lot smaller and lighter!). The sighting mirror on the Suunto MCB NH can be used for signalling too!
- Recommended hiking books: Kananaskis Country Trail Guide, Take a Hike With Your Children in the Rockies, Scrambles in the Canadian Rockies, Wilderness Navigation: Finding Your Way Using Map, Compass, Altimeter and GPS, Rich Johnson’s Guide to Wilderness Survival
- Recommended blog post: How to Avoid Getting Lost
2. Hydration
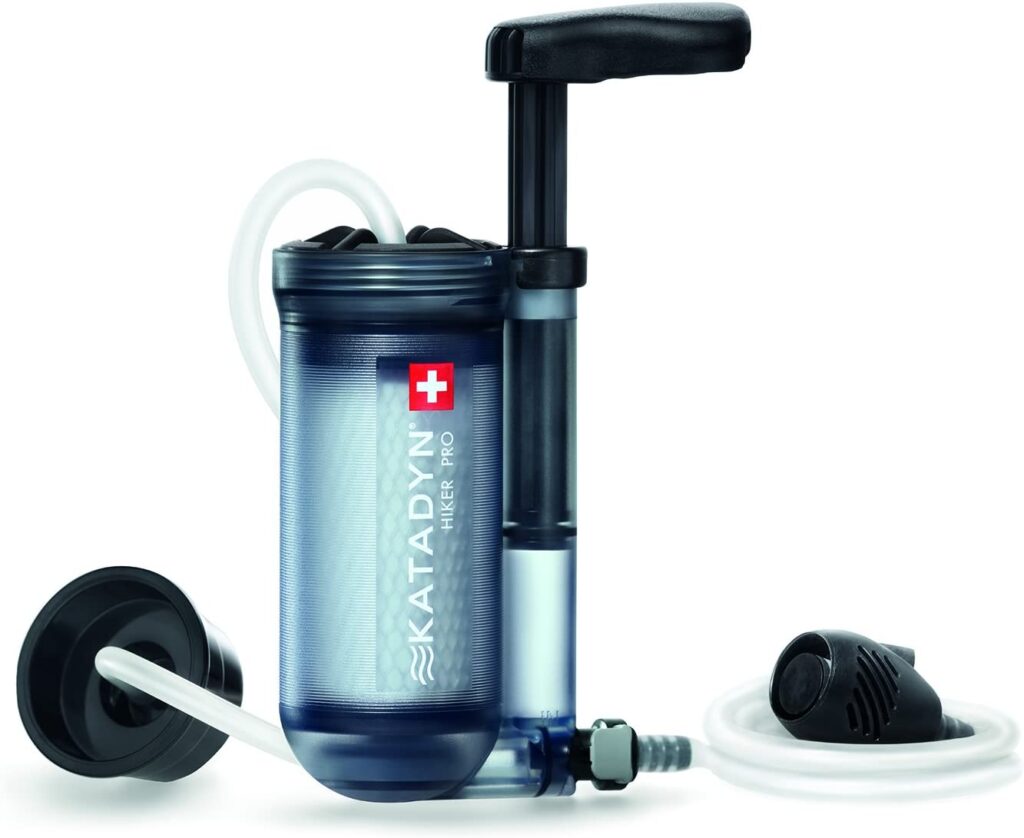
Water is critical for survival, so be sure to carry a water bottle/hydration pack filled with at least 2 L of water, as well as a water filter, purifier, or water purification tablets/drops to treat more water on the go.
- Recommended water filters/purifiers: Katadyn Hiker Pro Water Filter (super lightweight), Steripen UV Water Purifier (small and compact but not as effective with cloudy water), LifeStraw Personal Water Filter (for emergency use – light enough to put one in each of your kids’ packs).
- Recommended water containers: Gregory 2L hydration pack, HydroFlask 32 oz Trail water bottle (25% lighter than the regular bottles), Nalgene Wide Mouth 1 L Bottle.
- Special Note Re Cold Weather: When it’s around/below freezing, I bring a hot drink in a Hydroflask Coffee Bottle or pack my ultralight backpacking stove, so we can melt snow for hot drinks. Don’t forget a pot, cups, and cocoa!
3. First Aid, Medications, & Insect Repellent
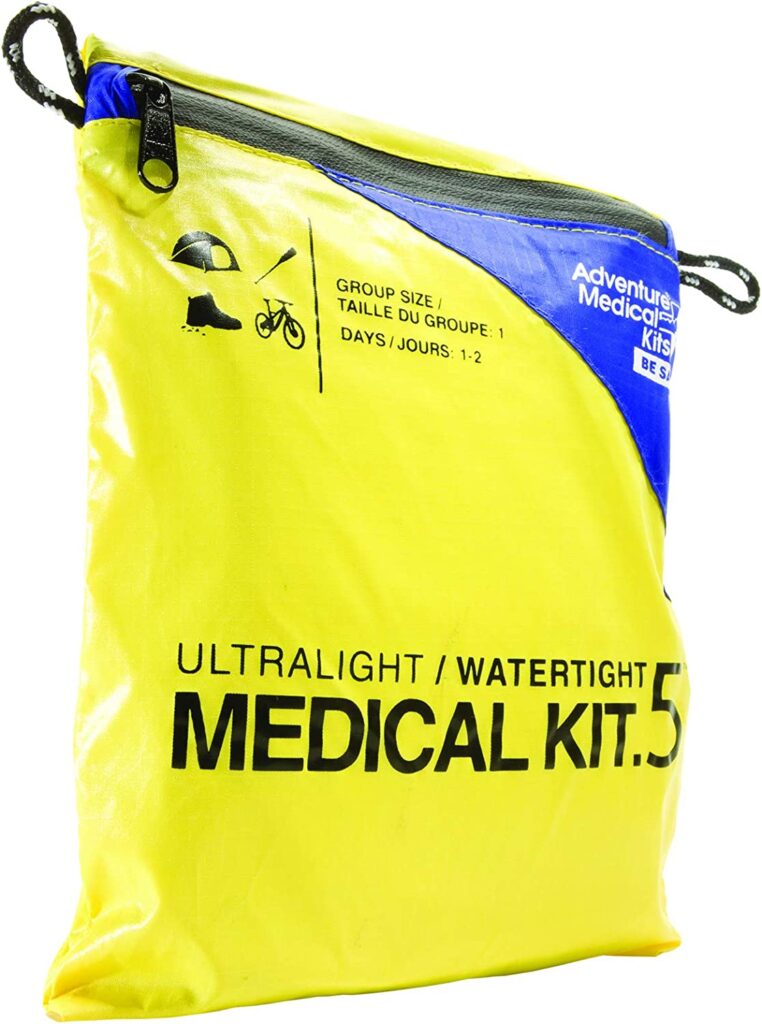
Keep all first aid supplies in a waterproof bag with any medications you use (inhaler, epipen). I recommend adding the following items to your first aid kit if not included: Benadryl, Advil/Tylenol, pointy tweezers, Polysporin ointment or Polysporin To Go Spray (contains topical anesthetic to dull the pain; great for kids!).
- Recommended first aid kits: We have Adventure Medical Kits in various sizes. 0.5 is good for solo day trips; get the 0.7 or 0.9 for multi-day/multi-person trips. All items are packed in high quality zipper sealed bags and the ultralight silnylon bag is waterproof and durable thanks to ripstop fabric.
- Recommended insect repellents: Ben’s Tick Repellent and PiActive DEET Free Insect Repellent contain 20% picaridin which repels mosquitoes and ticks, is safe for children, and does not dissolve synthetic clothes like DEET.
- Recommended reading: Which Tick Repellents to Use and How to Use Them.
4. Insulation & Sun Protection
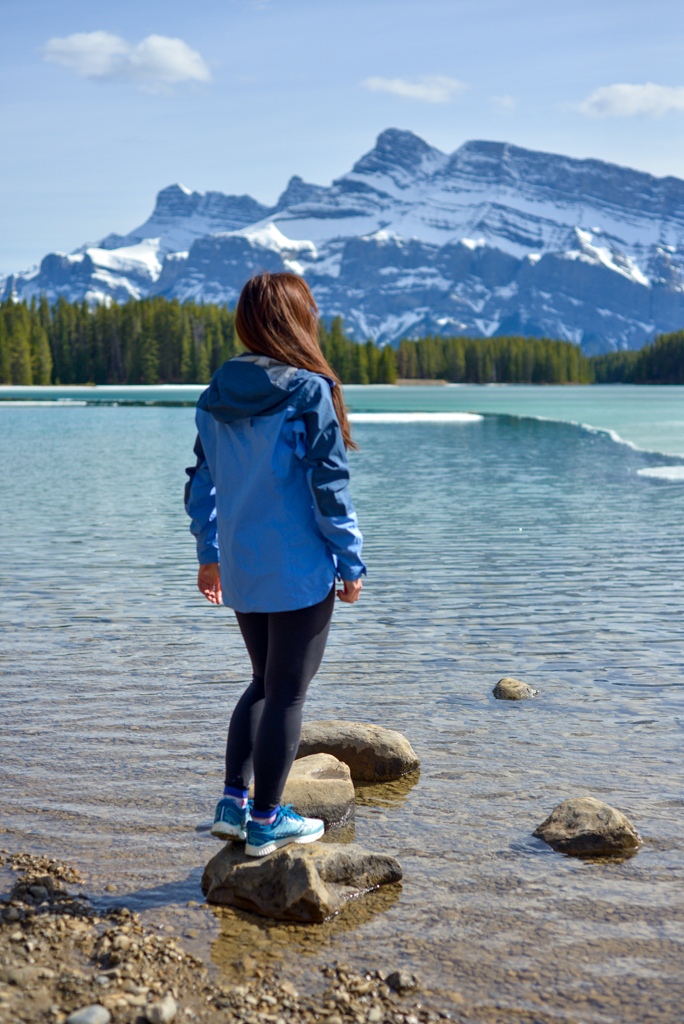
Mountain adventures call for at least one insulated layer and one waterproof-breathable layer, insulated gloves, a hat, and mesh headnet to protect against biting insects. A toque (beanie) that covers your ears is great for cold weather or breezy summits, and in winter, I strongly recommend mittens and hand warmer and foot warmer packets. For sun protection, wear long, lightweight, breathable layers (pants, not shorts), a hat, sunglasses, and mineral sunscreen for broad spectrum UV protection.
Choosing an insulated layer: Down is warmer and more compressible than synthetic fill, but synthetic fill is more affordable. Hoodies are great to keep in heat (especially if it’s summer and you didn’t bring a toque), but they can be annoying to layer. Some options to consider:
- Helly Hansen Lifaloft Hooded Insulator Jacket: 80 g synthetic fill, windproof, water resistant, available in Men’s and Women’s. Nice mid/outer layer for milder weather.
- MEC Boundary Light Down Jacket: 700 fill-power duck down is warm enough to use year round, water repellent shell, hoodless, available in Men’s and Women’s.
- Patagonia Down Sweater: 800 fill-power down is warm enough to use year round but still lightweight, DWR (water resistant) shell, available with/without hood in men’s and women’s
Choosing an outer layer: Get something durable, waterproof (20,000 mm), and breathable with a fitted hood and pit zips for ventilation. We recommend the following:
- Helly Hansen Verglas 3L Shell Jacket: With PFC-free waterproofing, breathable, windproof, helmet-compatible hood, and vents, this is the perfect shell jacket. I have been using mine year round for a few years and it’s still good as new. The slightly longer length provides more rain and wind protection. Available in various colors for men and women.
- Arc’teryx Beta LT Jacket: This waterproof, breathable Goretex shell is durable, and has articulated construction for ease of movement, pit zips, and an adjustable hood. Like the HH Verglas, the slightly longer length provides more rain and wind protection. Available in Men’s and Women’s.
For more tips and product recommendations, please see Fall Hiking Gear Guide, Keeping Warm in Spring/Fall, The Best Winter Gear for Kids, and Stay warm and dry on the trails with Helly Hansen.
5. Emergency Shelter
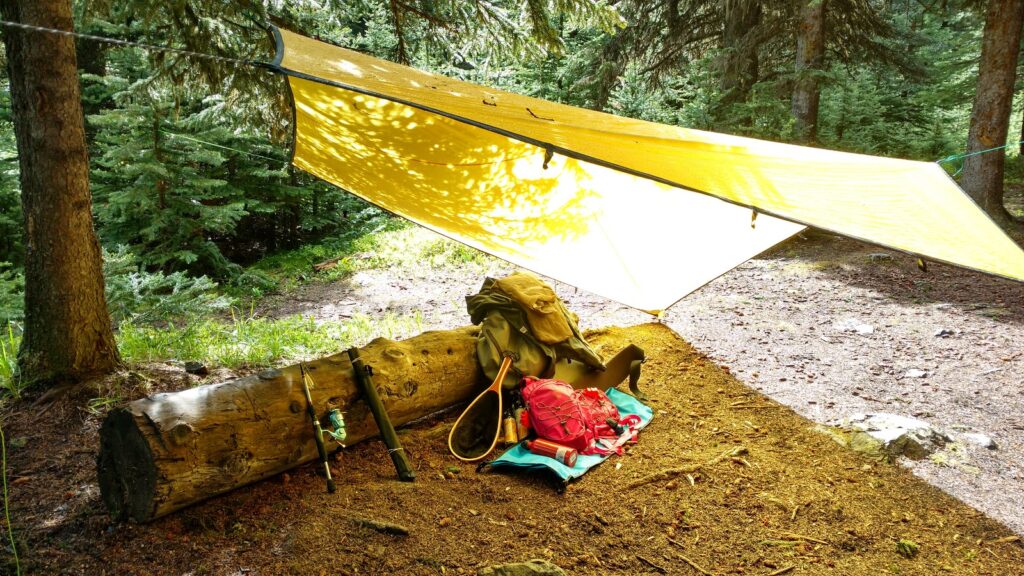
Our #1 emergency shelter is made from a silicone-nylon tarp (lightweight silicone impregnated tarp), paracord, and trekking poles, but other options include a convertible tarp poncho, bivy sack, space blanket, plastic tarp, and orange garbage bag (orange for visibility). While we’ve never had to camp under the tarp, it has come in handy as a sun/rain shelter and gear shed at camp!
Practice building a tarp shelter in your yard or a park before you hit the trail so you can set up in the dark, wind, or bad weather.
6. Signalling Devices
A whistle, mirror, and headlamp are the basic signalling devices that everyone should carry. You can signal SOS (Save Our Souls) with 3 blasts on your whistle. To signal distress with your mirror/headlamp, make 3 short flashes, 3 long flashes, then 3 short flashes. Use your mirror during the day and headlamp at night. You can purchase a signaling mirror, or use the sighting mirror on your compass (my preference so I don’t have to carry multiple items).
- Recommended whistles: A high quality, pealess marine whistle like the Storm All Weather Safety Whistle (“the loudest whistle in the world”), Ultimate Survival Technologies Jetscream Floating Whistle (super small but 122 decibels), or Fox 40 Classic Whistle (affordable and effective, 115 decibels).
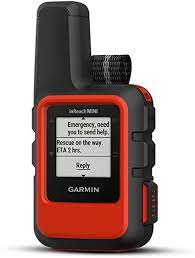
If you can afford it, a Personal Locator Beacon (PLB) such as the Garmin inReach is an excellent tool that allows you to send messages with your location to check in with family or request assistance (monthly service plan is requried). Other options are cell phones and satellite phones but cell phones are not of much use once you’re out of range.
7. Fire Making Kit
I strongly recommend carrying more than one fire ignitor and some fire starters in a watertight container so you can get a fire going in case of emergency (best practice is one on you and at least one in your pack). After our canoe capsized, we lost our stove, but still had our fire making kit, so we could warm up and dry off. A fire not only keeps you warm and provides a sense of well-being, it can also be used to signal for help (3 fires in a triangle is a universal distress signal)!
- Recommended fire ignitors: UCO Stormproof Matches, butane lighter
- Recommended fire starters: ZIP Firestarters (they burn up to 15 minutes and even get wet wood burning!)
8. Illumination
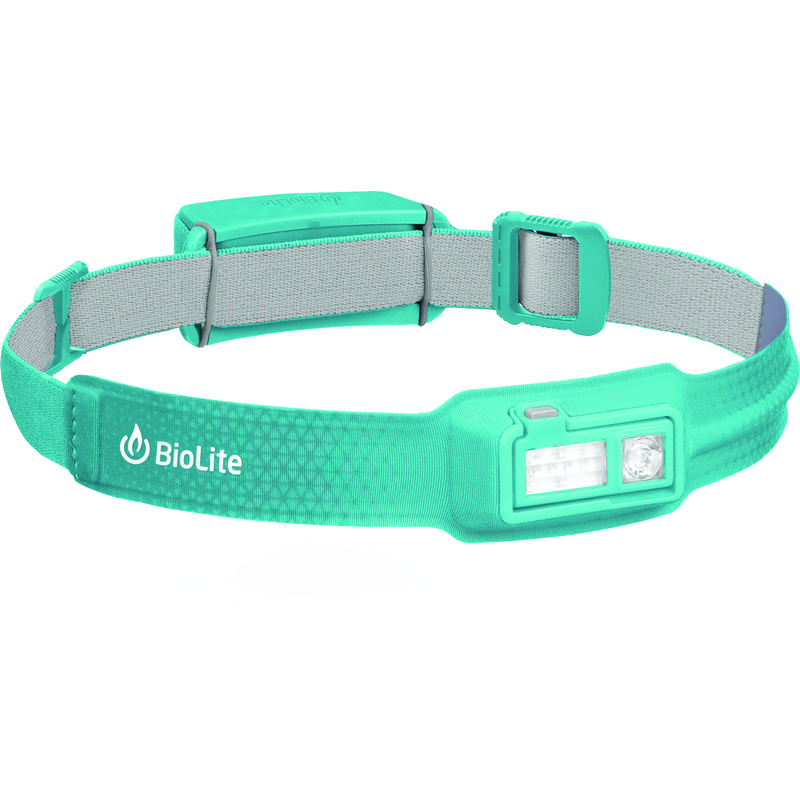
An LED headlamp and spare batteries should be in your pack at all times. Check the batteries frequently and replace as needed. For backcountry camping, a lantern is nice to have in the tent.
- Recommended headlamp: Biolite 330 Lumen No-Bounce Rechargeable Headlamp
- Packable solar-powered lantern: The MPOWERD Luci Lux: Solar Inflatable Lantern comes on every backcountry camping trip with us. It is inflatable so it’s super compact when deflated, and doesn’t need batteries because it’s solar powered!
9. Nutrition
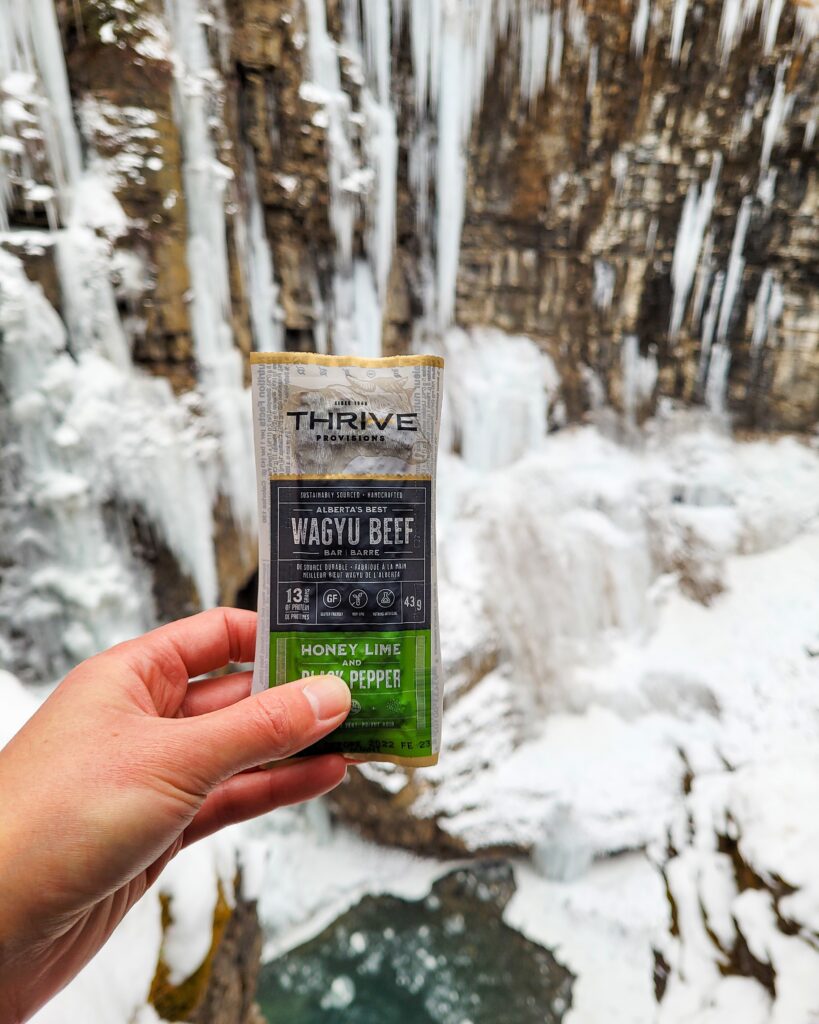
Always bring several extra nonperishable snacks in case you are delayed. While it’s possible to survive for weeks without food, it’s hard to stay positive when you’re hangry. Calorie dense foods like protein/energy bars, chocolate bars, and beef jerky keep well and provide a lot of energy for their size. *Pack enough calories for at least 1 day.*
- Recommended non-perishable snacks: Thrive Provisions Waygu Beef Bars (Tasty, keto-friendly, gluten-free bars made with Alberta beef. Get 25% off at Thrive Provisions with our exclusive coupon code: playoutsidegalVIP), Rx Bars (nuts, egg whites, cocoa, and sea salt), Lara Bars (date and nut bars), Cliff Bars, trail mix, beef jerky (Longview Jerky Shop has the best IMO), dried fruit, and chocolate.
10. Repair Kit & Tools
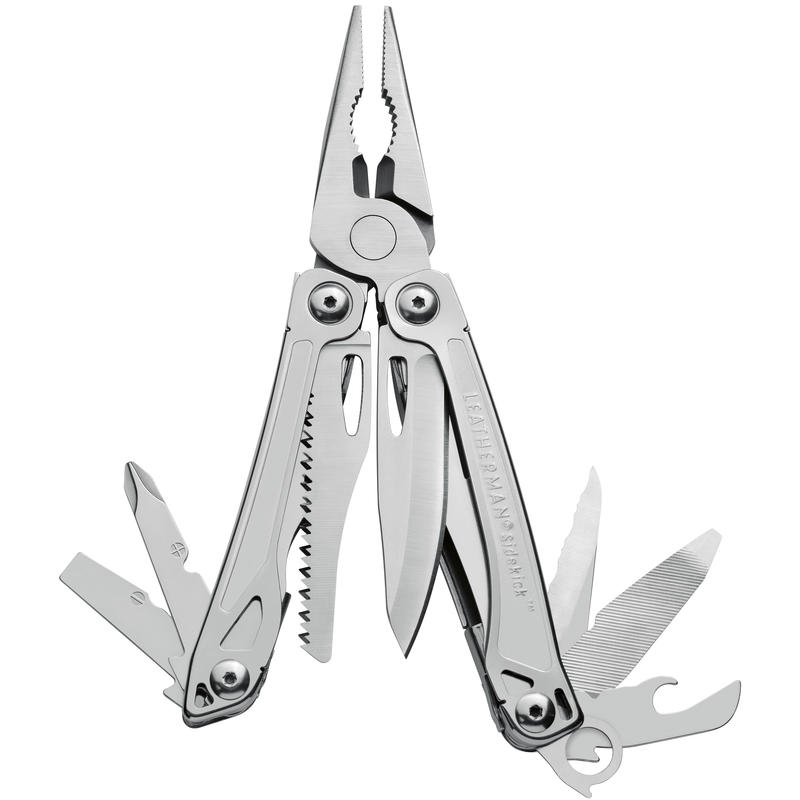
Always carry a knife, several metres of paracord (for rigging a shelter, making a gurney, tourniquet etc), duct tape, and zip ties. A multi-tool or Swiss army knife is handy, and an ice axe is a must for glacier/snow travel.
- Tip: Make paracord into a paracord bracelet or tie it onto your knife handle for easy transport.
Bonus: Bear Spray
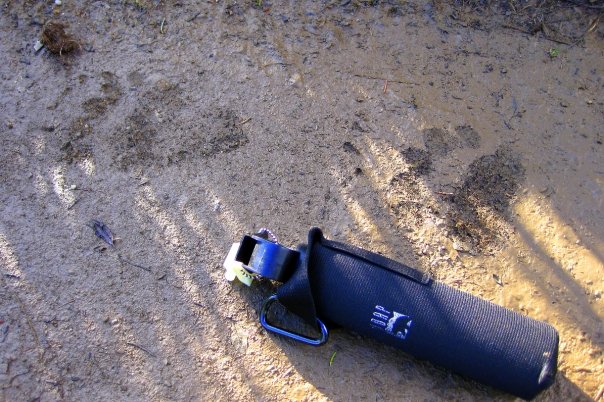
Throughout most of Alberta, bear spray is a must, but there are many precautions you can take that will minimize the chance of ever needing to use the spray. For more information, please read 10 Bear Safety Tips for Hikers and Backpackers.
Storing Your Gear
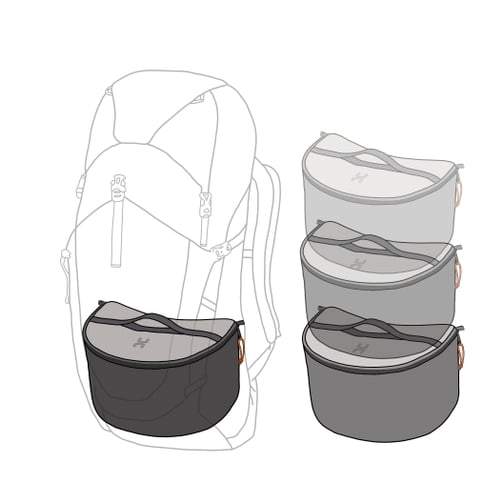
I have a system for the systems with food in one stuff sack, extra clothes in a waterproof stuff sack, and survival gear in a large Ziploc bag for visibility. My camera gear goes in a waterproof backpack-shaped packing cube. Compartmentalizing makes it easy to transfer items if you frequently change packs (I use a 60L for family adventures and a 33-40L pack for kid-free trips) and ensures nothing important gets left behind.
- Recommended stuff sacks: Sea to Summit Lightweight Dry Bag
- Recommended stacking “cubes”: Hillsound PackStack™ and Hillsound PackStack™ PRO packing “cubes” are half-moon shaped so they fit in your 40-60L backpack perfectly. Choose from Tall (17 cm high) or Short (10 cm high). The PRO version is waterproof, so I use it to hold photography gear.
Recommended Backpack
I recommend a 30 L – 40 L backpack for hiking, so you can bring extra layers and emergency gear. My summer backpack is the 33 L Osprey Talon and my winter backpack is a Lowe Alpine 33L pack that expands to 40L (so I have room for extra layers).
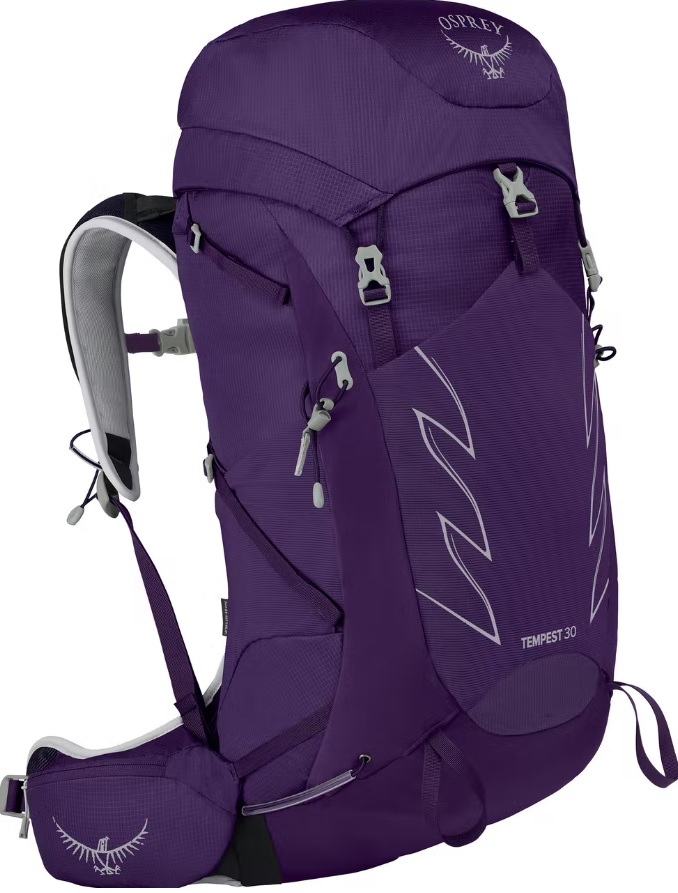
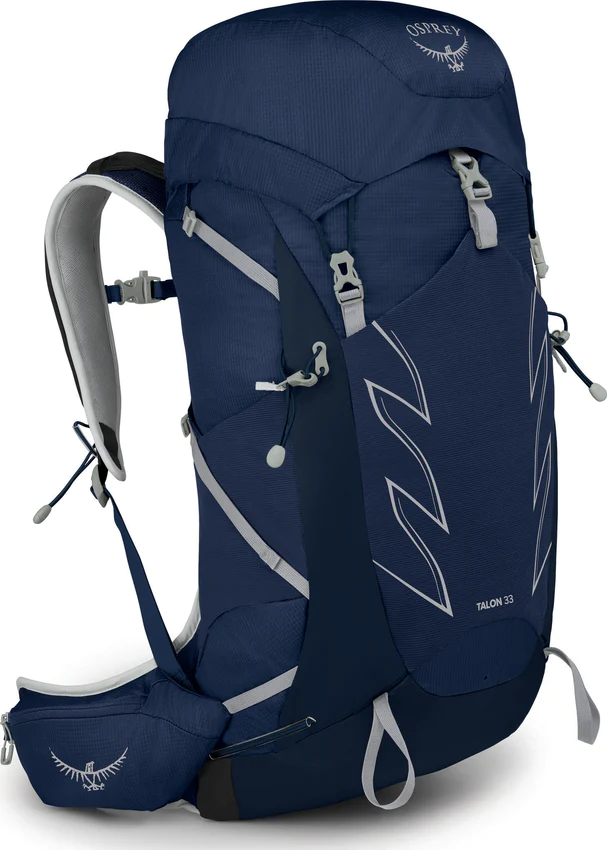
- The Osprey Tempest 30 L (Women’s) Backpack and Osprey Talon 33 L (Unisex) Backpack share the following features: comfortable straps and hip belt, ventilated back, stow-on-the go trekking pole attachments, stretchy pockets so you can stash/retrieve gear on the go (nice to stash a toque and gloves in the big pocket), 3L hydration pack compartment (hydration pack not included), lightweight. Made with bluesign®-approved recycled 100Dx210D wave check high-tenacity nylon, and treated with PFC-free DWR.
- What’s the difference between the unisex pack and women’s pack? The women’s pack has a women’s-specific design featuring “a shorter torso length, shoulder straps that are set closer together and a hipbelt shaped to fit curvier hips.” This said, the Osprey Talon in size small fits me well despite me being only 5’3″!
- Size, Volume, and Weight
- The Osprey Tempest XS/S is 810g with a 28 L capacity; and the S/M is 860g with a 30 L capacity.
- The Osprey Talon S/M is 870g with a 30L capacity; and the M/L is 920g with a 33 L capacity.
- Buy the Osprey Tempest at Altitude Sports or Amazon.
- Buy the Osprey Talon at Altitude Sports or Amazon.
Conclusion
Think of The Ten Essential Systems as insurance. You will hopefully never have to use all of them, but if you do, you’ll be glad you packed them!
After each trip, be sure to replenish consumables (extra food, bandaids, etc) as needed and check/recharge the batteries on headlamps, water purifiers, GPS, personal locator beacons, etc., so everything is in working order when you need it.
Have you ever had to make an unplanned bivouac? What do you wish you knew then that you know now?
Related Posts
- The Top 10 Pieces of Wilderness Survival Gear for Children
- How to Avoid Getting Lost
- 10 Bear Safety Tips for Hikers and Backpackers
- 5 Myths About Ticks & Tick Safety Tips
- Why You Need Avalanche Skills Training
- Pond & Lake Ice Safety





4 comments
Hello, I will continue reading your recommendations, but your advice about the Deet bug spray dissolving hiking clothing is a big surprise to me. I will begin looking for the alternative you recommended.
I am of the opinion that while even a little extra weight can make a long hike difficult the benefits of having the necessities outweighs the downside; particularly during one hike where I received a country hornet sting (nothing like those wimpy city ones…unfortunately) and a woman collapsed of dehydration. I had extra items to assist the fallen hiker until medical assistance arrived. Now I am hypervigilant about being prepared. What I say to hiking friends that you may never use your medical kit or extra fluid etc., but perhaps someone else will need it. I think it is a positive perspective to take as it is in line with the code of hiking/ers.
Cheers,
Scott
Hi Scott, Thanks for reading! I totally agree the extra items are worth carrying. I'm fortunate to have never been in a survival situation, but have been delayed due to weather or others' minor emergencies.
Re the bug spray, DEET is very effective but can actually dissolve synthetic fabrics. My friend's bug spray (containing 30% Deet) leaked in his pack and made a hole in it! My hubby has a Chem degree and explained it to me… basically oils dissolve oils. We still use Deet when bugs are really bad, but take care not to spray it on our favorite clothes. The picaridin spray worked well for us this year but it wasn't a very bad mosquito year. I'll use it the next time we're somewhere bug infested and let everyone know. 🙂
Happy trails!
Thanks Nicky! It's a balancing act, isn't it? You want to make sure you have all the essentials but not be overloaded, especially when carrying gear for more than yourself. I find clothing to take up the most space up here, but we can't go with too little as it's so cold at night (even in summer)!
These are all great gear essentials. We are working on lightening our load as we transition from car camping to backpacking with the kids
Comments are closed.