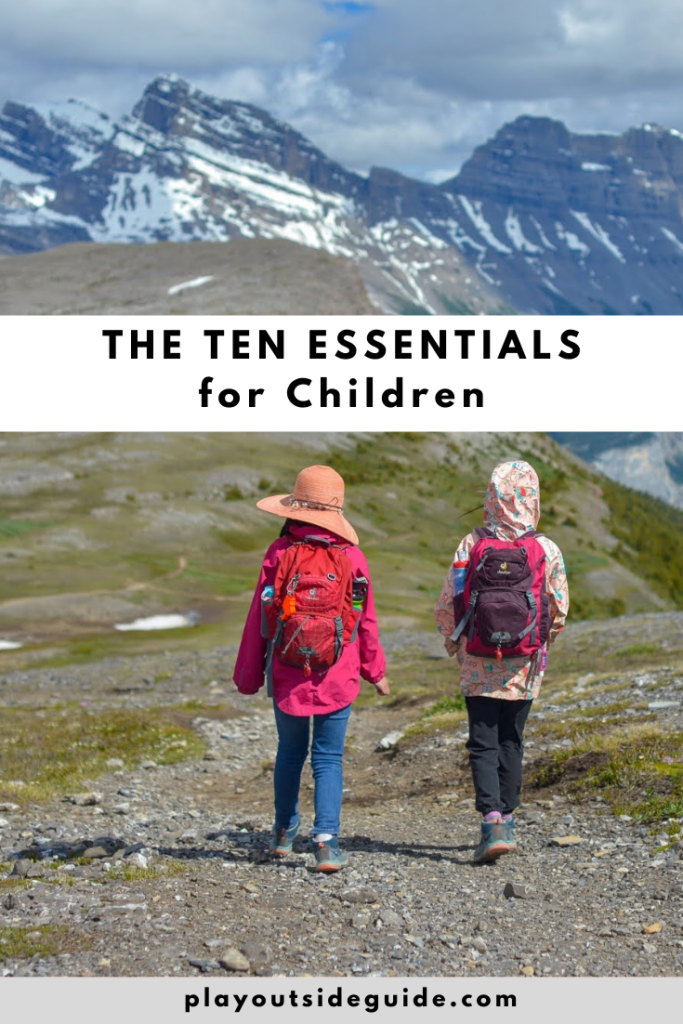
What kids should carry in their backpacks in case they get lost while hiking: a slightly modified version of The Ten Essentials.
The Ten Essential Systems include everything you need to survive for three days. Our Ten Essentials for Children, however, are are intended for children aged 4-8 who are a) old enough to carry their own small backpack, b) not big enough to carry larger items such as a bivvy/Siltarp, and c) usually not mature enough to carry a knife or fire making kit (essentials in any survival kit), and will hopefully be located within a few hours. The most important items are the signalling devices (whistle and flashlight). If your child is found quickly, she won’t have to use the other items! Add other essentials such as Epipen, medications, fire making kit, knife at your discretion.
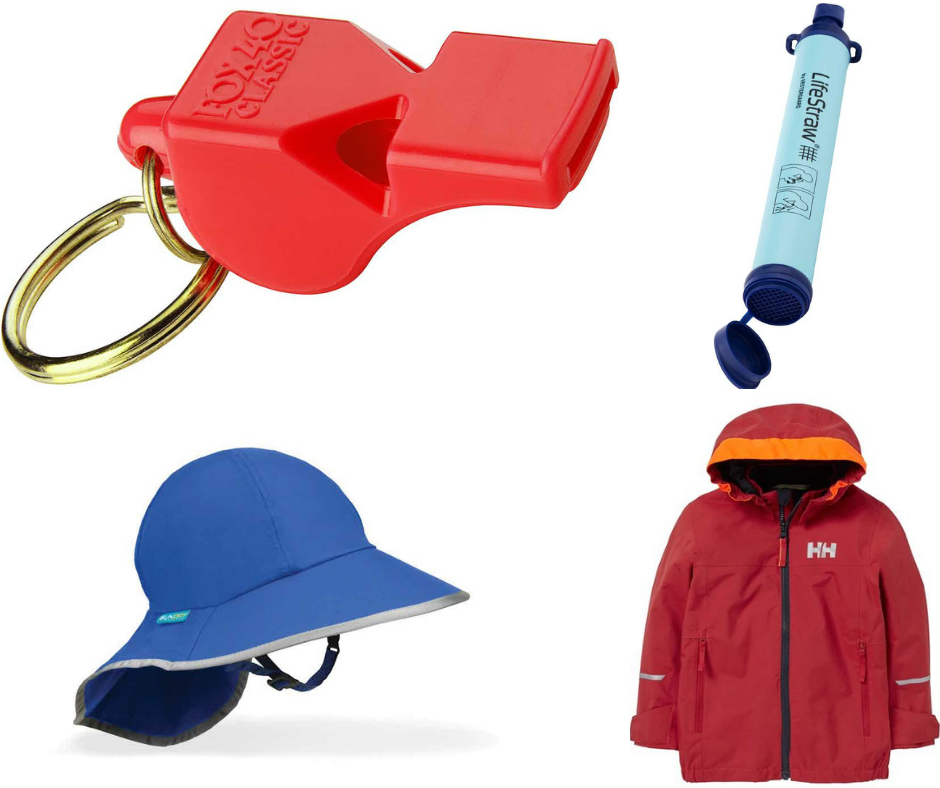
Table of Contents
Safety Moment
By planning ahead, you can reduce the chance of losing a kid on the trail, and mitigate the consequences should the worst case scenario occur. Have a plan in case you are separated, discuss it with all members of your group/family, and ensure everyone is carrying basic wilderness survival gear (and knows how to use it).
Start by outfitting each child with the ten essentials (listed below), going over how to use everything, and discussing hiking rules with everyone in your family. Our trail rules are: 1) hike with a buddy, 2) stay within sight, 3) always stop at a fork in the trail, and 4) if you think you are lost, stop in a safe place, and blow your whistle three times – wait a bit and listen for a response – then blow the whistle three more times (and repeat until help arrives).
If you don’t have all of The Ten Essentials right now, please start with a whistle for each child. A whistle is an affordable and extremely useful tool that can help you locate a lost child quicker because the sound carries further than shouting – plus it’s less tiring to blow a whistle repeatedly.
Disclosure: This story contains affiliate links through which I may earn a small commission. Thank you for supporting our web hosting fees so we can continue to share valuable information with the outdoor community.
The Ten Essentials for Children
1. Marine Whistle
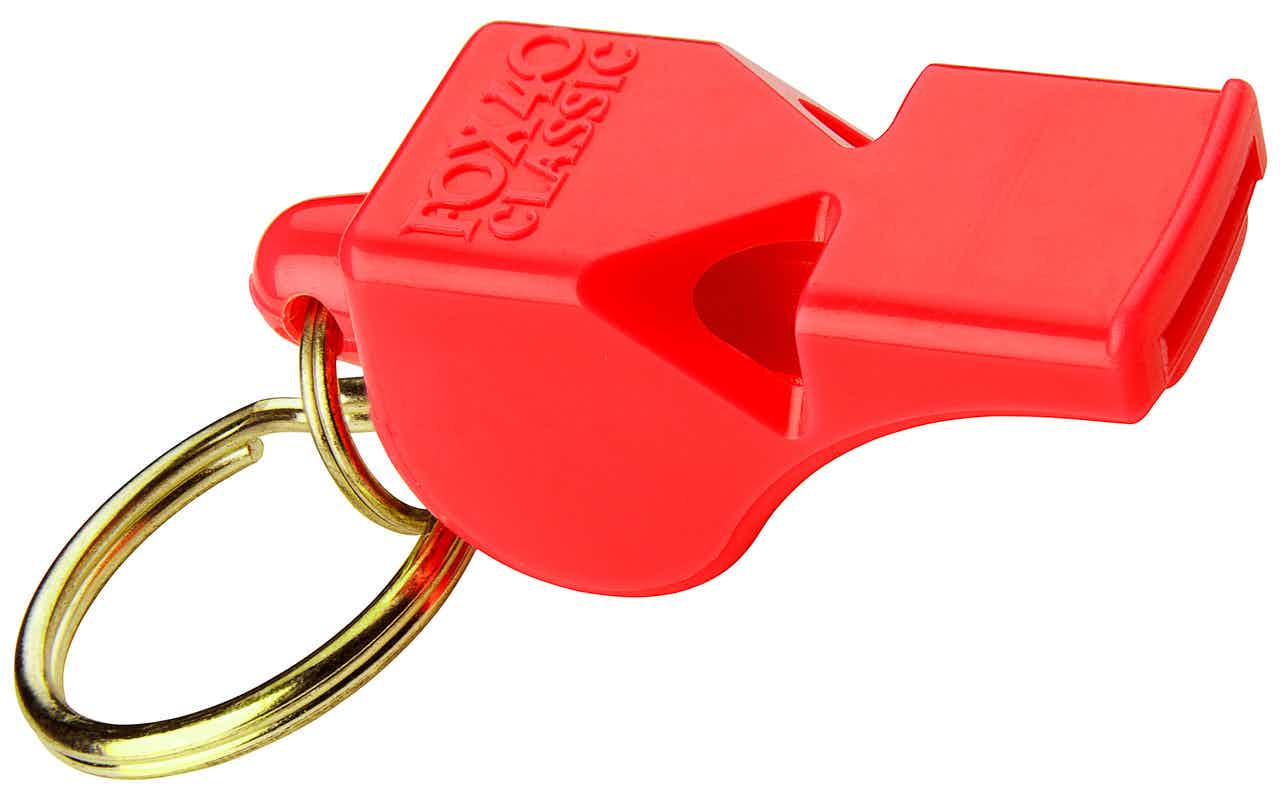
Attach a high quality pealess marine whistle to your child’s jacket or backpack (don’t use a lanyard – it’s a strangulation risk). A pealess whistle will work when wet and has no parts that can freeze together. Encourage your children to blast the whistle three times if they are lost or in trouble.
The Fox 40 Classic Whistle is waterproof, produces 115 decibels, and comes in a variety of colours. Another great option is the Ultimate Survival Technologies Jetscream Floating Whistle (112 and 122 decibel versions available).
2. LED headlamp or flashlight
An LED headlamp will provide comfort when the sun goes down, AND possibly help you locate your child (especially if they learn to signal with it). If you don’t have a headlamp for each person, a flashlight will do! Any light source is better than none. Check your child’s headlamp/flashlight every season to make sure the batteries are still good and carry spare batteries.
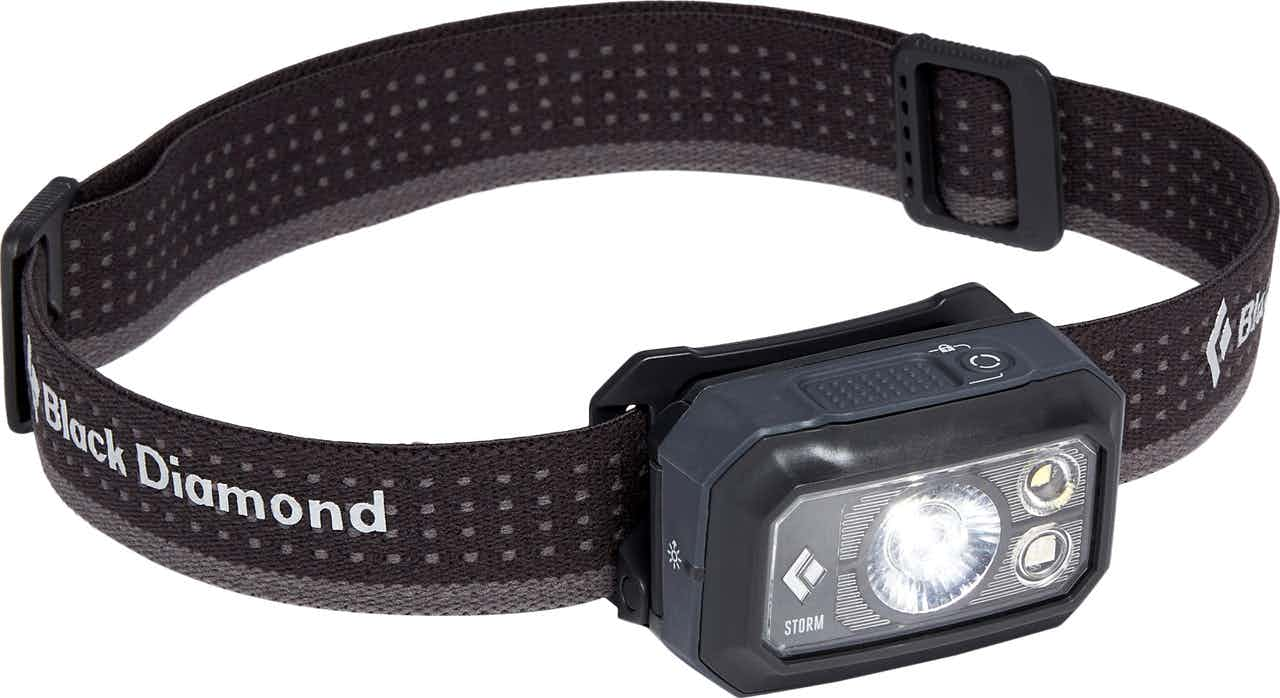
The Black Diamond Storm 400 Headlamp is an affordable but powerful headlamp with a max output of 400 lumens. It’s also waterproof!
3. Signalling instructions
The Universal distress signal is S.O.S. (3 dots, 3 dashes, 3 dots) and can be signalled with 3 short flashes, 3 long flashes, 3 short flashes but three flashes in a row are recognized as a call for help. If your child is lost after dark, she can flash her light three times at helicopters, vehicles, signs of civilization such as fire lookouts or cabins, or in all directions to better the chance of being seen. To signal, turn the light off and on three times, or cover the light with your hand intermittently to make three flashes. Practice at home with your children to see what method works best and remind them to flash the light three times, pause, then do it again a few times before pointing the light in a different direction.
Three blasts on a whistle are a call for help. Blow the whistle three times, wait for a reply, then blow the whistle three more times until help arrives.
If your child is lost in an open area he could make a large V or X on the ground with stones, branches, or footprints in the snow/sand. V means “I need help” and X means “I need medical assistance”. The letter must be BIG – at least 9 metres long by 1 metre wide – so people in planes or helicopters can see it.
Since this is a bit complicated for young children, you could put written instructions in your child’s backpack as a reminder, or just focus on blowing the whistle.
4. Water bottle and water filter
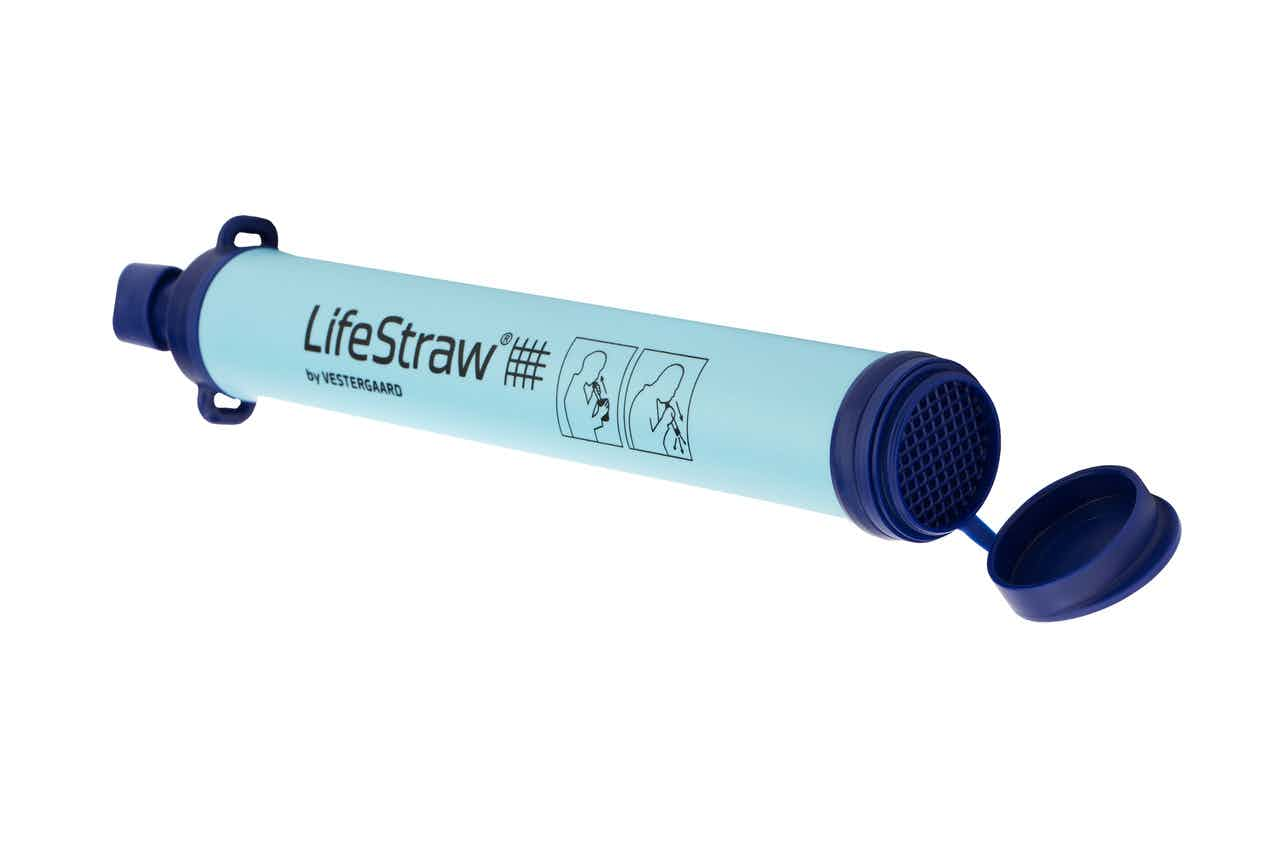
Water is essential to life! For clean and safe water, put a LifeStraw Personal Water Filter in your child’s backpack. It is light (46 grams), affordable (under $25), and effective (filters to 0.2 microns) and far easier to use than a filter or water treatment drops/tablets (which require the right amount per volume of water + waiting long enough for them to work). You simply drink directly from the pond or stream like a straw!
For hiking water bottles, we like Nalgene and HydroFlask bottles because they are leakproof and durable. HydroFlasks are made of double walled 18/8 stainless steel to keep your drink cold longer, but they’re heavier than Nalgenes.
5. Snacks
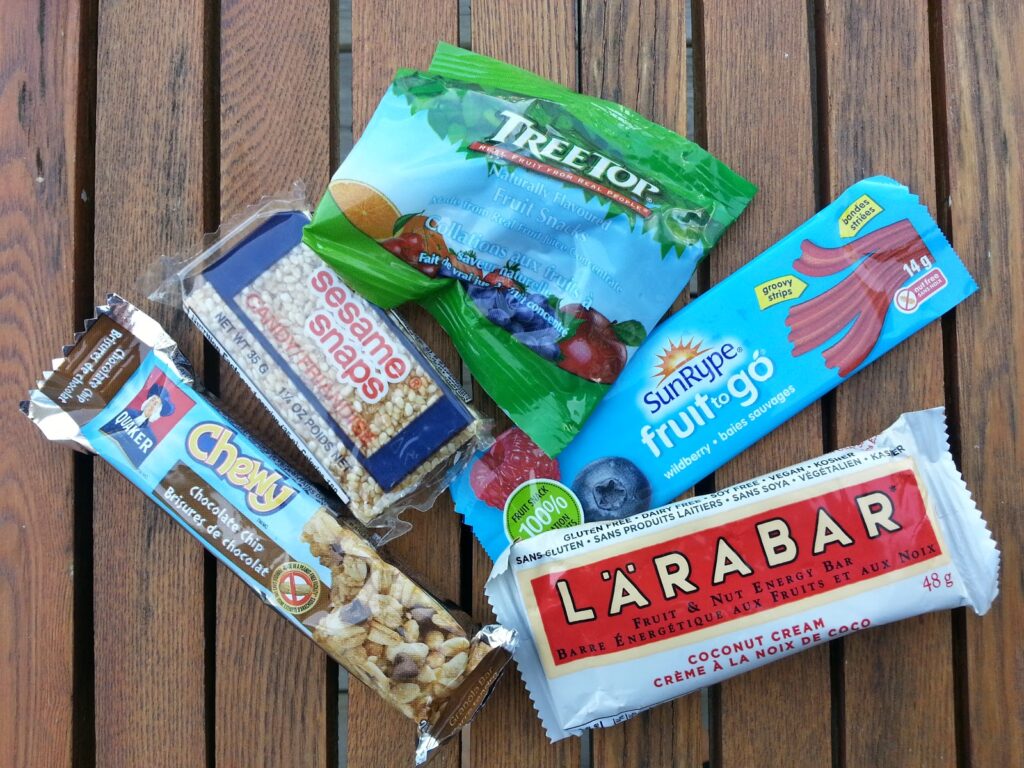
Make sure your child has a few high calory, nonperishable snacks such as protein bars or granola bars in her pack. Although you can survive a few days without food, a snack is comforting while you wait for help to arrive. Make sure it’s something yummy that your child likes, but not something with a strong odor that may attract bears. Chocolate sea salt RXBARS are a favorite of ours; they’re made with only 4 ingredients and have 12 grams of protein.
6. Sun hat
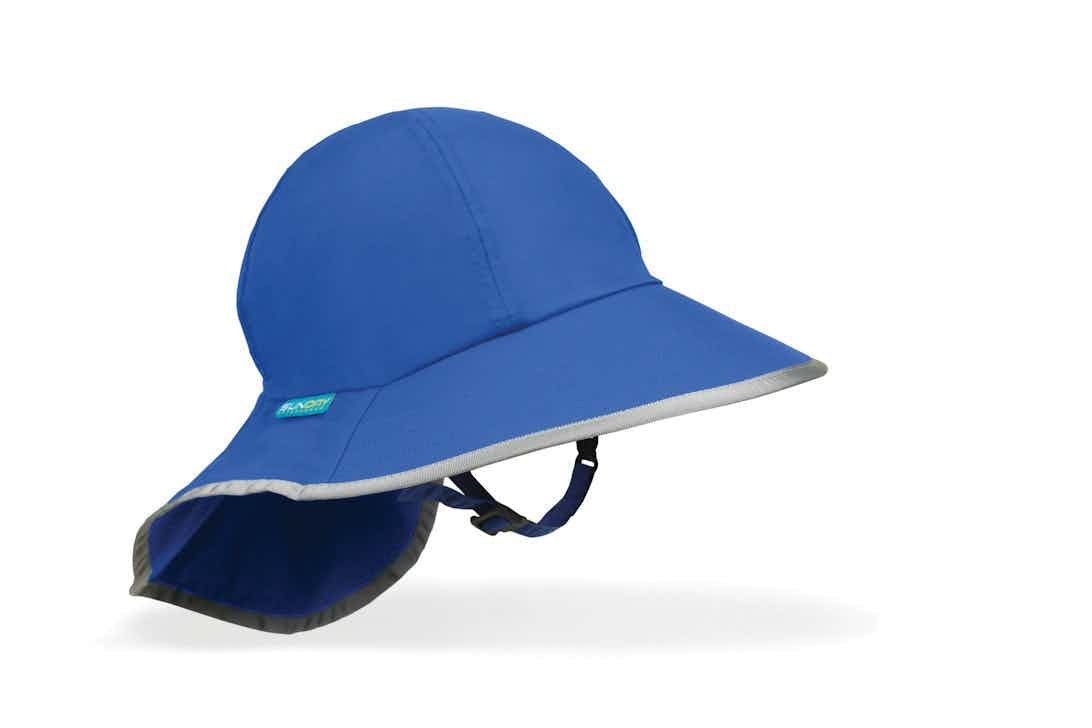
A sun hat will help keep your little one’s head cool and hopefully help prevent sunstroke. Look for something lightweight and breathable with a large brim. The Sunday Afternoons Play Hat provides great head, face, and neck coverage and is made of a breathable, quick-dry material.
If your child will wear sunglasses, pack those too! MEC Newbie and MEC Chinook sunglasses are a couple good options for younger kids.
On hot days, talk to your kids about being sunsmart: seek out shade or build a fort*, stay hydrated, wait for it to to cool down before moving around too much. *Advise your child to hang something bright colored near her tree/sun shelter so she can be found!
7. Rain jacket / rain poncho / emergency space blanket
Always keep a rain poncho or rain jacket in your pack in case the weather turns. Dollar Store rain ponchos are cheap, light, compact, and provide good coverage. While heavier, we prefer nylon rain jackets because they stand up to abrasion better than disposable rain gear. The Helly Hansen Kids Shelter 2.0 Rain Jacket is waterproof and breathable, and comes in 8 different colours.
Pro tip: Rain jackets aren’t just for rain! Putting a rain jacket/poncho/blanket on over a down/fleece sweater can cut the wind and make you feel several degrees warmer.
8. Warm clothing
Pack a fleece hoodie (affordable) /down sweater (light, compressible, high warmth-to-weight ratio), toque (optional in summer if your child’s jacket has a hood), and gloves/mittens for night time. Warm clothing is very important, especially if kids are too young to build a fire to keep warm.
We recommend the Patagonia Down Sweater or Helly Hansen Kids Daybreaker 2.0 Fleece Jacket.
9. Mini First Aid Kit
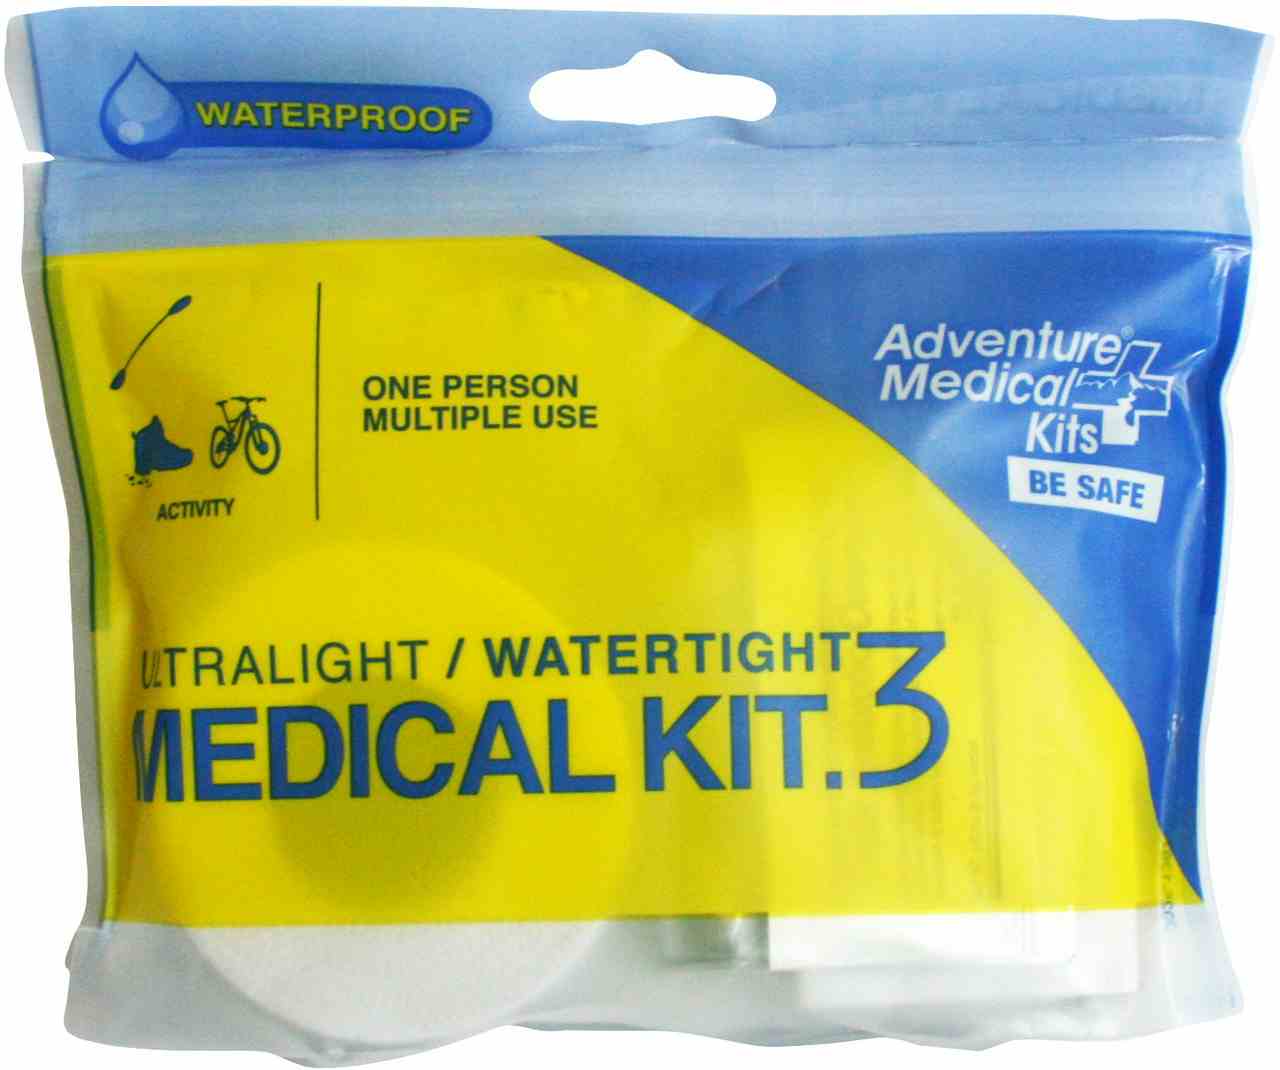
For a DIY first aid kit, put Bandaids and Polysporin in a small Ziploc bag. OR, purchase the compact, waterproof, and ultralight Adventure Medical Kit 0.3.
10. 550 paracord bracelet

A length of sturdy rope is always useful (especially for rigging a shelter) and a bracelet is a compact way of carrying it. This survival bracelet has a serrated cutter so you can untie the bracelet and cut lengths of rope; a good option for kids too young to carry a knife.
FAQ: What about a Walkie talkie or cell phone?
If you have cell phone reception and battery, a phone can mean the difference between an emergency situation or temporary separation. If there is no cell phone reception, a walkie talkie is helpful, but even “long range” walkie talkies do not work well in mountainous terrain. If your child is down in a gully separated from you by a large ridge, chances are, you will not be able to connect by walkie talkie. If you have them, bring them, but be sure to pack other signalling devices such as a whistle and signalling mirror.
Practice makes perfect
As you accumulate wilderness survival gear, teach everyone how to use it and practice, practice, practice. Wishing you safe & happy trails!
Related Posts
- The Ten Essential Systems
- Hiking & Backpacking Safety Tips
- Tick Safety Tips
- Winter & Shoulder Season Hiking Tips
- Why You Need Avalanche Skills Training






4 comments
Great idea, Melissa! We like the Adventure Medical kits as they're ultralight and waterproof, but you can certainly save money making your own kits.
My $0.02: you can save cost and custom build your own first aid kit in a wide-mouth water bottle! I've carried a 500mL wide mouth Nalgene bottle since my daughter was old enough to walk – contents will stay dry no matter what (even if the pack falls in a creek) and can include personal medications much easier.
Also I invested in an awesome little Camelbak hydration backpack for my daughter (the Scout, not the tiny one that is just a hydration pack) and she happily carries it everywhere; I know she always has water, even if she's separated from us.
There's a few things I'll be adding to her pack, that I hadn't considered. Thank you!
Thanks Lindsay! Yes, of course you may share! It's important for kids to be well equipped for outdoor adventures. 🙂
This is such a fantastic list, Karen! Mind if I share your link on a post I am writing over at ourhundredacrewood.net? We have been carrying most of this gear for our kids since they were little, but it's time the almost 5 yo schleps her own gear!
Comments are closed.