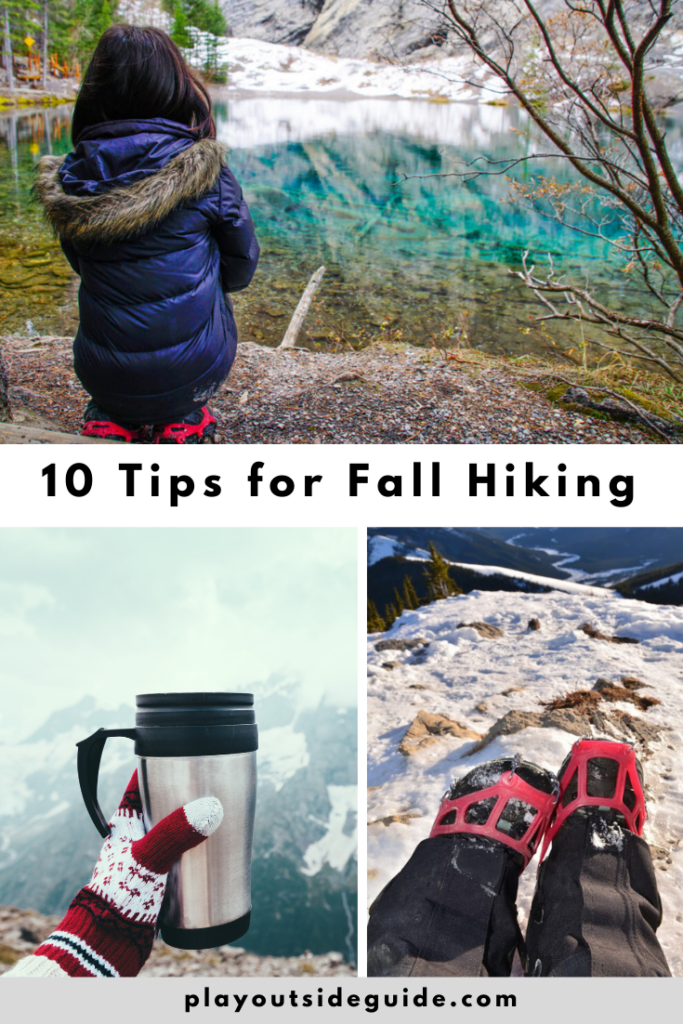
Hiking from fall through spring offers different challenges than summer – shorter days, colder weather, and avalanche danger – so you need to plan accordingly. Here are our top 10 tips for shoulder season (and winter) hiking in Alberta.
Disclosure: This post contains affiliate links through which I earn a small commission on qualifying purchases at no extra cost to you.
Table of Contents
1. Check the trail report before heading out.
The provincial and national parks provide reports on trail conditions for popular official trails. If there isn’t a trail report for where you would like to go, look at trail reports for the area to get an idea of whether the trails are muddy, snow packed, icy, or not recommended. The Banff Trail Report also indicates if a listed trail is in avalanche terrain (Note: If you don’t have avalanche skills training and gear, avoid trails in avalanche terrain!).
If a trail you’re interested in isn’t in the trail report, it is either a summer trail (in avalanche terrain or inaccessible in winter) or unofficial trail.
See Seasonal Road Closures in Kananaskis and Banff for information on when the winter gates close on mountain roads.
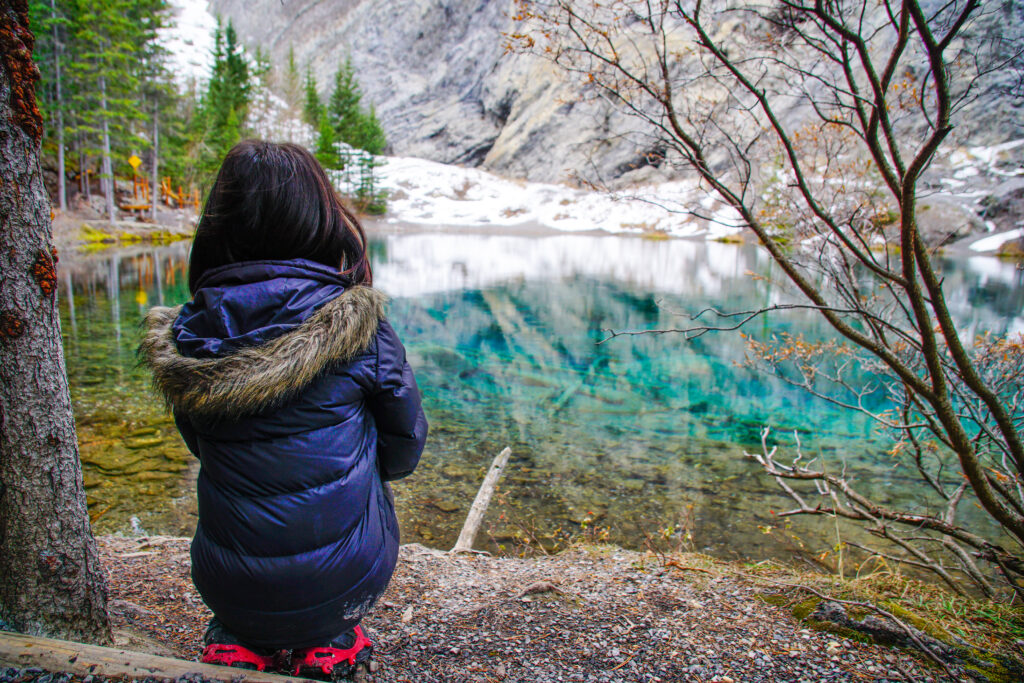
2. Choose an appropriate trail and research the route.
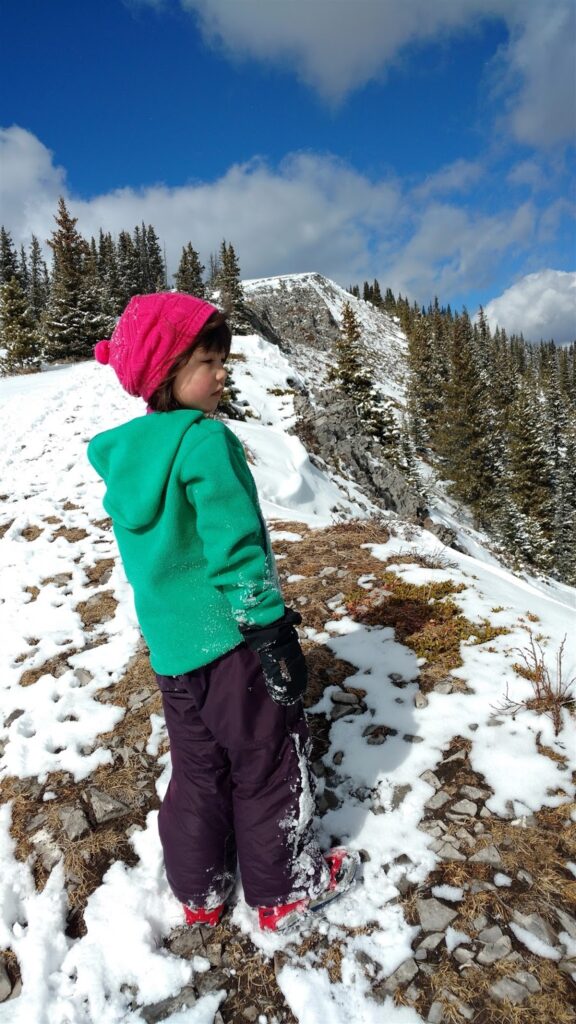
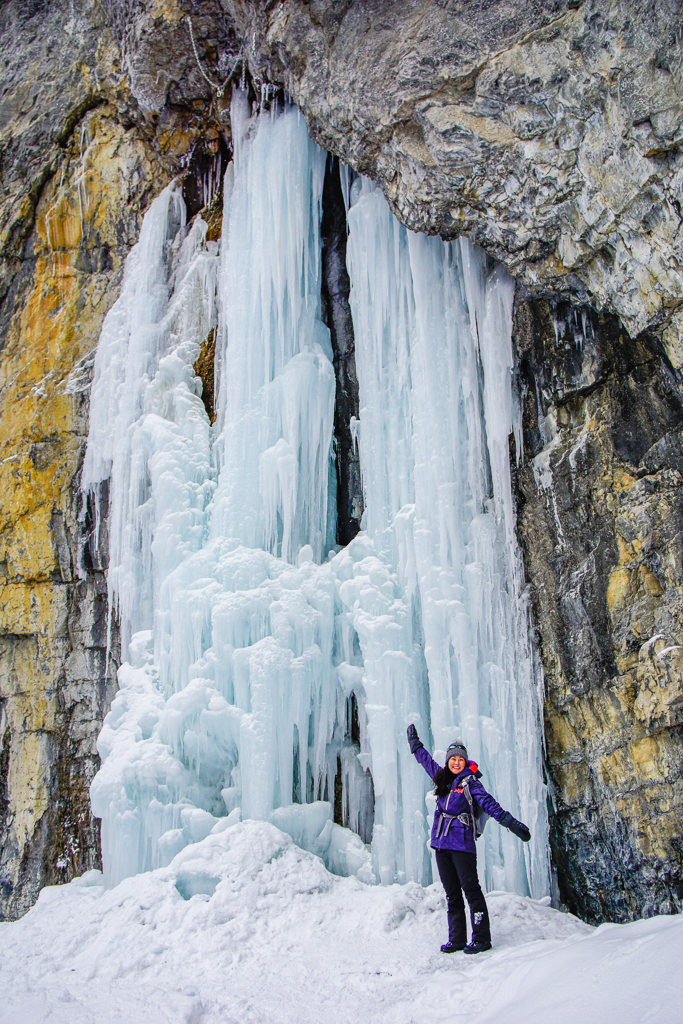
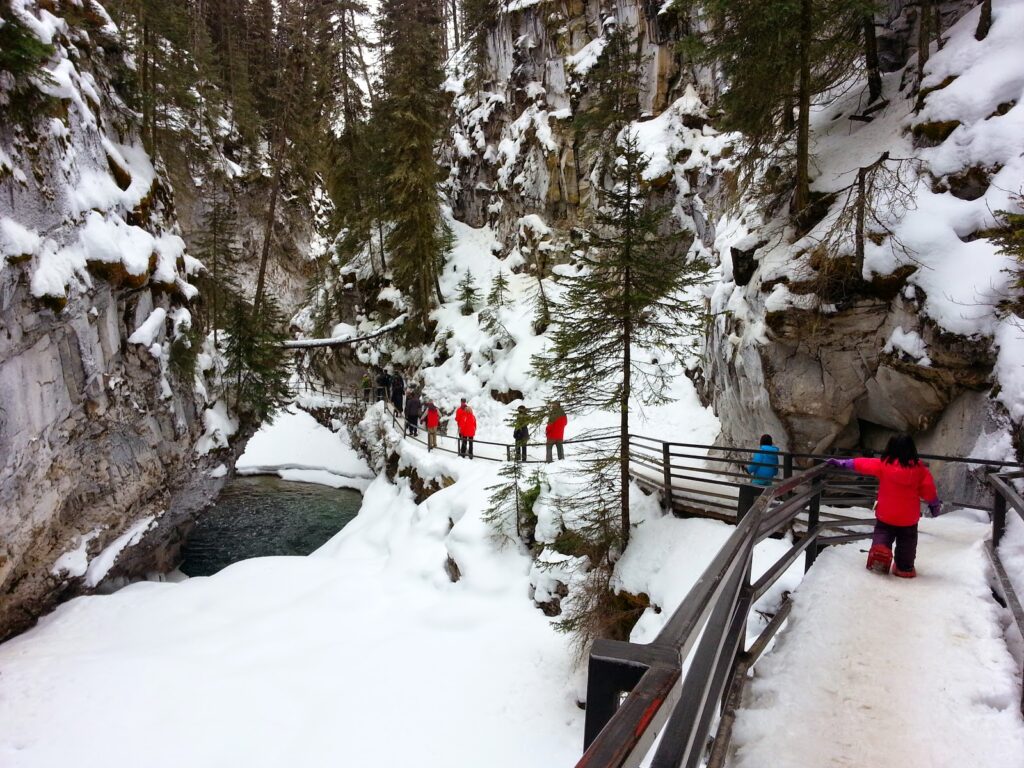
Many steep trails you hiked in summer may be prone to avalanches from late fall to late spring. I highly recommend taking Avalanche Skills Training if you would like to adventure in the mountains year-round, but if you don’t have training, you can inquire at a parks visitor centre, or stick to official winter trails.
Official winter trails have a lower chance of avalanches but not zero risk – read the trail description to see if the trail crosses infrequent avalanche paths! Also, some trails may be safe to a certain turnaround point. For example, you can hike TO Rawson Lake, but not along/past the lake as there is avalanche danger below the cliffs.
It is best to avoid unofficial trails in the off season because they are unmarked and it’s easy to lose your way once the trail is snow covered. See our tips on How to avoid getting lost and carry a GPS/satellite communicator (or compass) and map of the area and know how to use them.
Here are some good winter and shoulder season hikes near Calgary:
- The best spring and fall hikes in Kananaskis
- The best shoulder season hikes in Banff
- The best winter hikes near Calgary
- Snowshoe trails near Calgary
3. Check the weather before you go and dress accordingly.
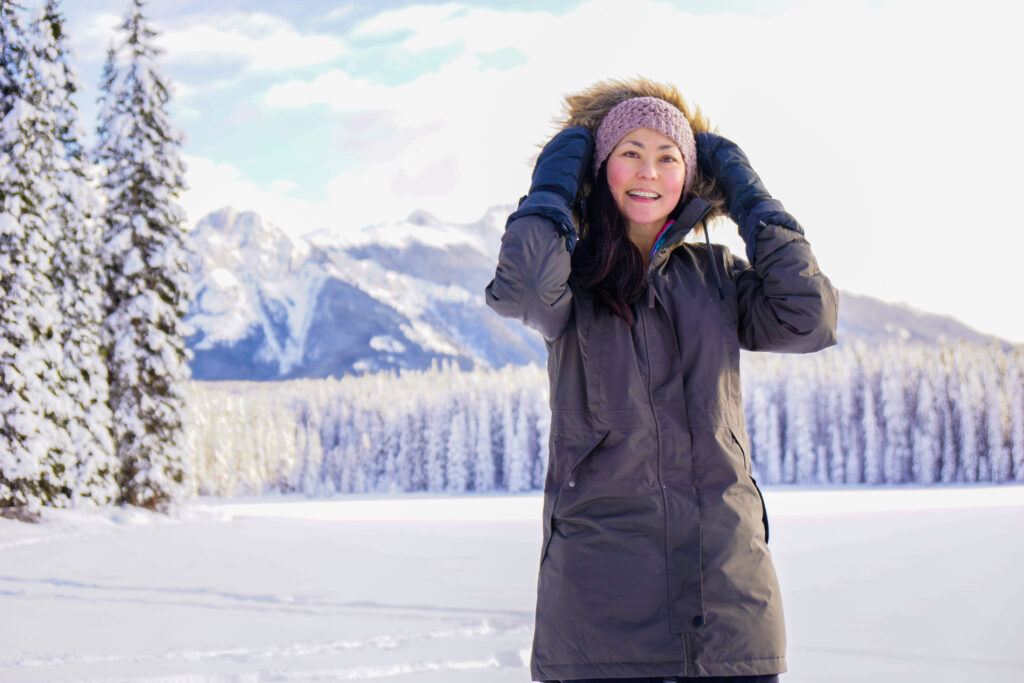
While Environment Canada and The Weather Network can give you a general idea of what weather will be like in the nearest town/city, you can get more accurate weather forecasts for the mountains from Mountain Forecast. Keep in mind that falling / blowing snow can affect visibility and windchill can make a huge difference, so if Saturday is -10 C with 50 km/hr winds but Sunday is -12 C with 4 km/wind, you’re better off hiking on Sunday.
You should always carry a down hoody or fleece, gloves and mitts, a windproof & waterproof shell, and toque this time of year. For cold weather, I also recommend fleece-lined, water-resistant leggings or merino wool leggings under soft shell pants. If it isn’t quite cold enough for snow pants or soft shell pants, rain pants are great for blocking the wind or protecting against wet snow.
For more product recommendations, see our stories:
4. Check the avalanche report (and learn what the danger ratings mean).
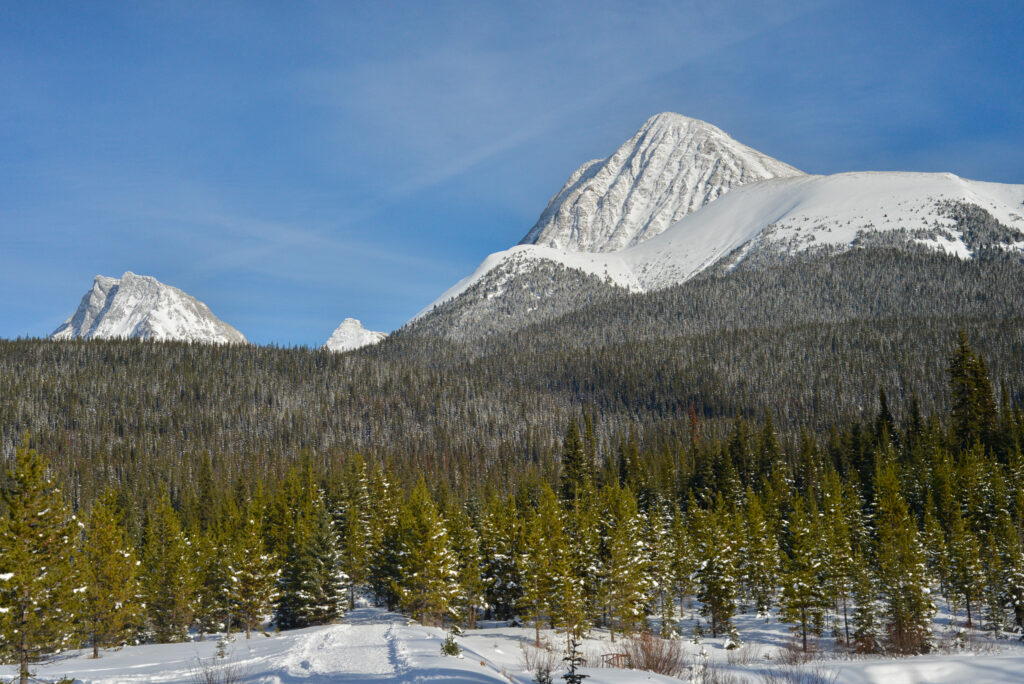
Avoid all avalanche terrain when the danger is high or extreme, and use caution when it is considerable or moderate. To reduce the risk, take Avalanche Skills Training and/or stick to official winter trails.
- Avalanche.ca has avalanche reports by region
- Why You Need Avalanche Skills Training
5. Check when sunset is and get an early start.
You don’t want to be caught out after dark in the cold, so start early even if it’s a short hike. You need to account for poor trail conditions, route finding, and injury (slips and falls are more likely to occur on wet/snowy/icy trails). If you twist an ankle early in the day and someone is able to contact Search and Rescue (via cell phone or satellite communicator), you may be rescued before dark. If you get lost or injured too late in the day or in bad weather, you may have to overnight it in the wilderness.
The Environment Canada Weather Report includes sunrise and sunset times.
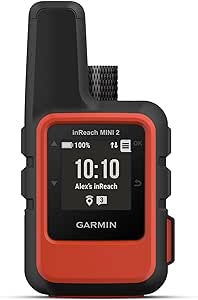
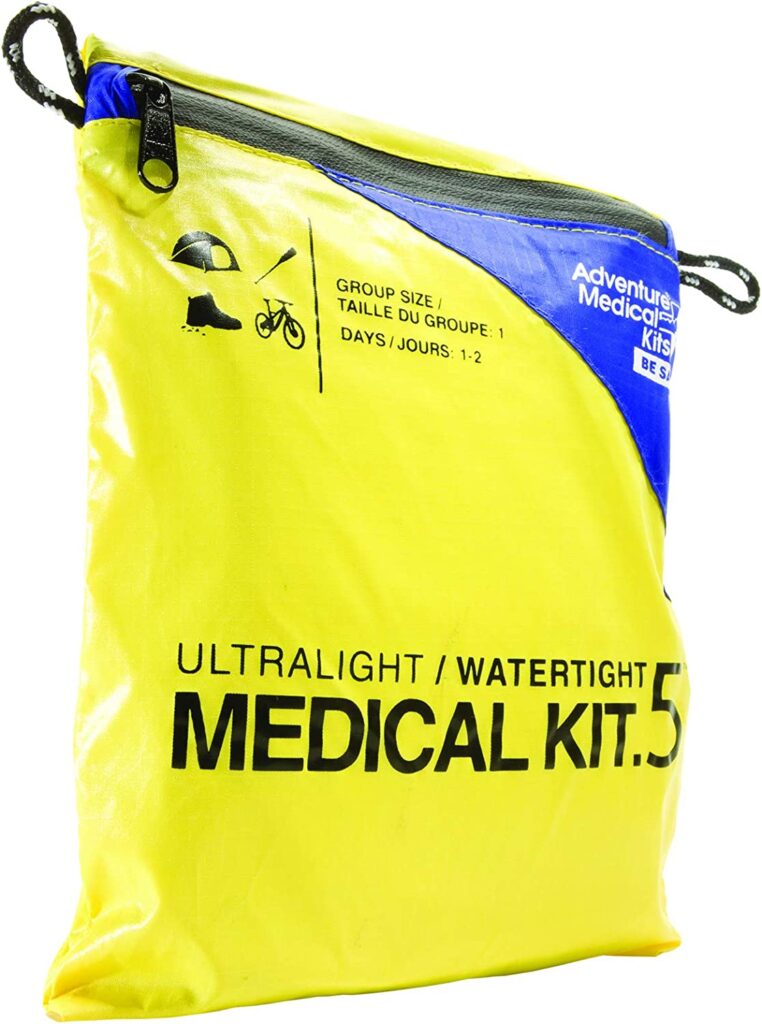
6. Carry the Ten Essential Systems.
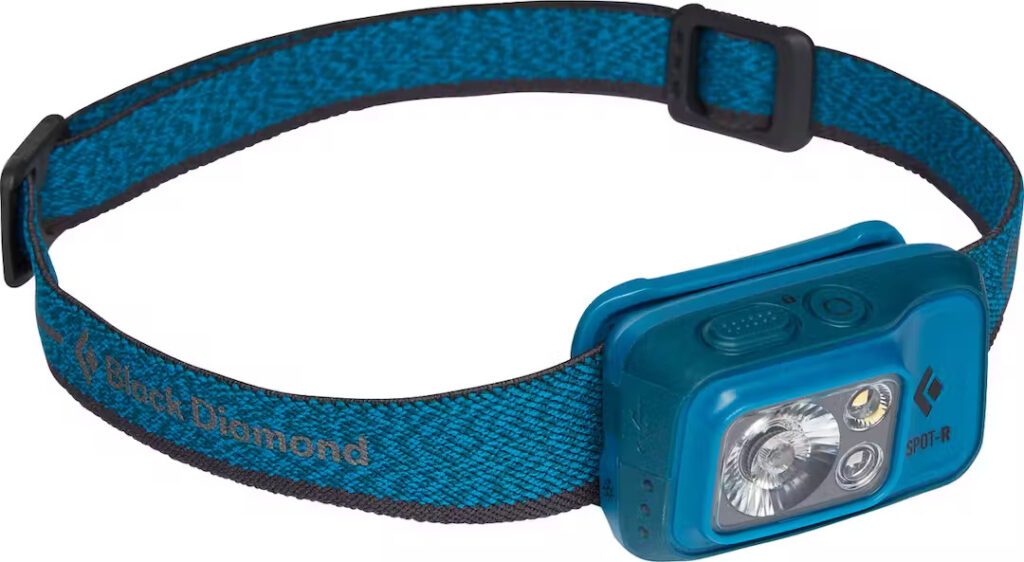
1. Garmin inReach Satellite Communicator, 2. Adventure Medical First Aid Kit, 3. Black Diamond Spot 400-R Headlamp.
While all of the ten essentials are important, be sure to have a headlamp for each person (plus extra batteries or a power bank) to avoid stumbling around in the dark. It’s easier to get lost of injured if you can’t see where you’re going! Extra layers are an absolute must as temperatures can drop rapidly. Pack one down jacket and toque per person, and extra mitts and socks (especially important for the kids since they tend to get wet playing in the snow).
- Our Fall/Winter Hiking Gear Guide has top-rated outerwear for the trail.
- For a multi-season hiking pack list, please see The Ultimate Day Hike Pack List.
- See Keeping Kids Warm in Winter for tips on dressing kids for cold weather.
7. Bring traction devices for improved traction in icy conditions.
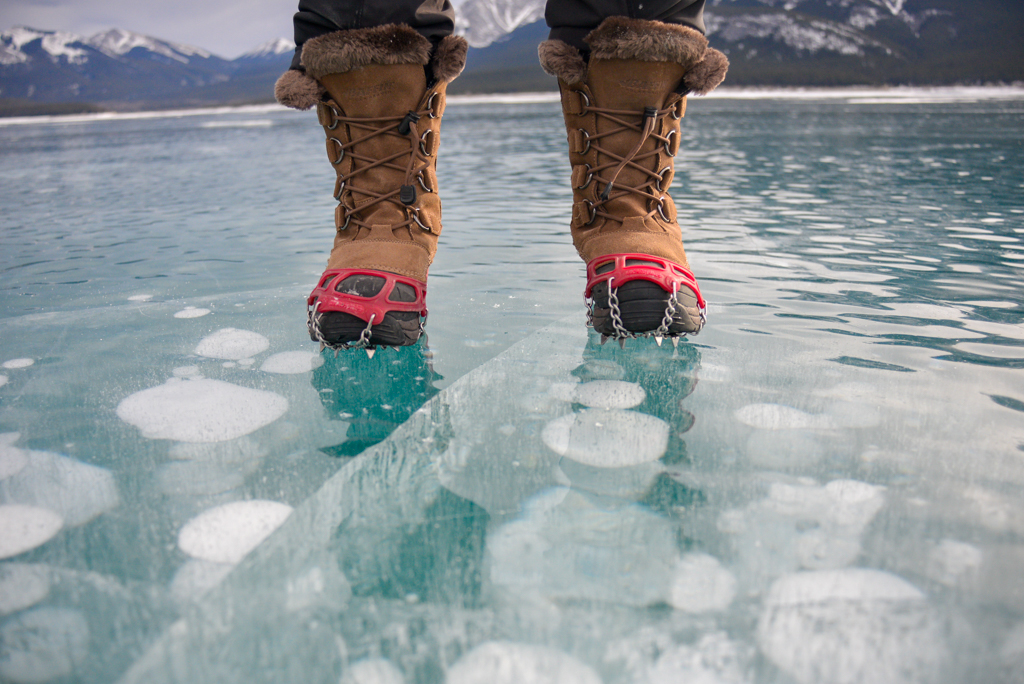
Slips and falls are one of the major causes of injuries on the trail. Avoid injury by investing in traction devices such as Kahtoola microspikes. Spikes work better on ice and inclines (ice cleats are not meant for uneven terrain while spikes are), and stay attached securely to your boots. Trekking poles are nice to have on steep terrain too.
For more options, please read: The best traction devices for winter walking and hiking.
8. Wear gaiters to keep mud and snow out of your boots.
Even waterproof boots will not protect your feet if snow goes in the top of them! I recommend breathable gaiters so you can wear them year-round without getting heat rash. The Outdoor Research Crocodiles Gaiters are pretty awesome and easy to put on/take off.
Gaiters will also keep ticks out (ticks are active any time it’s above 4C). See my tick safety tips here.
9. Pack a closed cell foam sleeping/sitting pad.
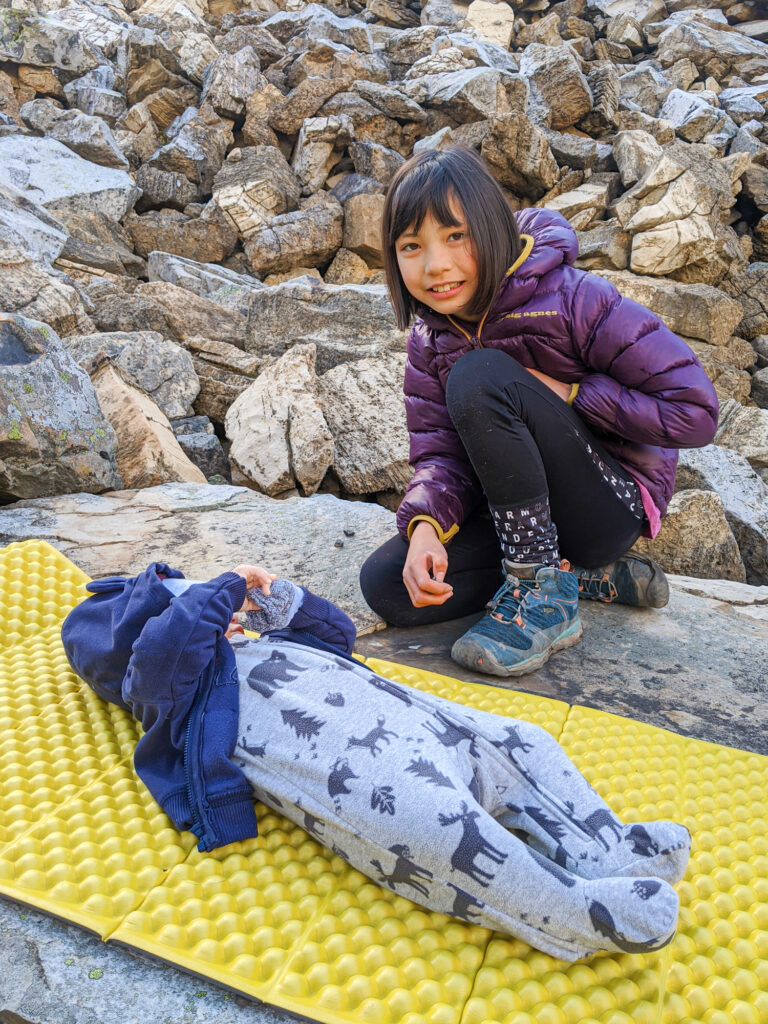
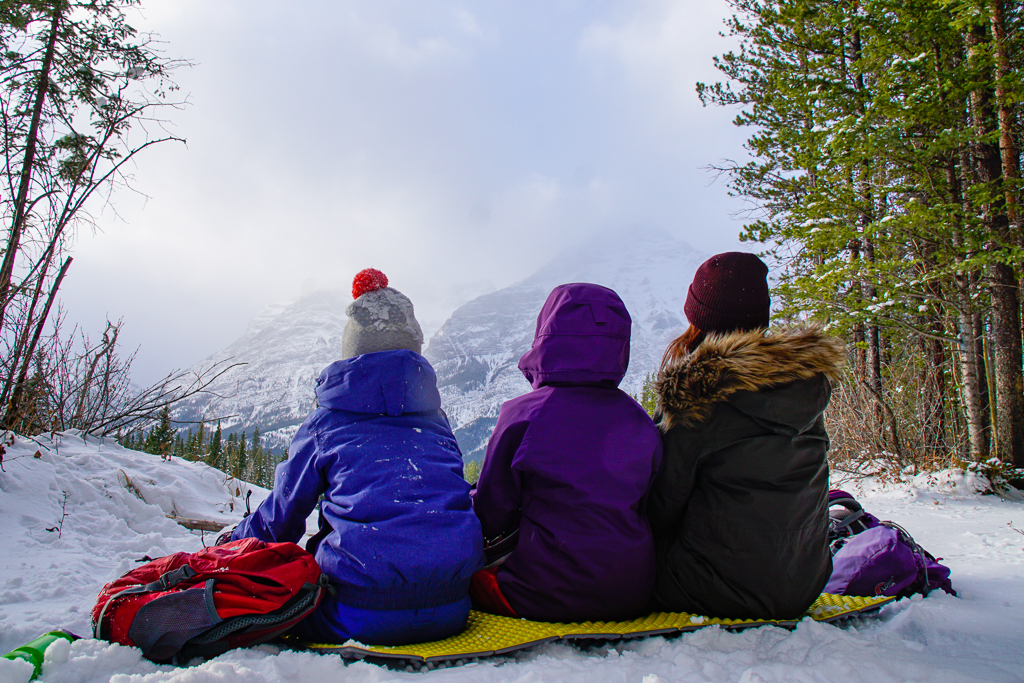
A foam pad will keep your warm and dry at break time. It can also come in handy for diaper changes, or in an emergency to keep an injured person insulated from the cold while waiting for help. We like the Thermarest Z-Lite SOL.
10. Bring hot drinks and/or soup in an insulated bottle.
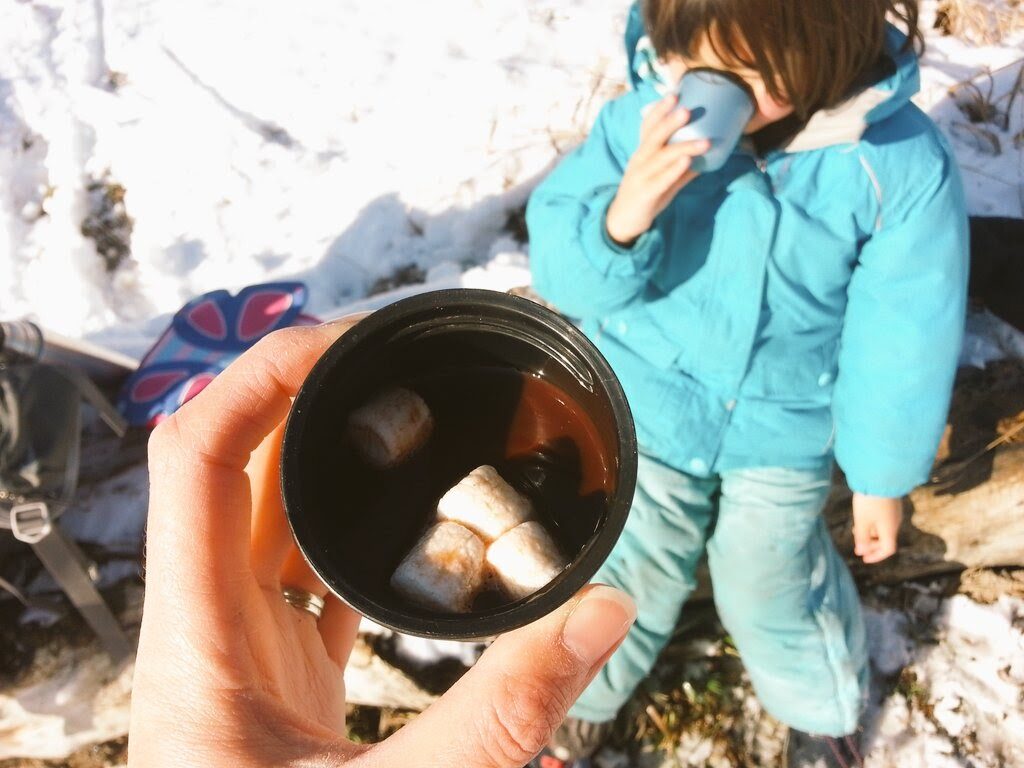
We like the Hydroflask Wide Mouth Flex Sip Bottle; it keeps hot drinks hot for up to 12 hours! Many people find it hard to drink cold drinks on a cold day and get dehydrated. Did you know dehydration makes it hard to keep warm?
To learn more tips on keeping warm, please read Keeping Warm in Spring (or Fall).
Related Links
- The Best Fall & Spring Hikes in Kananaskis
- The Best Spring & Fall Hikes in Banff
- The Best Winter Hikes Near Calgary
- Kananaskis and Banff Trail Reports
- Why You Need Avalanche Skills Training
- Fall Hikes in Calgary & the Mountain Parks
- Family Hiking Essentials from Footwear to Baby Carrying Devices
- The Best Winter Gear for Kids




3 comments
Thank you so much!
Hi Ally, We have Kahtoola Microspikes (size S for me and XS for the girls). I think Kahtoola discontinued the kids' spikes last year, but hopefully some places still have some around! If you can't find kids' spikes, I've heard great things about the smallest Yaktrax! I have had a couple pairs of those and find them ok if the terrain isn't super icy and steep (they work best on sidewalks and flat terrain, not on inclined, icy surfaces). Hope that helps!
What kind of ice cleats or microspikes do your girls wear?
Comments are closed.