How to keep warm when winter camping in the backcountry
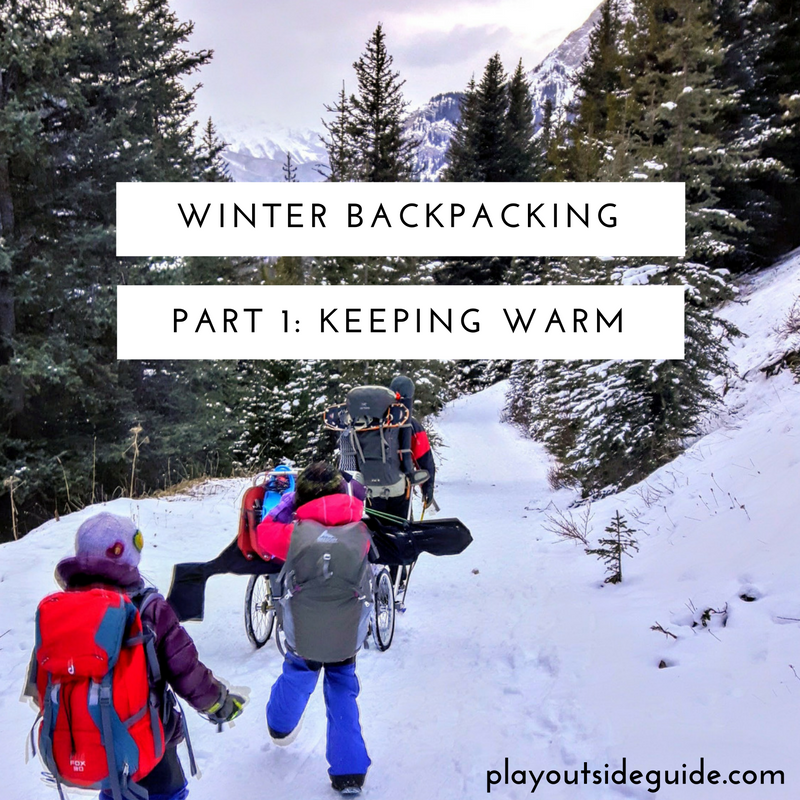
In this installment of Winter Backcountry Camping, I’ll cover what gear we brought to keep warm. Part two will discuss safe gear transport, finding water, and cold weather cooking, and part three will cover where to go winter camping. Are you ready? Let’s go winter camping!
Table of Contents
Keeping Warm When Winter Backpacking / Camping
CLOTHES
Keeping dry and warm are critical to winter backpacking (and hiking) comfort and safety. Base layers made of merino wool or technical fabrics will wick moisture away from your skin to keep you dry. If it’s cold enough for mid layers, put them on as soon as you cool down and take them off as soon as you heat up. It’s better to stop for a minute to remove a layer before you get sweaty,as it’s extremely dangerous to have wet clothes in subzero temperatures. Do not wear cotton!
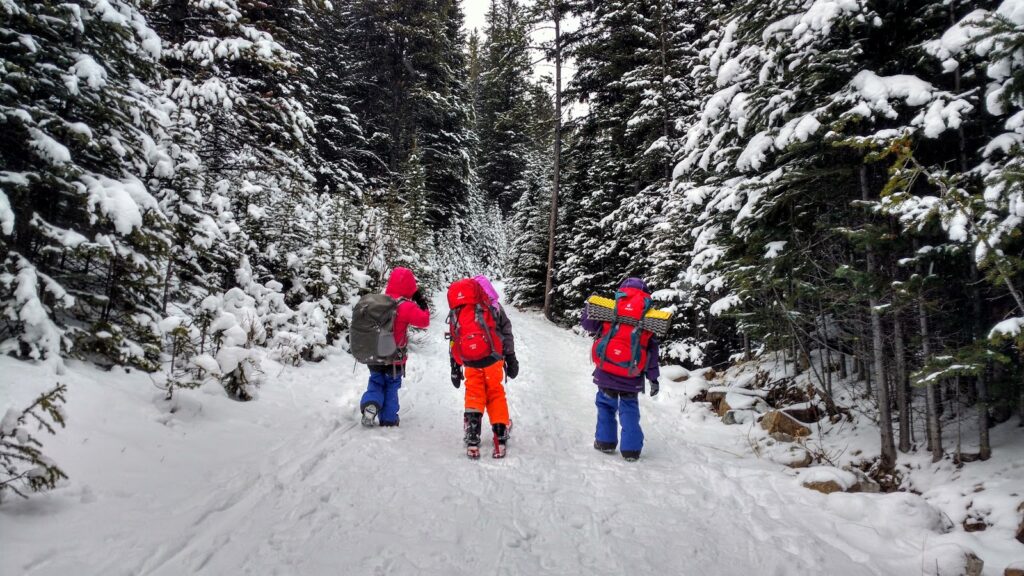
What We Wore: Base layers, a mid layer (fleece/down sweater), shell jackets, wool socks, winter hiking boots, and snow pants for the hike to camp.
What We Packed:
- 1 extra set of base layers to change into at camp
- 1 set of fleece base layers for sleeping in
- 2 pairs of socks, 1 thick pair of sleeping socks
- underwear
- 1 parka/puffy down jacket per person
- hut booties
- buffs (neck gaiters)
- Extra snowpants for the kids, toques and mitts.
- Hand and foot warmer packets
We used almost everything as the kids got wet rolling in the snow (yay for extras!) except the hand and foot warmers. We were able to have a fire at night and keep toasty.
For more details on keeping warm, please see these posts:
- Keeping Kids Warm in Winter – what to wear including specific gear recommendations
- Keeping Warm in Fall/Spring – have the best gear, keep moving, stay fueled and hydrated
- Tips for Avoiding Hypothermia and Frostbite
- Surviving Winter With Raynaud’s
 |
| It’s all about technical gear and layers! |
SHELTER
I had a bit of anxiety about not having a 4-season tent, until I realized that our friend sleeps under a tarp year round. A 3-season dome tent works fine if it’s sturdy (an ultralight tent may not be the best choice), pegged out properly, and there isn’t heavy snow – provided you double up your sleeping pads and have a good sleeping bag.
Our home away from home was our MEC Wanderer 3-season dome tent. This rugged tent kept the wind out, heat in, and didn’t allow much condensation to build up. We have camped in this tent (and others) in -10C very comfortably, so we probably won’t invest in a heavier 4-season tent unless we become cold junkies and start camping regularly in -20 or below.
Tips:
- Keep vents partway open to prevent condensation buildup.
- Use a footprint / ground tarp to provide snow melt from going in to your tent.
- Peg your tent out well to allow snow to slide off. I recommend Y pegs for hard ground, and deadman anchors for camping on snow (saves you trying to pry snow stakes out of the snow).
- Low Gravity Ascents has a good writeup on setting up your tent in the snow which includes deadman anchors, windbreaks and cold air trenches. Since we were camping below treeline, on a tent pad, in moderate weather, we did not make a windbreak or cold air trench and were able to use our Y pegs.
For tips on what to look for when buying a tent, please see this post: How to Choose a Tent Q&A.
 |
| MEC Wanderer Tent (note the fly is not up yet so we can load bedding) |
BEDDING
Our regular backpacking gear is suitable for -7C (or -10C if wearing fleece layers), but since the forecast was calling for -16C, we doubled up on sleeping bags and sleeping pads. No matter how amazing your sleeping bag, if you are not shielded from the cold ground, you will have a chilly night. Best to use 2 sleeping pads!
What we slept on/in:
- We layered self-inflating sleeping pads (Therm-a-rest Trail Pro) on top of foam sleeping pads (Therm-a-rest Z Lite Sol or Ridgerest) to be super comfy and warm. Besides being light and affordable, foam pads never, ever leak. They also make great camping/hiking chairs! Attach these to the outside of your pack to make room for extra sleeping bags/quilts and clothes.
- We brought 7 sleeping bags and 2 down quilts:
- Each kid had a kids’ MEC 0C sleeping bag inside a MEC Raven -7C down bag;
- I had a -12 Western Mountaineering down sleeping bag;
- My husband had a -7C MEC Aquila down sleeping bag and +15 sleeping bag.
- We used the down quilts as over and underquilts.
- If you can afford it, get lightweight winter sleeping bags.
- Down is highly compressible and warm. The new hydrophobic down bags are great as the down will maintain loft when wet to keep you warm. The higher the fill number (650 vs 800 for example), the more compressible – and pricey – the bag will be.
- Hybrid bags are great for warmth, but bulkier than all down bags. They have down on top for warmth and compressibility and synthetic fill on the bottom that doesn’t compress as much as down (so you stay warmer).
- A less costly option than 850 fill down bags or double sleeping bags, is to purchase/make an overbag or overquilt to use with your 3-season sleeping bag. We plan to make our $27 ($20 US) down quilts into overquilts. Thanks Coldbike for telling me about the Costco quilts (and how to adapt them), and Rockiesgirl for letting me know they were in stock!
- Spread outerwear (if dry) out around your sleeping pads to prevent cold from seeping in from the floor (also makes it less of a shock if you roll off your sleeping pad in the night). If you use a cot, stuff empty stuff sacks and extra clothes under your cot to prevent cold air from flowing through.
 |
| Sleep like a baby, cozy warm! |
FOOD & WATER
 |
| Don’t forget your water purifier! |
FUN FACT
Holding your pee makes you cold because your body is using energy to keep it warm. Let it go! Women may want to consider a Female Urinary Device like the Go Girl (Amazon Affiliate link) to avoid pulling their pants down to go to the washroom.
 |
| Little backpackers |


2 comments
Hey Lila, I must admit I was quite concerned about overnighting it in winter temperatures with Raynaud's, but we had SO much gear, we were fine. The hand warmer packets are life savers (didn't need them this trip though!) on super cold days and we always carry extra mitts in case ours get sweaty/wet. So far so good! We also made sure not to get sweaty as then we'd have to change our clothes. Hope your knee is better for hiking this year!
It's nice to see someone else with reynode's out living the dream! I was told multiple times by doctors to stop hiking – first knee problems then the reynode's, because it was too dangerous being away from immediate sources of heat (to flip you inner thermometer back the other way ideally, our just to keep your toes). I found if I traveled sensibly and with extra precautions – like iron air activated heat packs or old school handwarmers with charcoal inside – i always had options. Similarly, I'm hoping to find systems to work with my other health issues so I can go back to the back country without my doctors losing their minds.
Comments are closed.