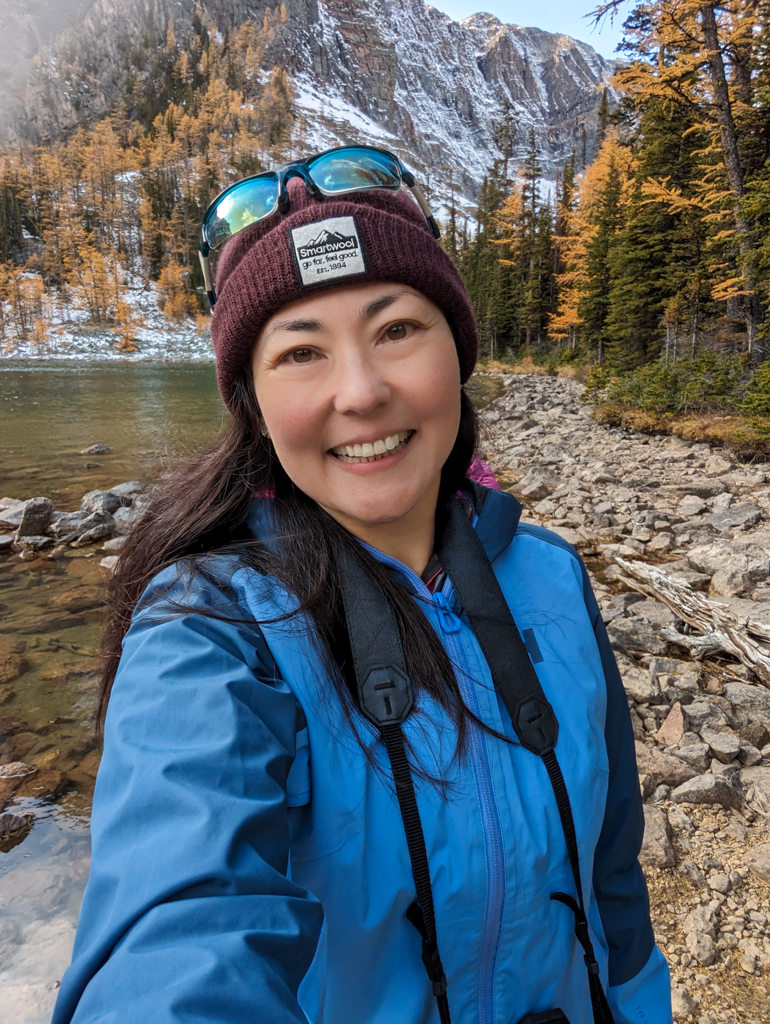
For lakes, larches, and panoramic mountain views, head to Arnica Lake and Arnica Ridge in Banff National Park.

Arnica Lake Trail is a beautiful fall hike featuring crystal-clear lakes, larches, and sweeping mountain views. While Arnica Lake is a lovely destination on its own, we highly recommend hiking the additional 1.7 km (one way) to the top of Arnica Ridge where you can see clear to Castle Mountain and peer down on Twin Lakes below. Go in mid to late September when the larches needles turn golden.
Table of Contents
Route Description: Arnica Lake Trail
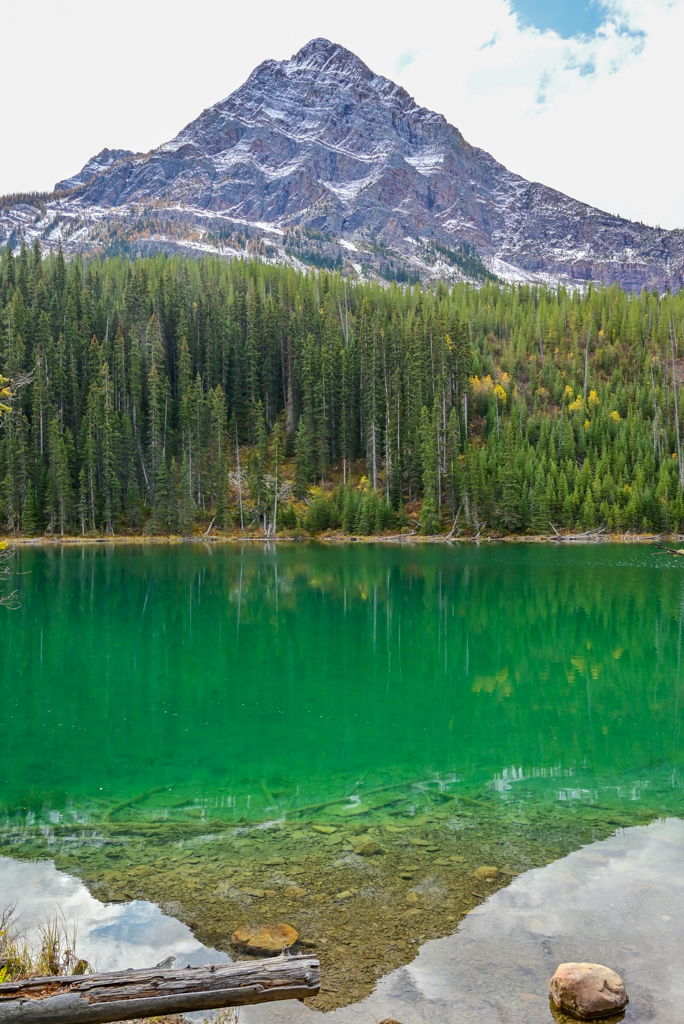
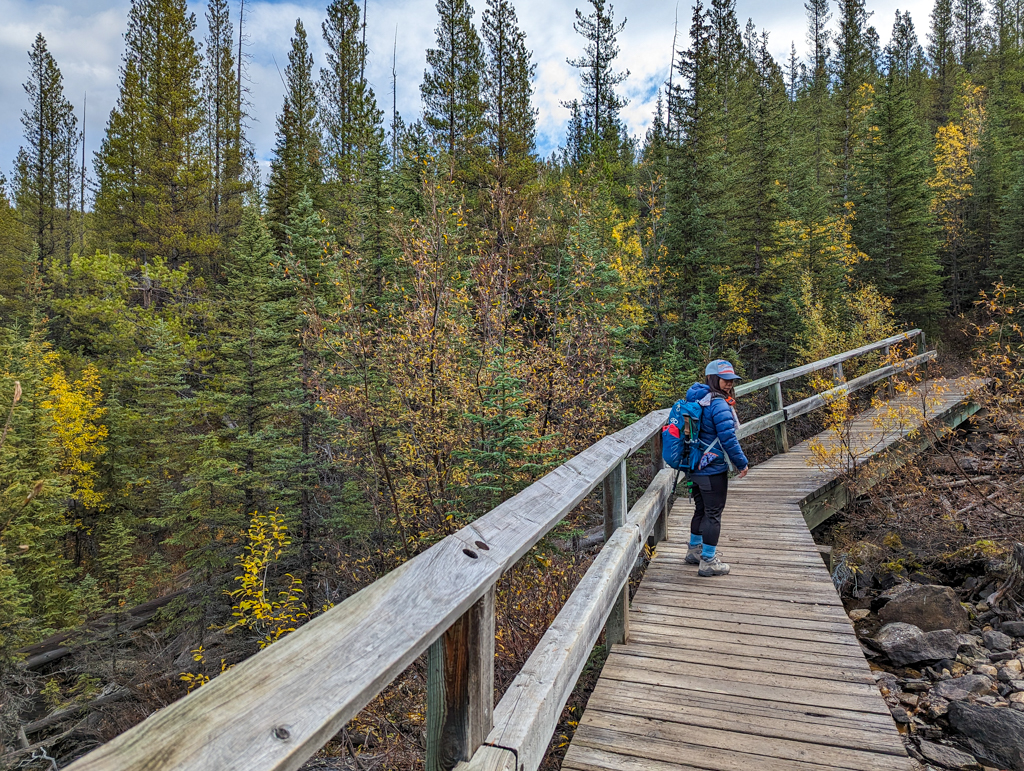
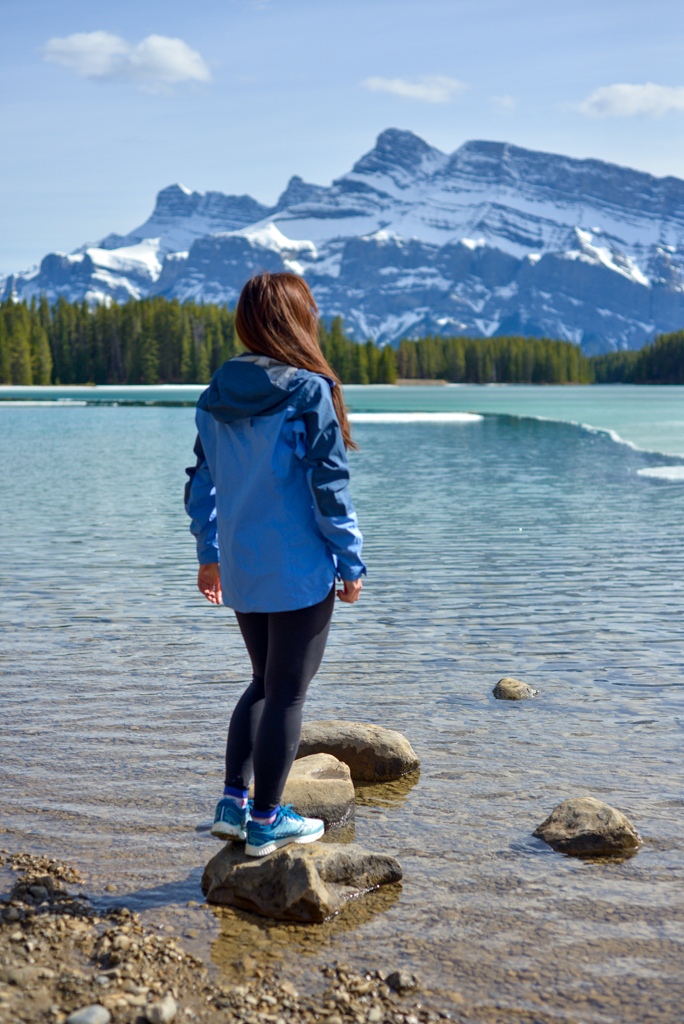
The trail begins with a quick descent to Vista Lake, an emerald green, crystal clear lake below Storm Mountain. You’ll lose about 100 m elevation over 1 kilometre. After rounding the end of the lake, cross a little bridge and begin the ascent to Arnica Lake. Cross a longer bridge 1 km later.
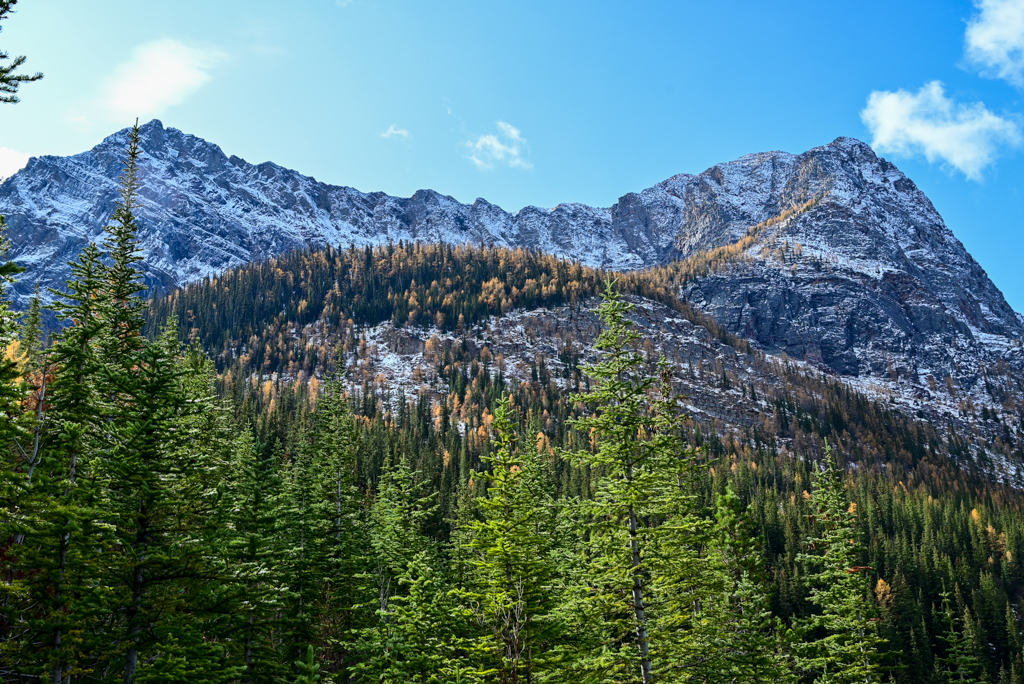
Unlike many other larch hikes (Healy Pass and Taylor Lake), the forested trail offers occasional mountain views. As you gain elevation and views open up, look back (north) at Mount Whymper, Boom Mountain, and Mount Bell; and east at Castle Mountain. Around the 3 km mark / 1850 m elevation, the first larches appear.

At a small meadow (3.9 km from the parking lot), the trail flattens out briefly. Here, Storm Mountain rises above a stand of larches. Stay left to avoid climbing over deadfall (the trail at right apparently joins up with the one on the left, but when we were there, it had recently snowed and no clear trail was visible) and continue uphill.
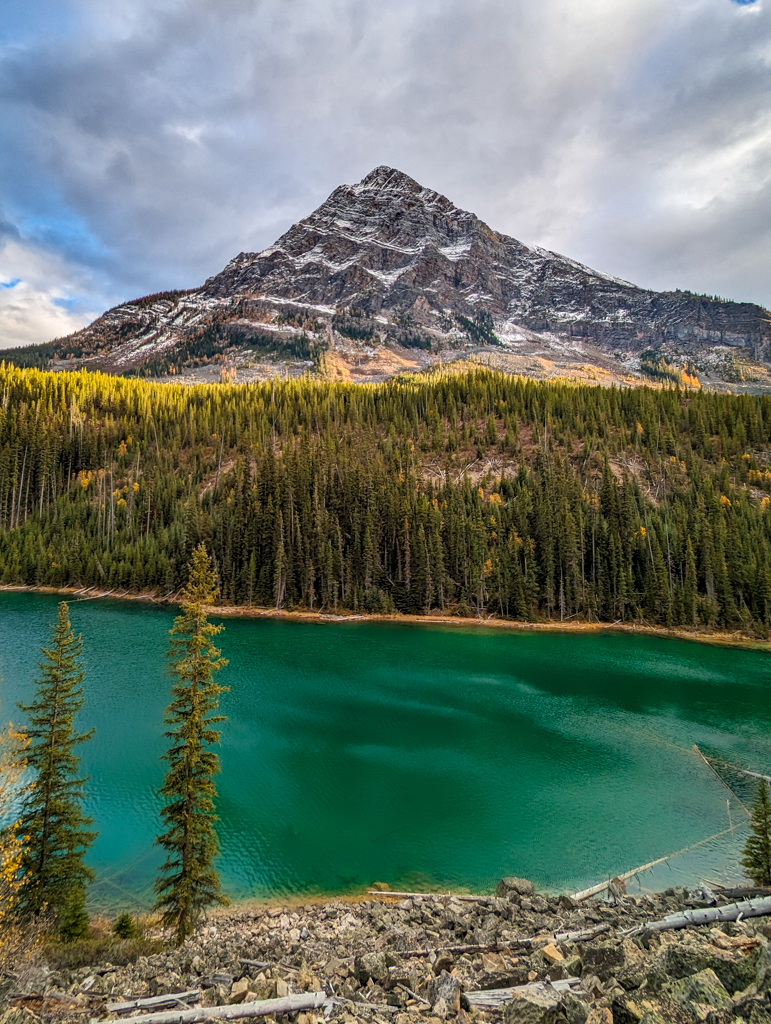
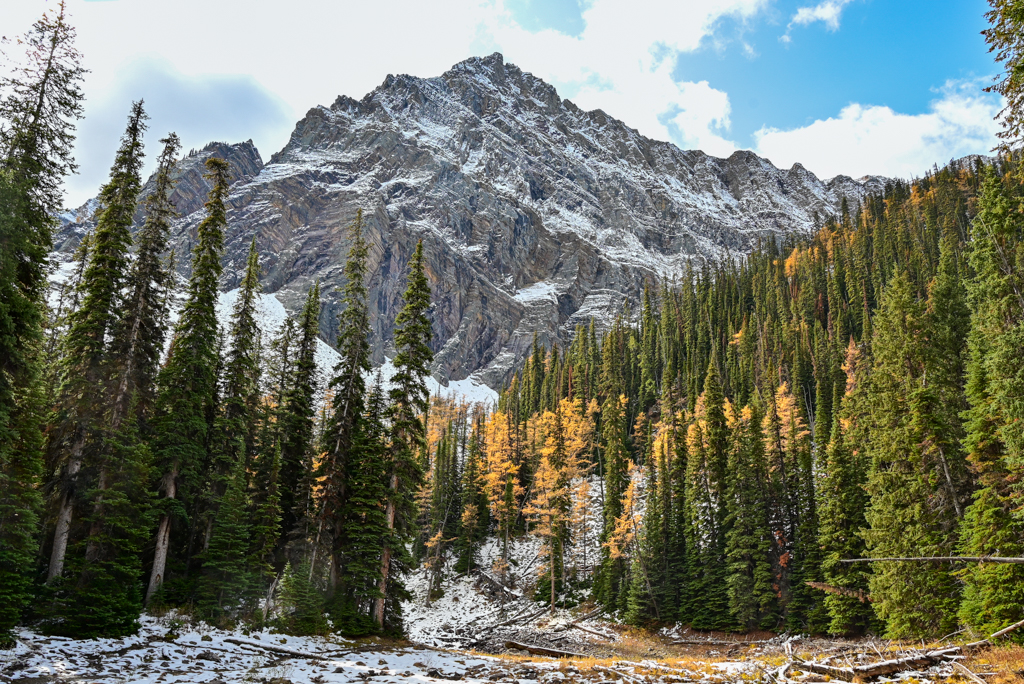
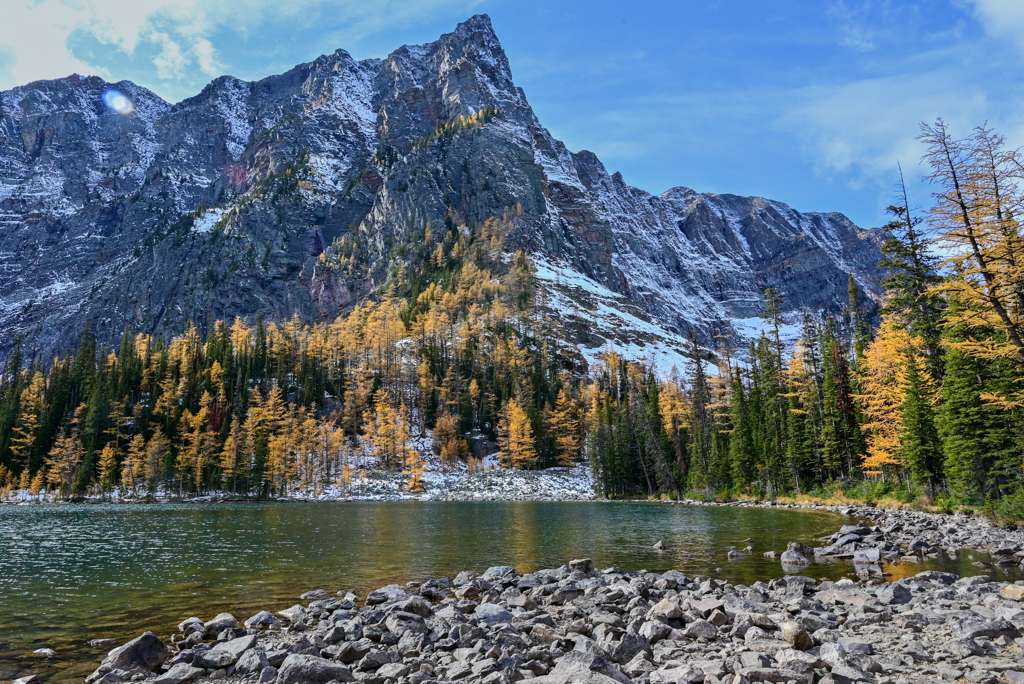
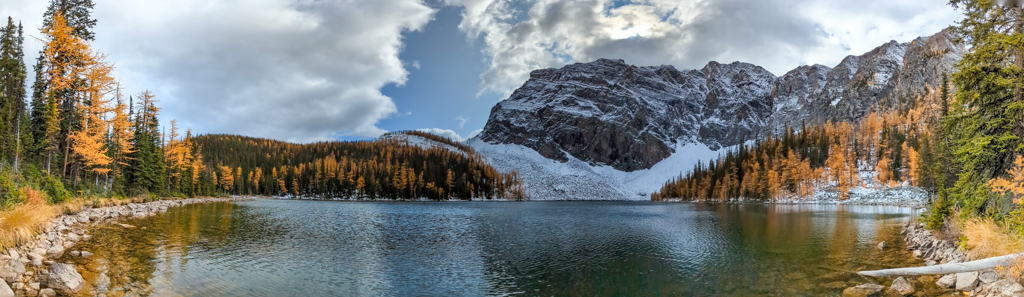
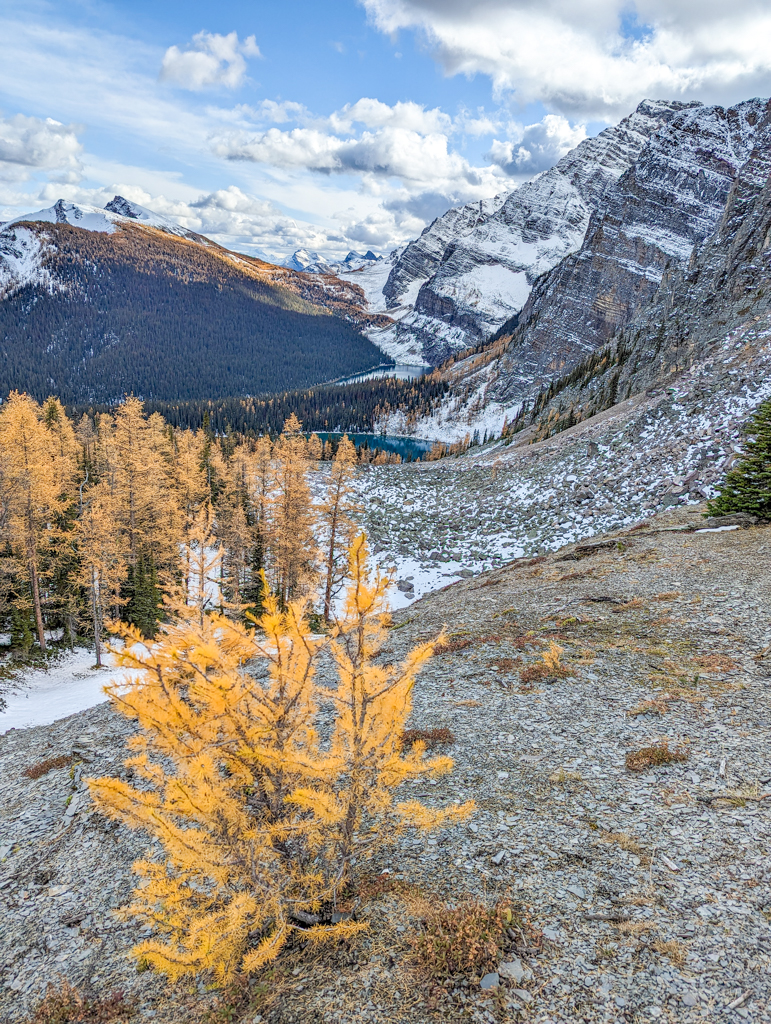
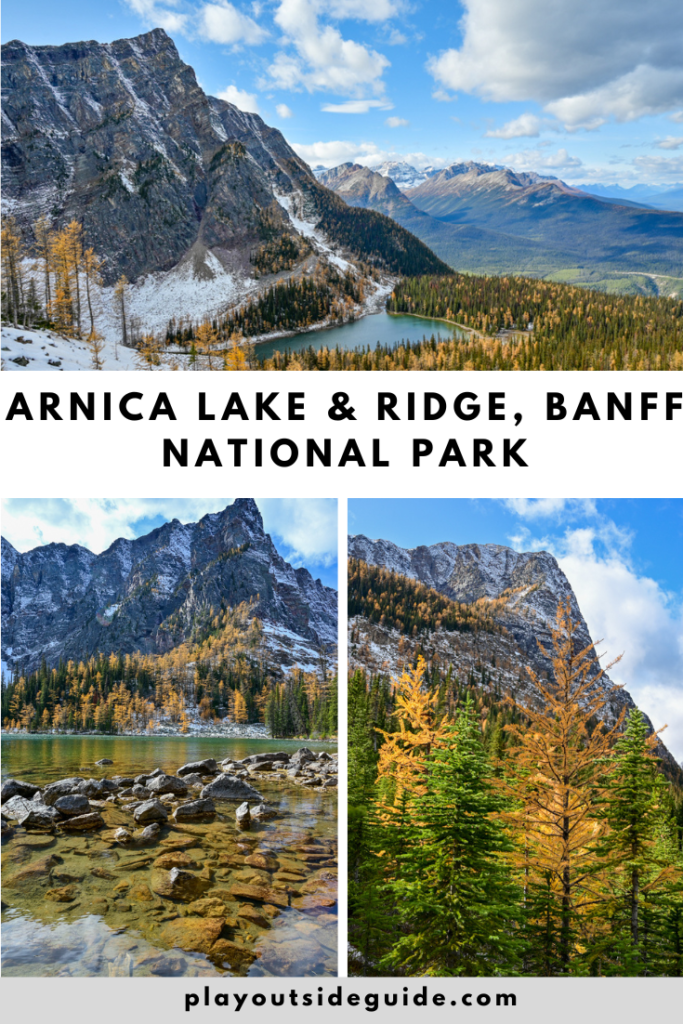
It’s only 700 metres from the meadow to the shore of scenic Arnica Lake. Larches line the sides of the lake, while the middle is framed by an imposing cliff face. On a calm day, you can get photos of Storm Mountain reflected in the clear, shallow water.
Hike along the lakeshore (200 metres), then go back the way you came, or continue on to Arnica Ridge.
Going Further: Arnica Ridge
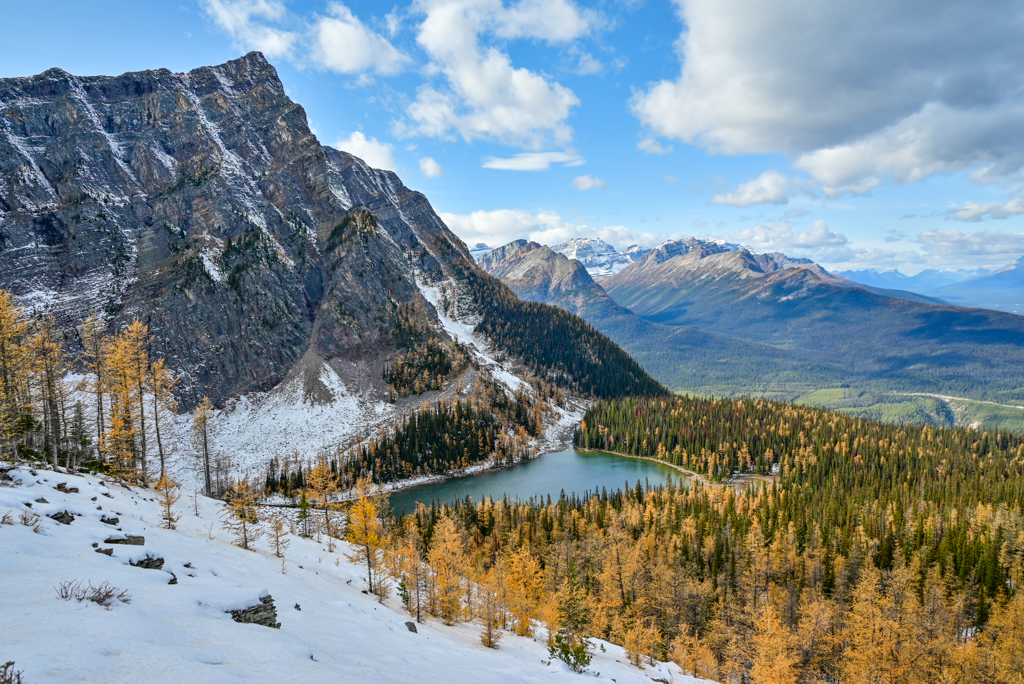
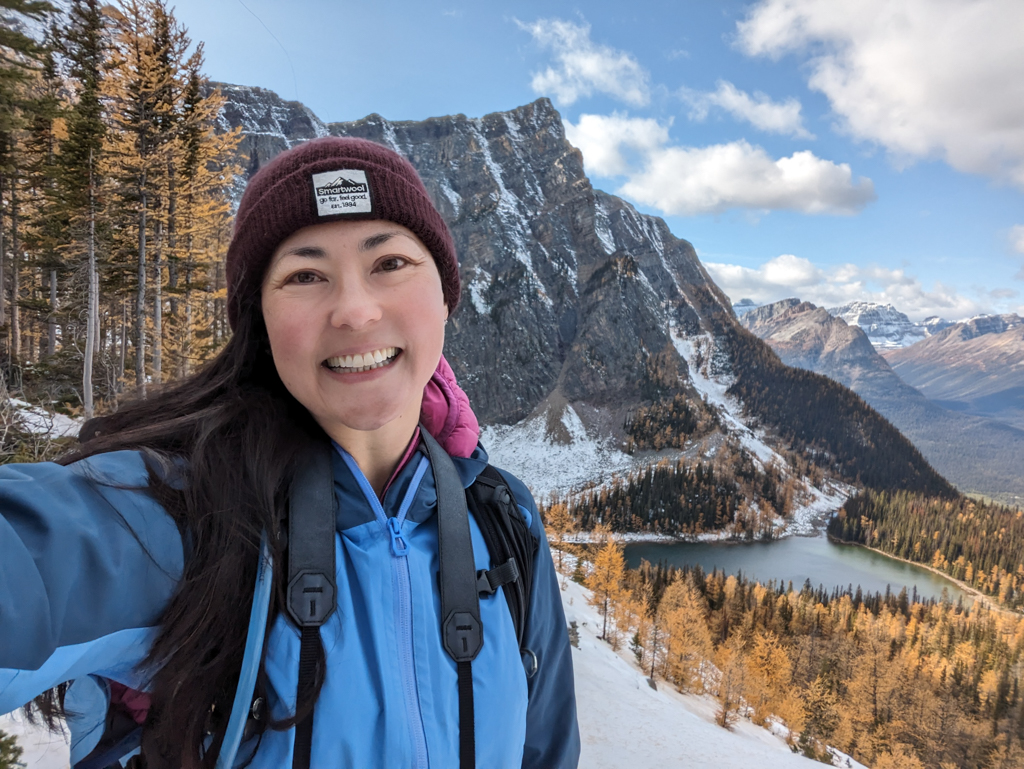
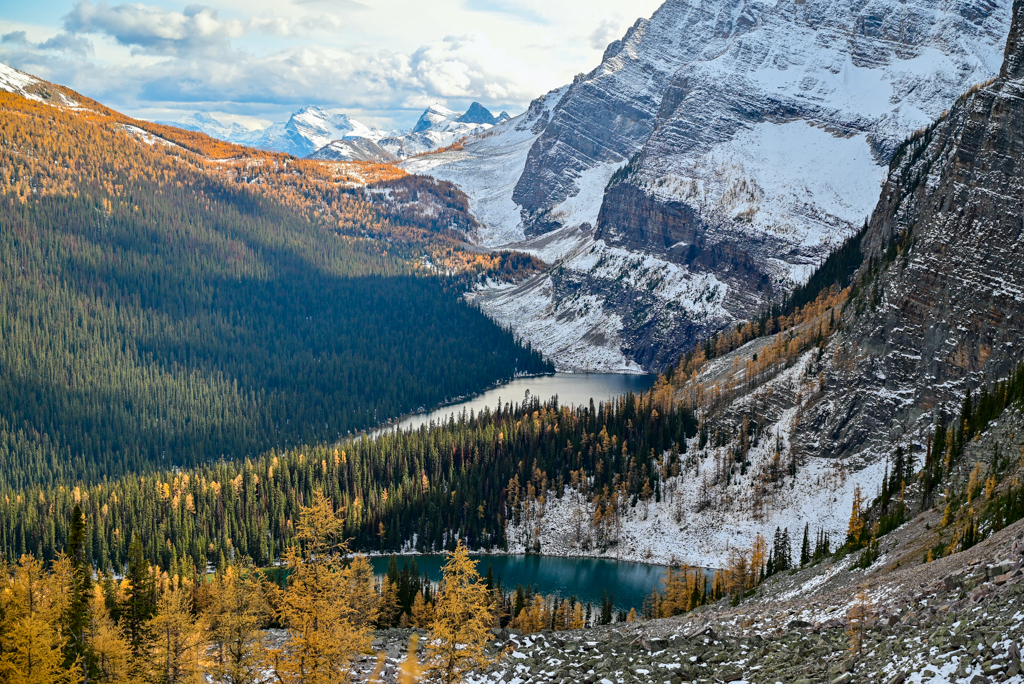
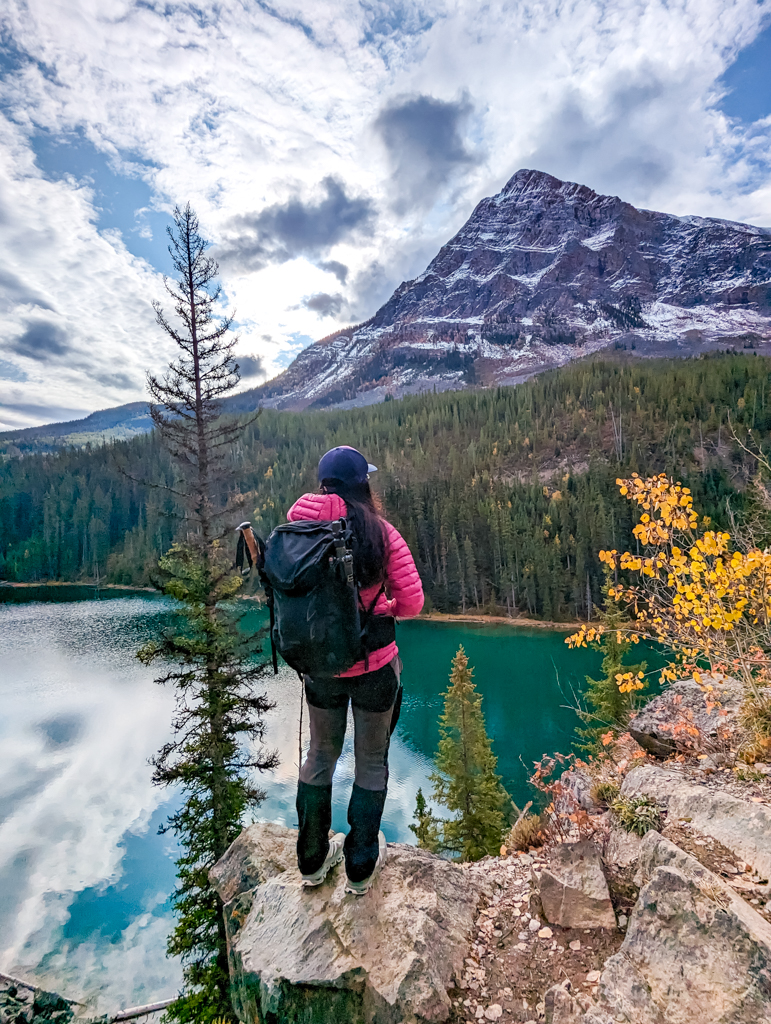
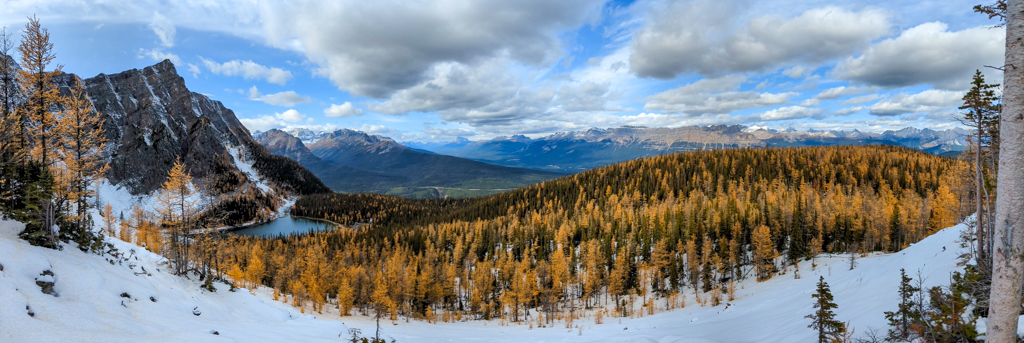
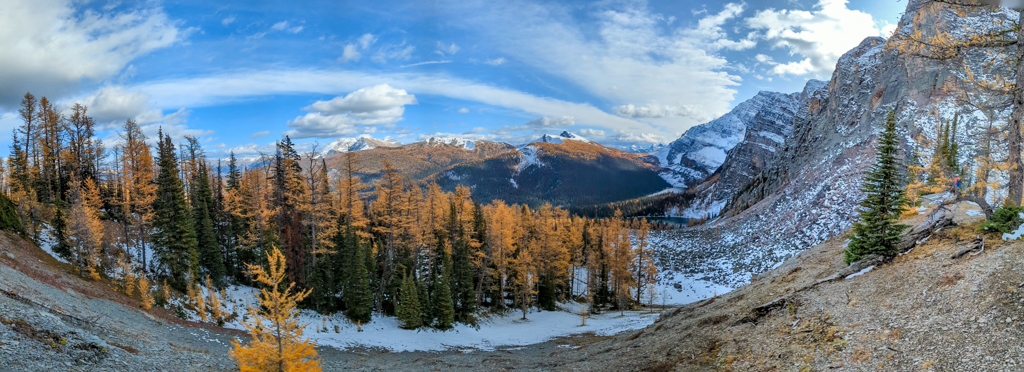
Arnica Ridge offers stunning panoramic views for not too much effort, and is particularly lovely during larch season. Hike though larches to a beautiful viewpoint overlooking three lakes!
From the signpost (that strangely doesn’t provide distances to the campground or lakes), follow Upper Twin Lake Trail to the top of the hill. Take the little path at right, through larches, to the top of the ridge. Look down on Arnica Lake on the north side, and Twin Lakes on the south side. The pass beyond Twin Lakes is Gibbon Pass, and looking eastward, you can see the aptly-named Castle Mountain. Storm Mountain, a steadfast sight throughout this hike, dominates the western skyline.

The ridgetop is 1.7 km with 160 m elevation gain past Arnica Lake. Upper and Lower Twin Lakes are 3.4 km from the lake.
Arnica Lake Trail (& Arnica Ridge) At A Glance
- Distance: 4.7 km one way (+ 1.7 km for Arnica Ridge)
- Elevation Gain: 700 m (+ 160 m for Arnica Ridge)
- Difficulty: Moderate
- Washrooms? No. Nearest pit toilets are at Boom Lake 1.3 km away.
- Parking Lot: Vista Lake Day Use
- Trailhead: North side of parking lot near sign
- Cell service: Spotty (one bar at the ridgetop, and along the upper slope leading to Arnica Lake), so bring your Garmin inReach Mini 2 Satellite Communicator just in case.

Getting Here
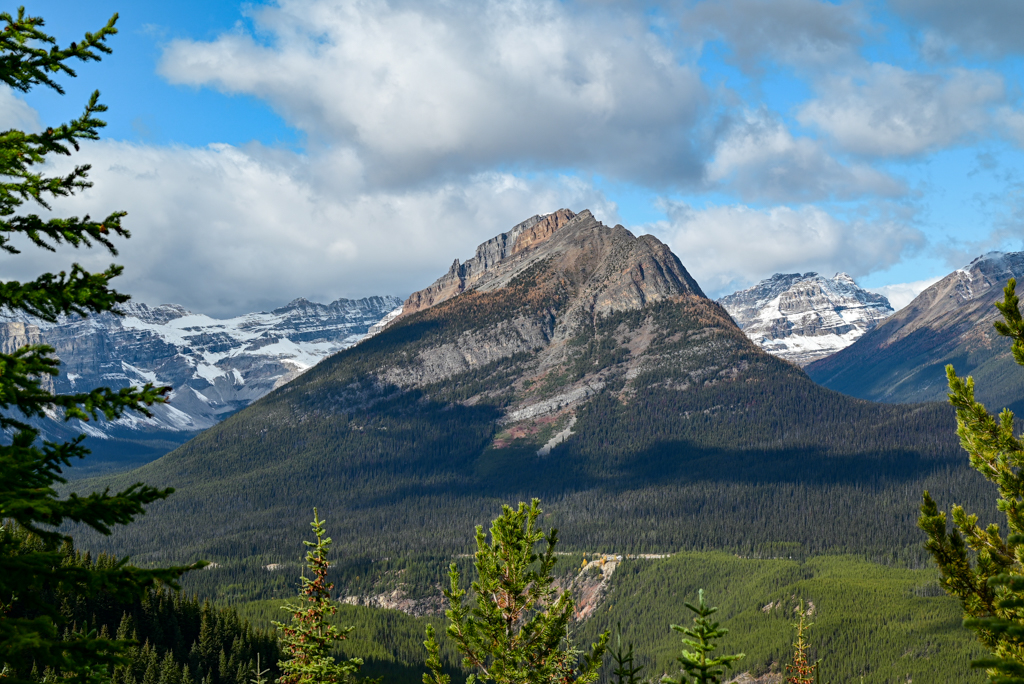
The trail to Arnica Lake & Arnica Ridge starts at Vista Lake Day Use Area on Highway 93S (click link for Google Maps directions). Vista Lake Day Use is 1 hr 40 minutes from Calgary and
Know Before You Go
- A Parks Canada Discovery Pass / daily admission fee is required to stop in Banff National Park.
- Parking is limited in downtown Banff and at the Banff Gondola, and Parks Canada Shuttles are recommended for visiting Lake Louise and Moraine Lake. See our Getting Around Banff Guide for info re: free parking, public transit, and shuttles.
- You are in bear territory. Review our Bear Safety Tips and keep bear spray accessible (NOT in your backpack). Every adult in your party should have their own bear spray, and know how to use it.
- Dogs must be kept on a leash. For your safety, Parks Canada and bear safety experts recommend leaving your dog at home.
What to Bring
Disclosure: This section includes affiliate links through which I earn a commission on qualifying purchases at no extra cost to you.
Waterproof mid-height hiking boots, a down hoody or fleece, toque, gloves, and windproof/waterproof shell are recommended year round. Trekking poles are useful for long hikes, steep descents, or when you’re carrying a fully-loaded backpack (or are babywearing). You should also carry The Ten Essentials including: water, extra food, extra clothes, a first aid kit, headlamp, GPS / compass / Garmin inReach Mini 2 satellite communicator* and map of the area, mineral sunscreen, bug spray (this DEET-free insect repellent contains 20% icaridin and will repel ticks), and bear spray. Carry bear spray in a Bear Spray Holster or Scat Griz Bear Spray Running Belt.
*A Garmin inReach Mini 2 satellite communicator is highly recommended for contacting Search & Rescue and emergency contacts in the event of an emergency, or communicating with friends and family when you are out of cell phone range. You can send text messages and your GPS coordinates via satellite, but a monthly service plan is required.
In snowy/icy conditions, traction devices such as Kahtoola Microspikes (Available from Amazon, MEC, and Valhalla Pure Outfitters), or Hillsound Trail Crampons (Available at Valhalla Pure Outfitters and Sport Chek) are recommended. See our Fall/Winter Hiking Gear Guide for recommended clothing and gear.
Related Posts
- Beautiful Larch Hikes in Banff National Park
- Hiking from Moraine Lake to Eiffel Lake
- Marble Canyon, Kootenay National Park
- Johnston Canyon, Banff National Park