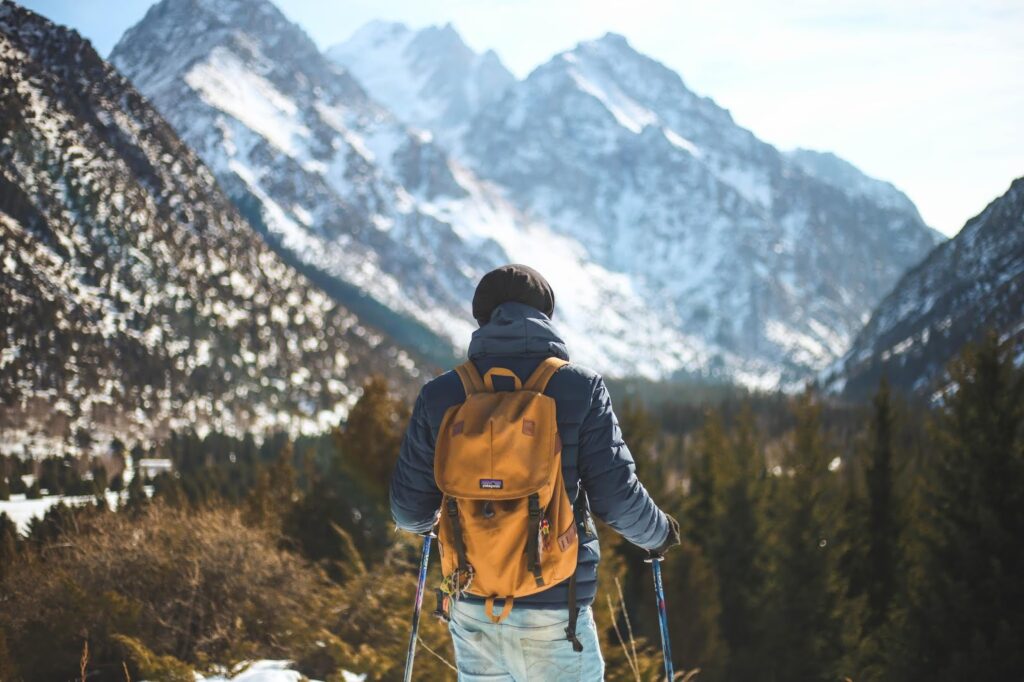
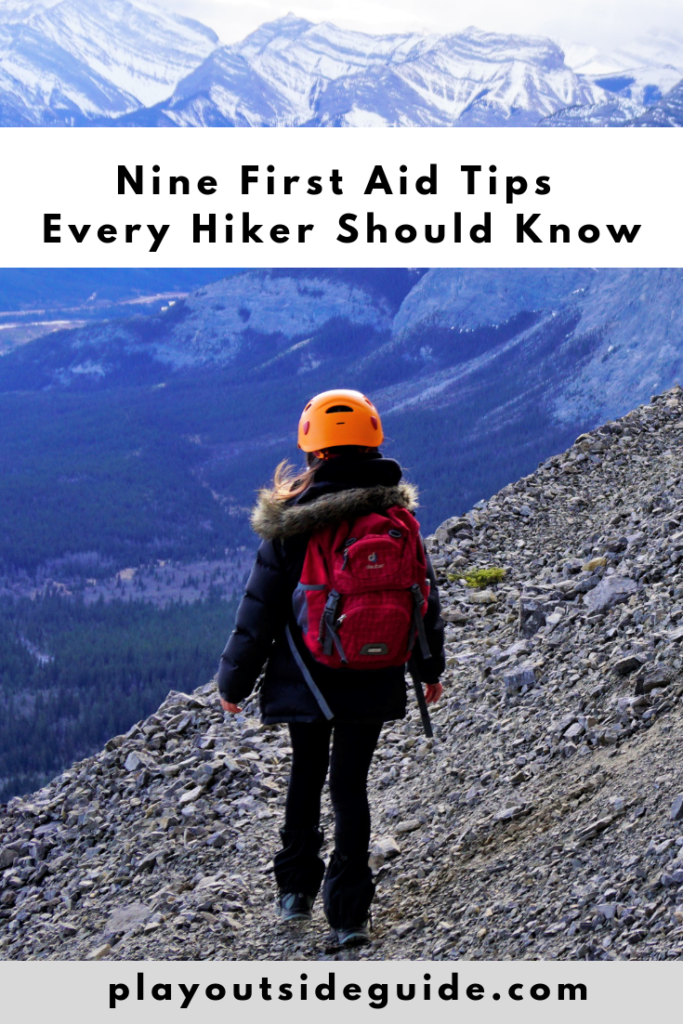
Basic first aid skills are essential whether you are on a day hike or through hike. Here are nine first aid tips every hiker should know.
Disclosure: This story includes affiliate links through which we may earn a small commission at no extra cost to you. Thank you for supporting our website!
By: Sarah Wilssen
Everyone prefers an optimist over a pessimist. Usually, we’re apt to avoid generalizations, but this one is pretty hard to argue. Nothing can drag down morale like negativity, and that’s the last thing you want as you’re about to channel your inner explorer and get closer to nature.

When it comes to hiking, though, considering the worst case scenario is a necessary evil. In the event everything is not hunky dory, hikers need to be ready to act to continue on, adjust course or even save a life. Here are nine first aid tips every hiker needs to know. Pass it along to your hiking buddies, too, so there’s plenty of folks on the trails who know how to react in a bind.
1. Carry a First Aid Kit with the Essentials
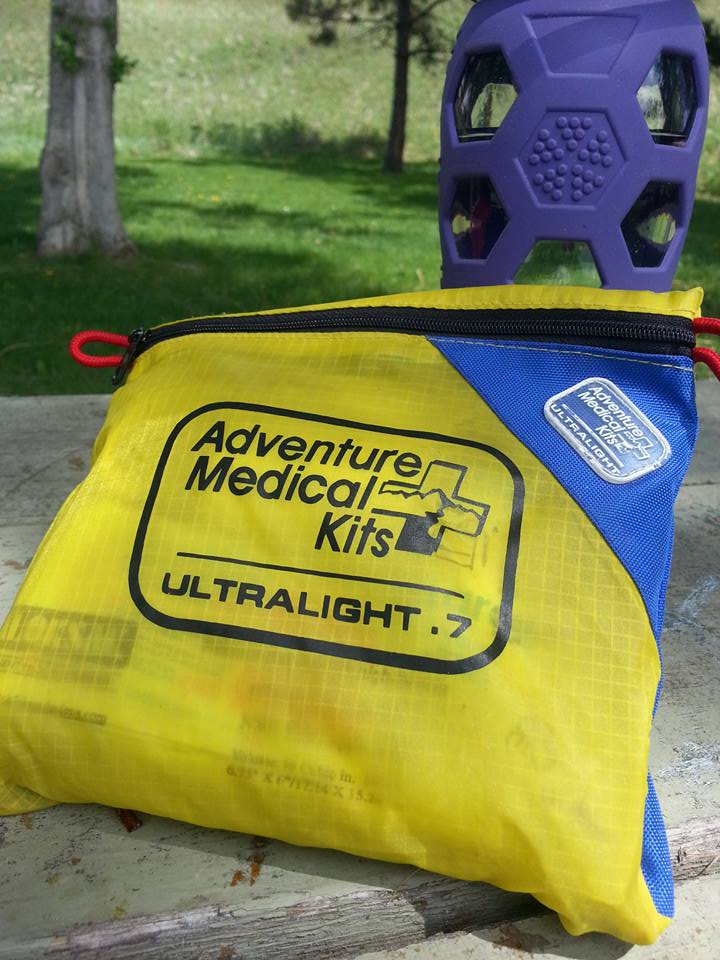
As you load your hiking poles, performance beanie, socks, gloves, and snacks into your pack, be sure to leave room for a well-stocked first aid kit. Bandages, dressing pads, gauze roll, athletic or adhesive tape, a multi-use tool or knife, scissors, tweezers, antiseptic wipes, antibiotic ointment and pain relievers are some of the must-have products you need on hand. A Wilderness First Aid book, included in many prepackaged first aid kits, is also handy to have on hand. The pocket guide supplies tips on how to make do with what you have when tough circumstances arise.
2. Take Wilderness First Aid and/or Get ACLS, BLS or PALS Certification
First aid and life support are valuable skills in any arena, but the stakes grow even higher when you’re out in the wild. As a result, true outdoor enthusiasts would be well-served to take Wilderness First Aid Training or get certification (or re-certify) in Advanced Cardiovascular Life Support, Basic Life Support and Pediatric Advanced Life Support.
Many options exist at the national, regional and local level, with some courses perfect for hikers. Once you have the knowledge, empower others and pass it along.
3. Close a Gaping Wound
If a wound is super serious, cut your hike short and seek medical attention as expediently as possible. Until help arrives, clean and close the wound to prevent infection.

First, thoroughly wash the skin around the cut, using only water that is safe to drink. Then, employ dressing or gauze lathered in antibiotic ointment to apply pressure and stop bleeding. You may need to use skin closure strips or medical tape and dressing to close a wound. If the victim is in shock, keep him/her warm and offer a warm beverage. For more thorough instructions, take wilderness first aid training.
4. Control Bleeding
First off, pack a few pairs of disposable gloves in that first aid kit to be ready to adequately handle bleeding. Although it can be a scary situation, fortunately most forms of bleeding can be stopped with a combination of direct pressure and elevation of the wound above the heart. Put gauze onto the wound and wrap it with an ace wrap, bandanna, towel or similar item. Avoid making a tourniquet, as ideally you should be able to insert two fingers under the wrap. If the patient has tingling or loss of feeling in their extremities, you’ve wrapped it too tightly.
5. Treat Burns
Hiking trips that include overnight stays are likely to feature fire at some point, as you sit around the campfire to refuel and hydrate, recap the day that was, and plan out your future itinerary. Mishaps come easily, though, so know how to act if someone in your party suffers a burn.
Step number one in the process is stopping the burning by cooling the area with cold, clean water. From there, clean the area and cover with antibiotic ointment and gauze or clothing with the primary goal of preventing infection.
6. Coping with Knee and Ankle Injuries
Soft tissue issues are some of the more common injuries that require rescue. That process is arduous and often involves a long wait, so knowing how to treat knee and ankle injuries that can allow you to continue your course on your own is important.
Determining the usable vs. unusable extent of the injury is key to figuring out whether soldiering on is possible. In the former event, wrap with athletic tape or an ace bandage and take your time with ample breaks. If you’re able to rest for a few hours or even a day, depending on the length of your trip, it may be best to do so. The latter type of injury is obviously significantly more serious and requires padding and a splint, whether makeshift or otherwise. Depending on the severity and the injured party’s pain tolerance, try your best to hike out on your own and avoid a harrowing rescue.
7. Treat Nagging Blisters
Lower on the serious scale but high on the annoying scale are blisters. It’s hard to savor the sights and keep your desired pace if you can’t rid yourself of blisters. Your best option is to slowly drain it and then treat like a small wound, which will ideally relieve pressure and pain so you can carry on. It helps to cover the sensitive area with an adhesive blister cushion.
8. Remove Ticks
Tick bites are not only annoying, they can lead to infection or Lyme disease. If you find an embedded tick on you, use tweezers or a tick key to grasp the tick near its mouth and tug gently but steadily straight up to remove it (do not twist!). Afterwards, rub the bite site with an antibiotic ointment, iodine swab, or alcohol pad. Finally, take a photo of the tick for identification purposes and kill it. For more information, read Play Outside Guide’s story: 5 myths about ticks and 10 tick safety tips.
9. Pack Extra Medication in Case Hike Runs Longer than Expected
In addition to ibuprofen and other pain relievers, if you or anyone else in your group takes prescription medication, be sure to bring extra doses in the event your trip goes longer than anticipated (due to injury, getting lost, weather/trail conditions).
Wishing you safe and happy hiking!

About the Author
As a marketing and social media guru, Sarah Wilssen, has been working her way through the marketing world for the past 10 years. Currently, Sarah is the Director of Marketing for Headsweats, where she leads her team to be the best marketers they can be. When she’s not in the office, Sarah loves hiking, running, coffee, and her doofy but loving Golden Retriever, Jax.
More Outdoor Safety Articles You Might Like
- Wilderness Survival Gear You Must Carry (The 10 Essential Systems)
- 10 Bear Safety Tips for Hikers
- 10 Tick Safety Tips and 5 Myths About Ticks
- Tips for Safe Hiking and Backpacking
- Urban Hiking Safety Tips
- Pond and Lake Ice Safety Tips